Edible landscaping is authentic and tasty. You eat what you produce! It’s not just pretty flowers or leaves to admire.
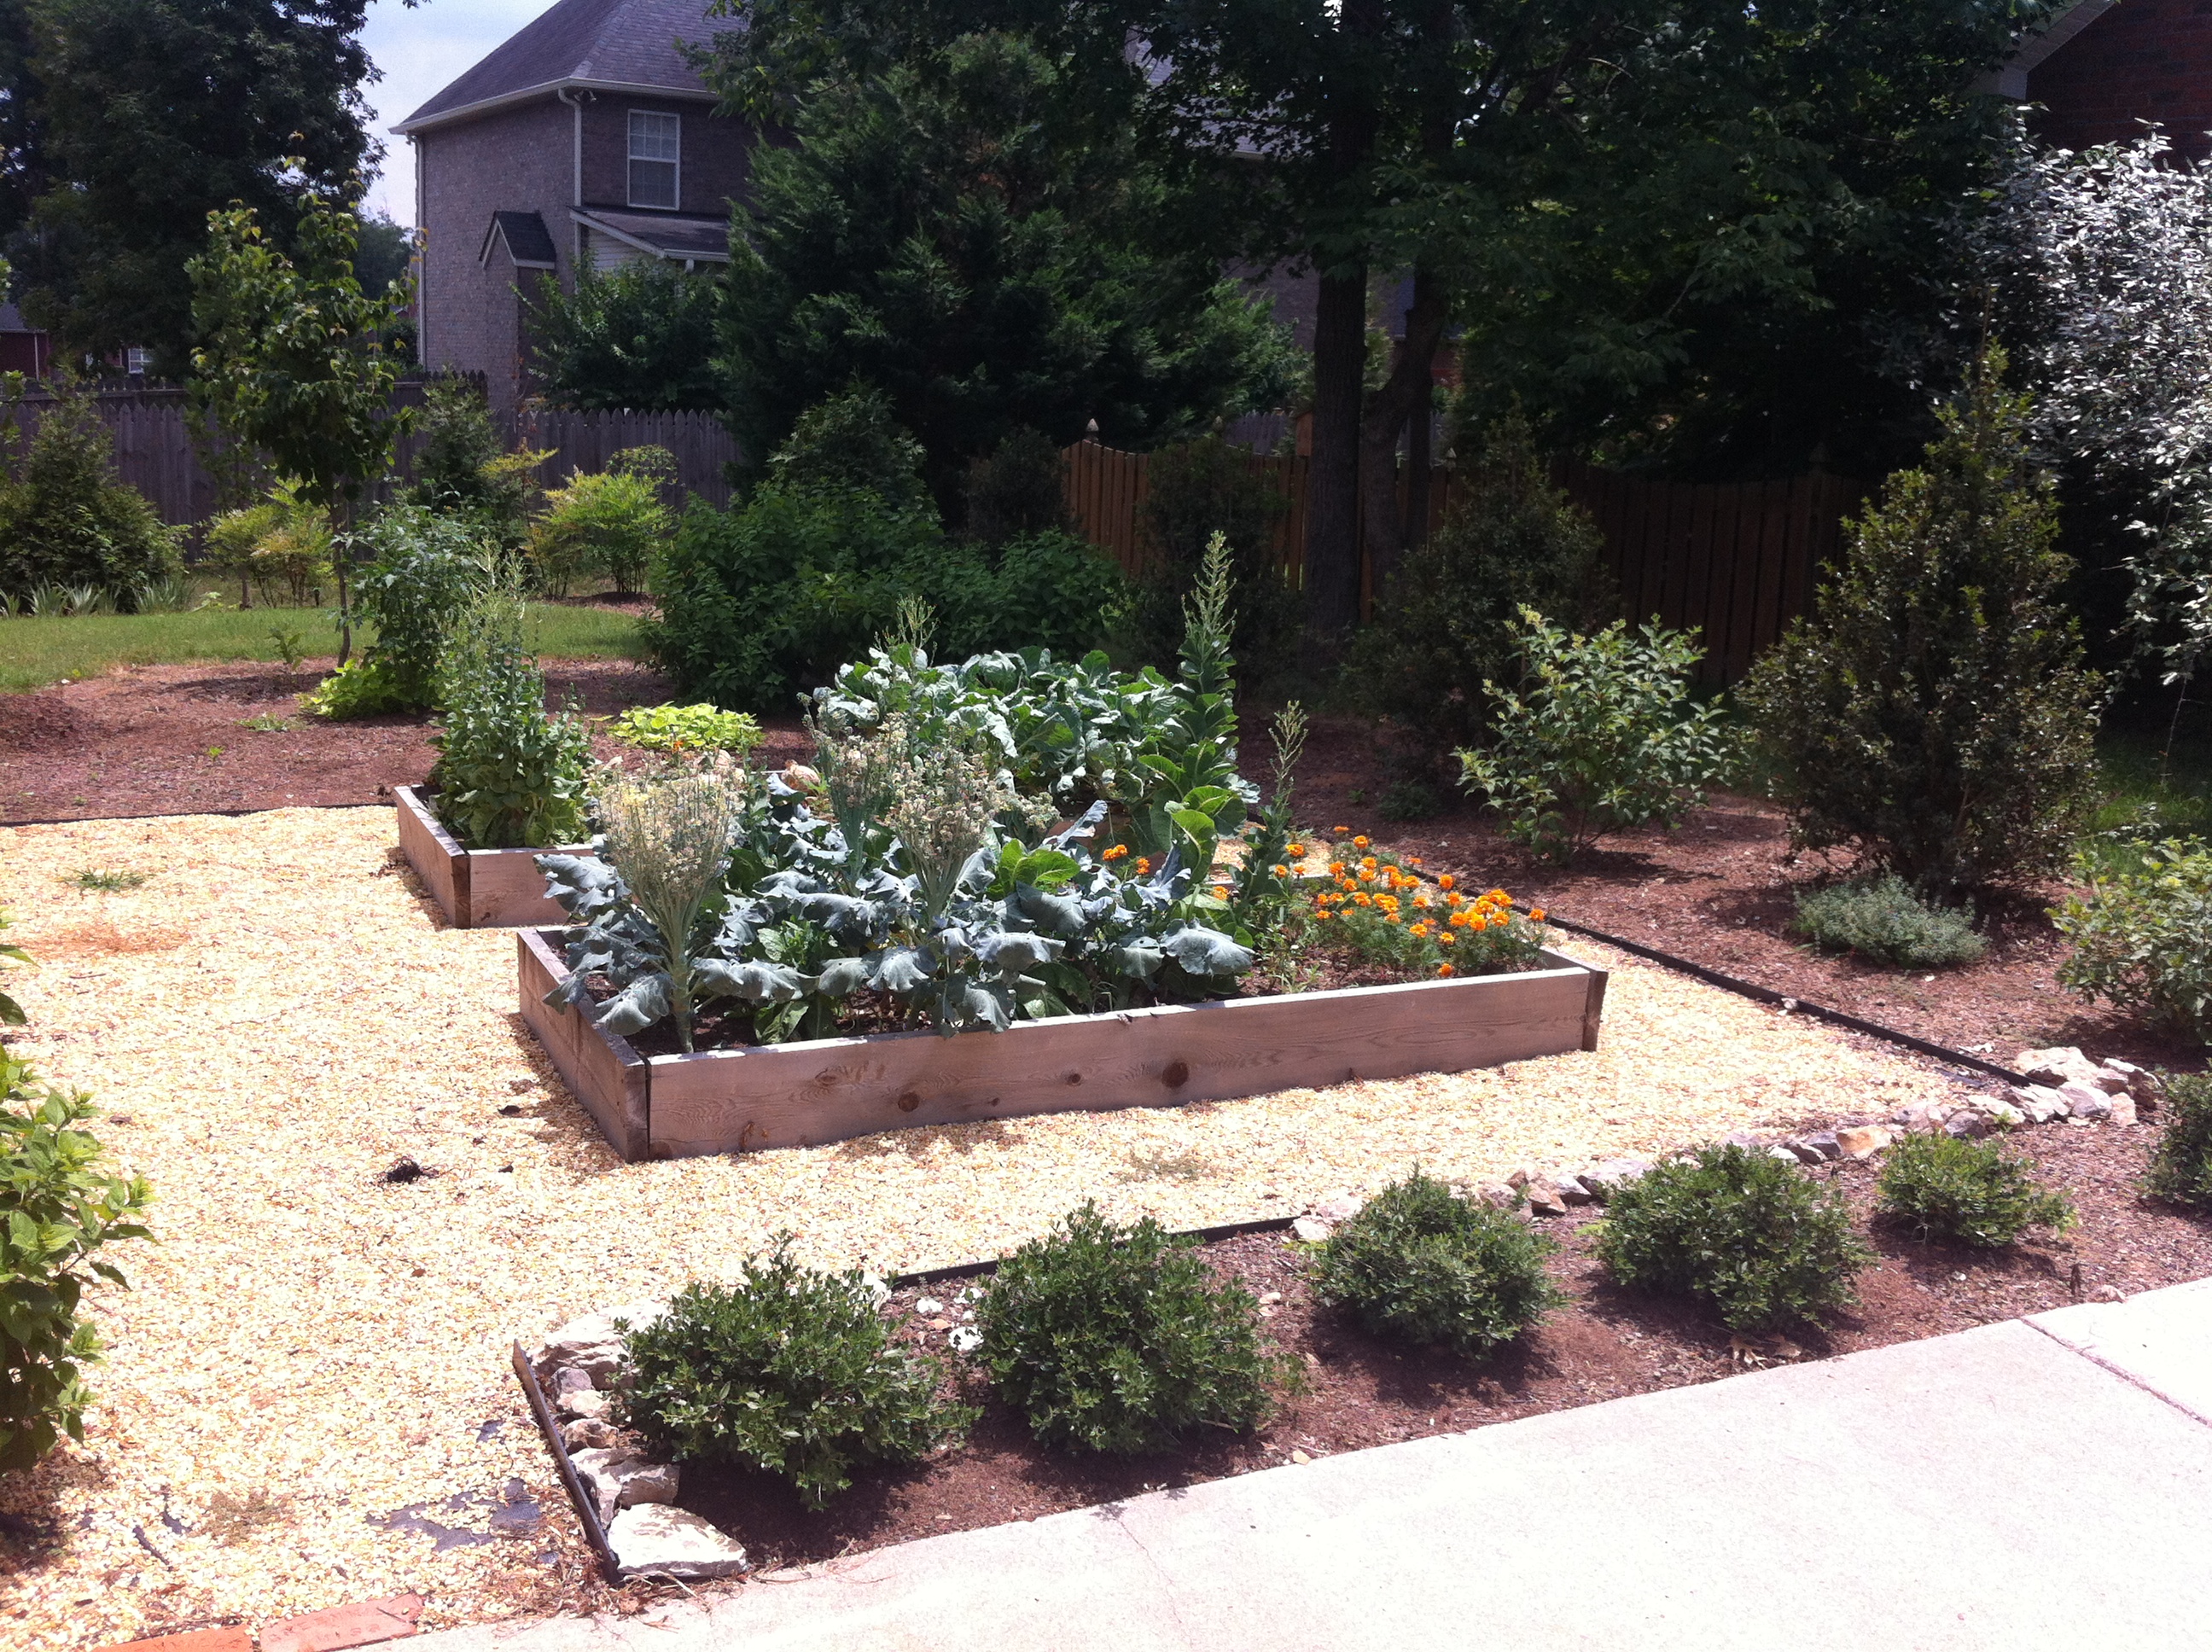
Broccoli and Lettuce Flowering (Bolting).
Edibles are here to stay. Try to incorporate them into your landscape. (They are rewarding)!
Combine or Separate
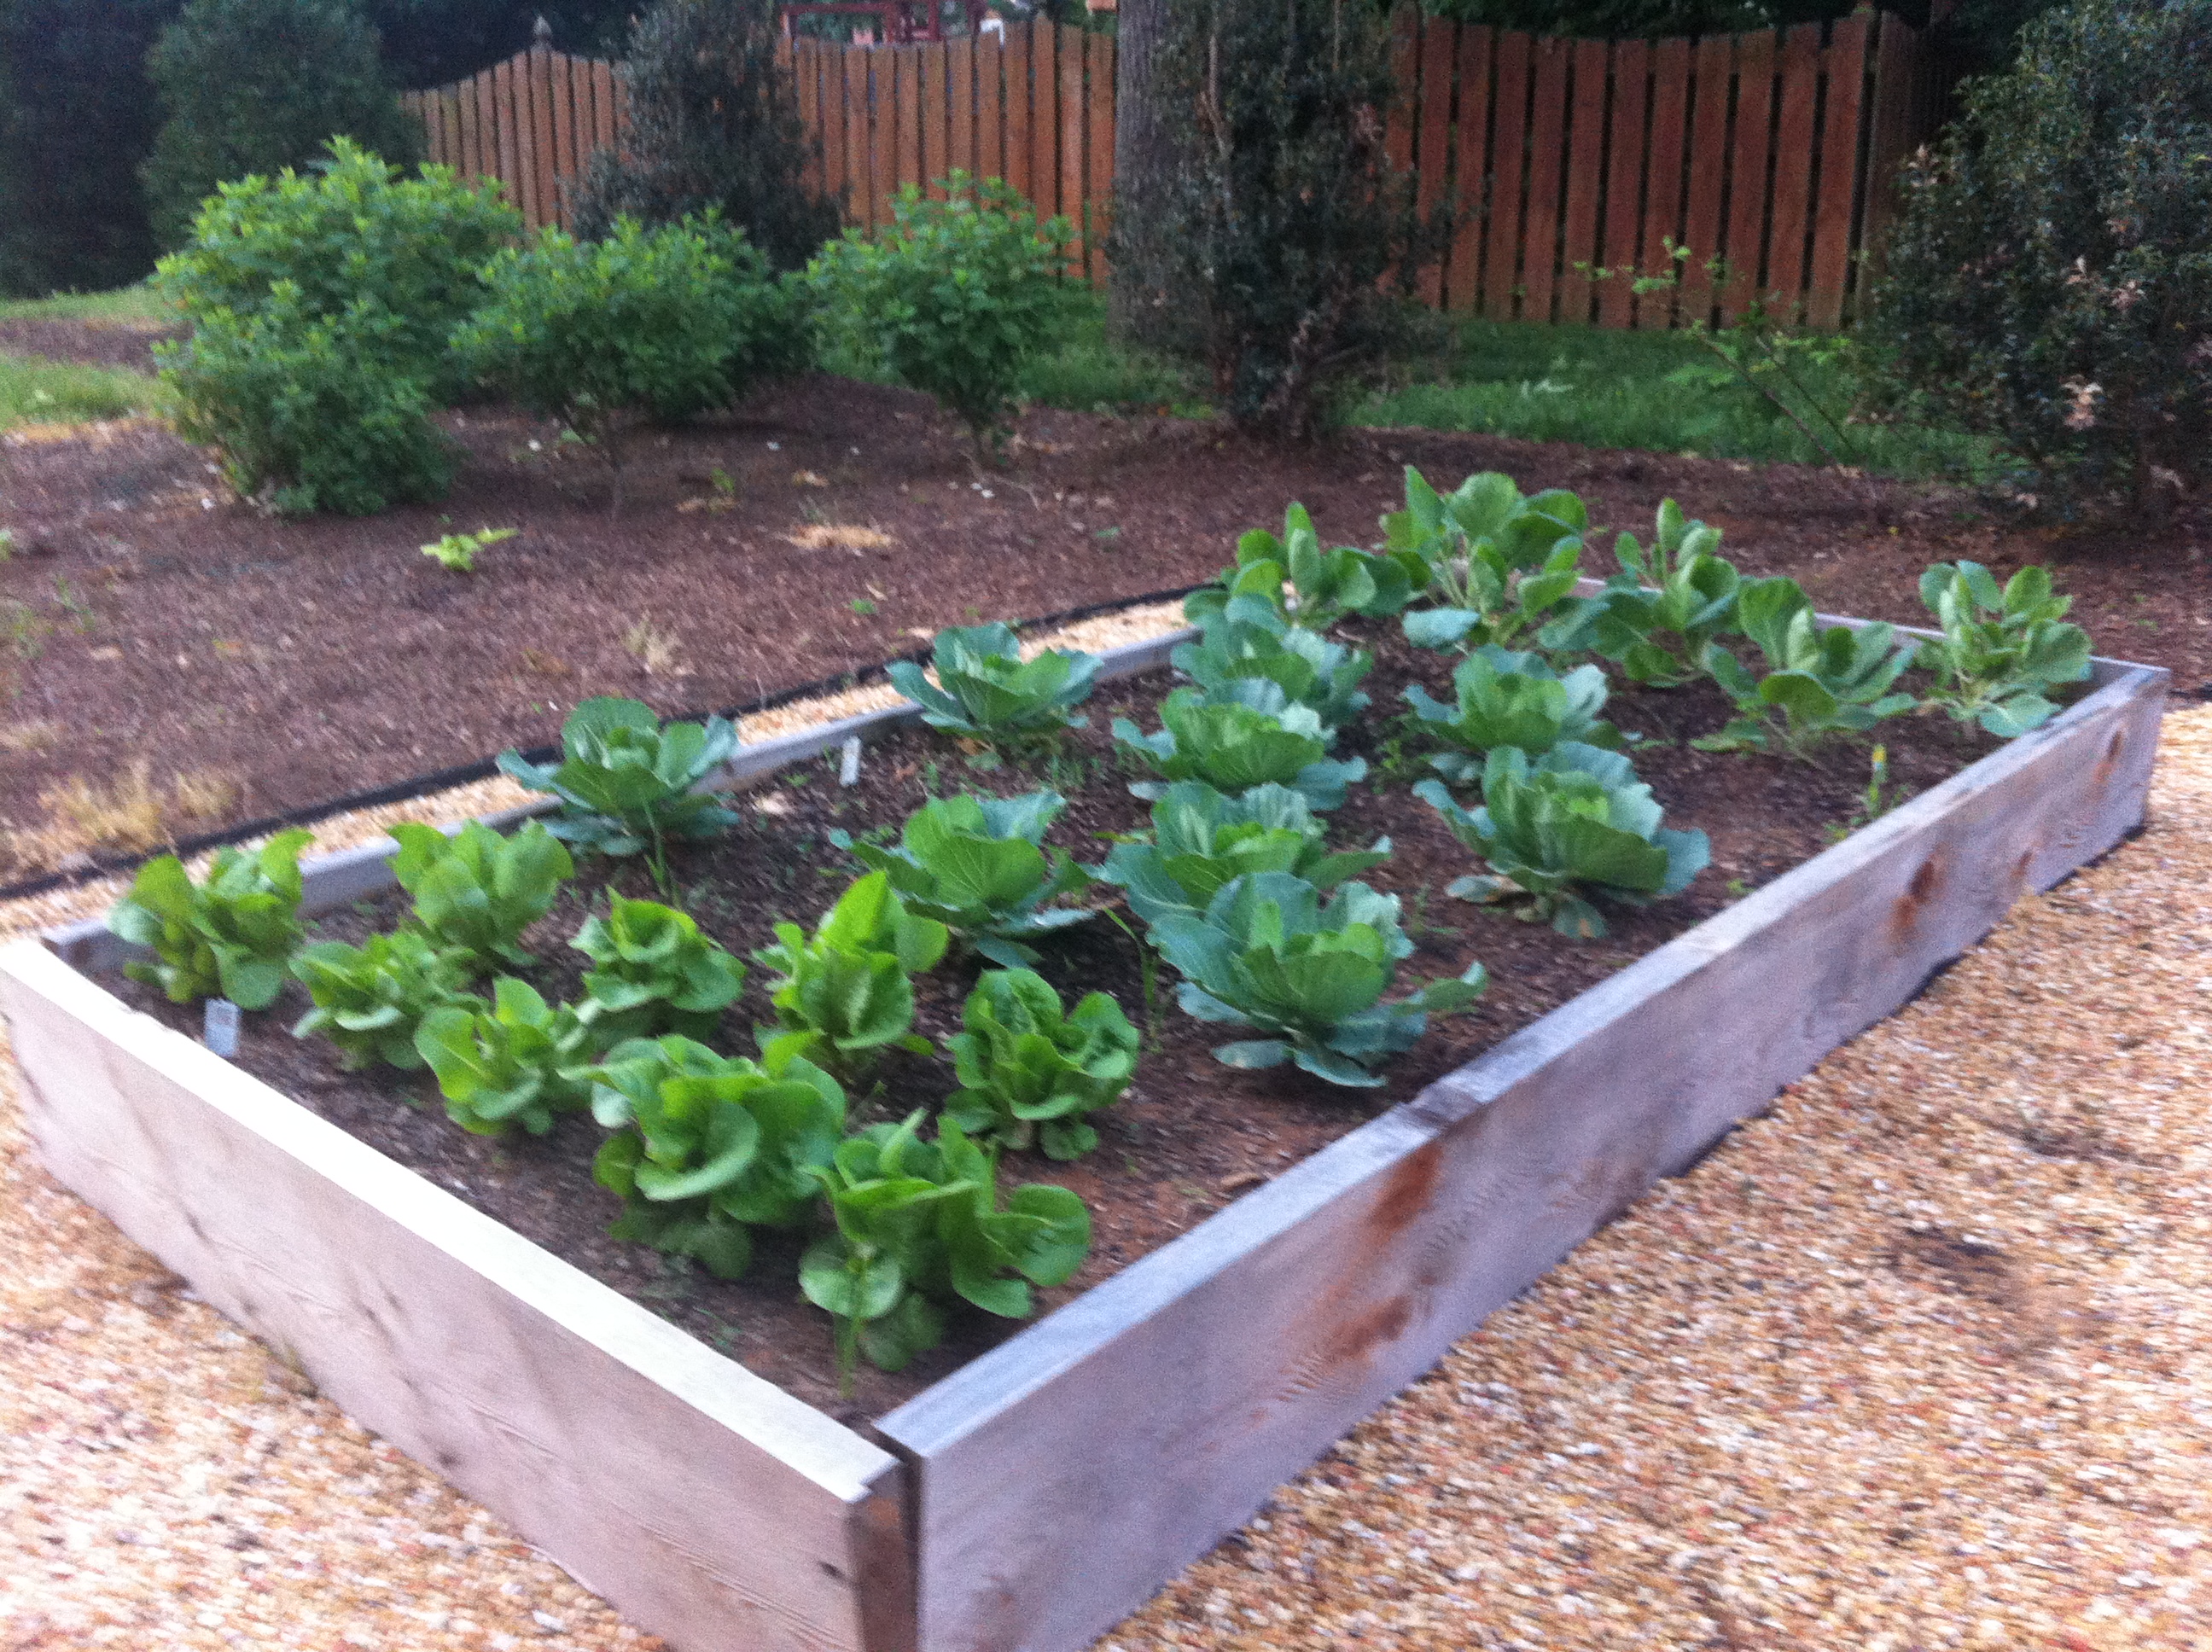
Choose edibles and flowers (or evergreen shrubs) together in the same place, or separate your edible area to concentrate efforts. If you want serious yield, I recommend a raised bed.
To easily separate, build a suitable raised bed.
I like to keep certain plants grouped away from others. This means that tomatoes and beans can grow out of control in a hurry! Don’t plant too many at once. Pros stagger a crop so that all the plants don’t bear fruit at the same time. You don’t have to plant your entire garden at once.
I mix structure with normal shrubs. Structures are teepees and tomato cages. Plants like purple hulled pea, a favorite heirloom. These pea vines grow everywhere and quickly consume land. They need a trellis. Same for tomato. Some kind of structure.
Fruit and Beauty
What about blue foliage? Or silver? Check out artichoke in a shady location, or broccoli for full sun. Broccoli has yellow flowers in addition to the edible floret and silver leaves. Plus, your pet bunnies (wild hares) will love the leaves, too!
Texture is a landscape design principle, so mix leaf textures for viewer interest.
Optimal Soil
One big thing I’ve learned this year. Soil pH. Want bitter lettuce? Grow in an acidic soil. Add limestone if your pH is dipping below 6.0. Buy a soil test kit here. Always do your homework and research a variety before trialing it. However, most veggies and edibles like alkaline soil (pH 6.0 – 8.0).
Blueberries would be one exception. If you need to acidify soil, add sulfur.
Design Layout
Start with a few plants and see how much food you can eat and not ruin. I am guilty of this. I like to fill space. Don’t make this mistake.
Most plants are grouped in layers starting tallest in the back to shortest in the front. Tomatoes, peas, beans, and other veggies that require a structure to grow should be placed with height in mind. Grouping shorter plants nearby makes sense.
Tomato cages are visually striking in an empty space. They create vertical interest.
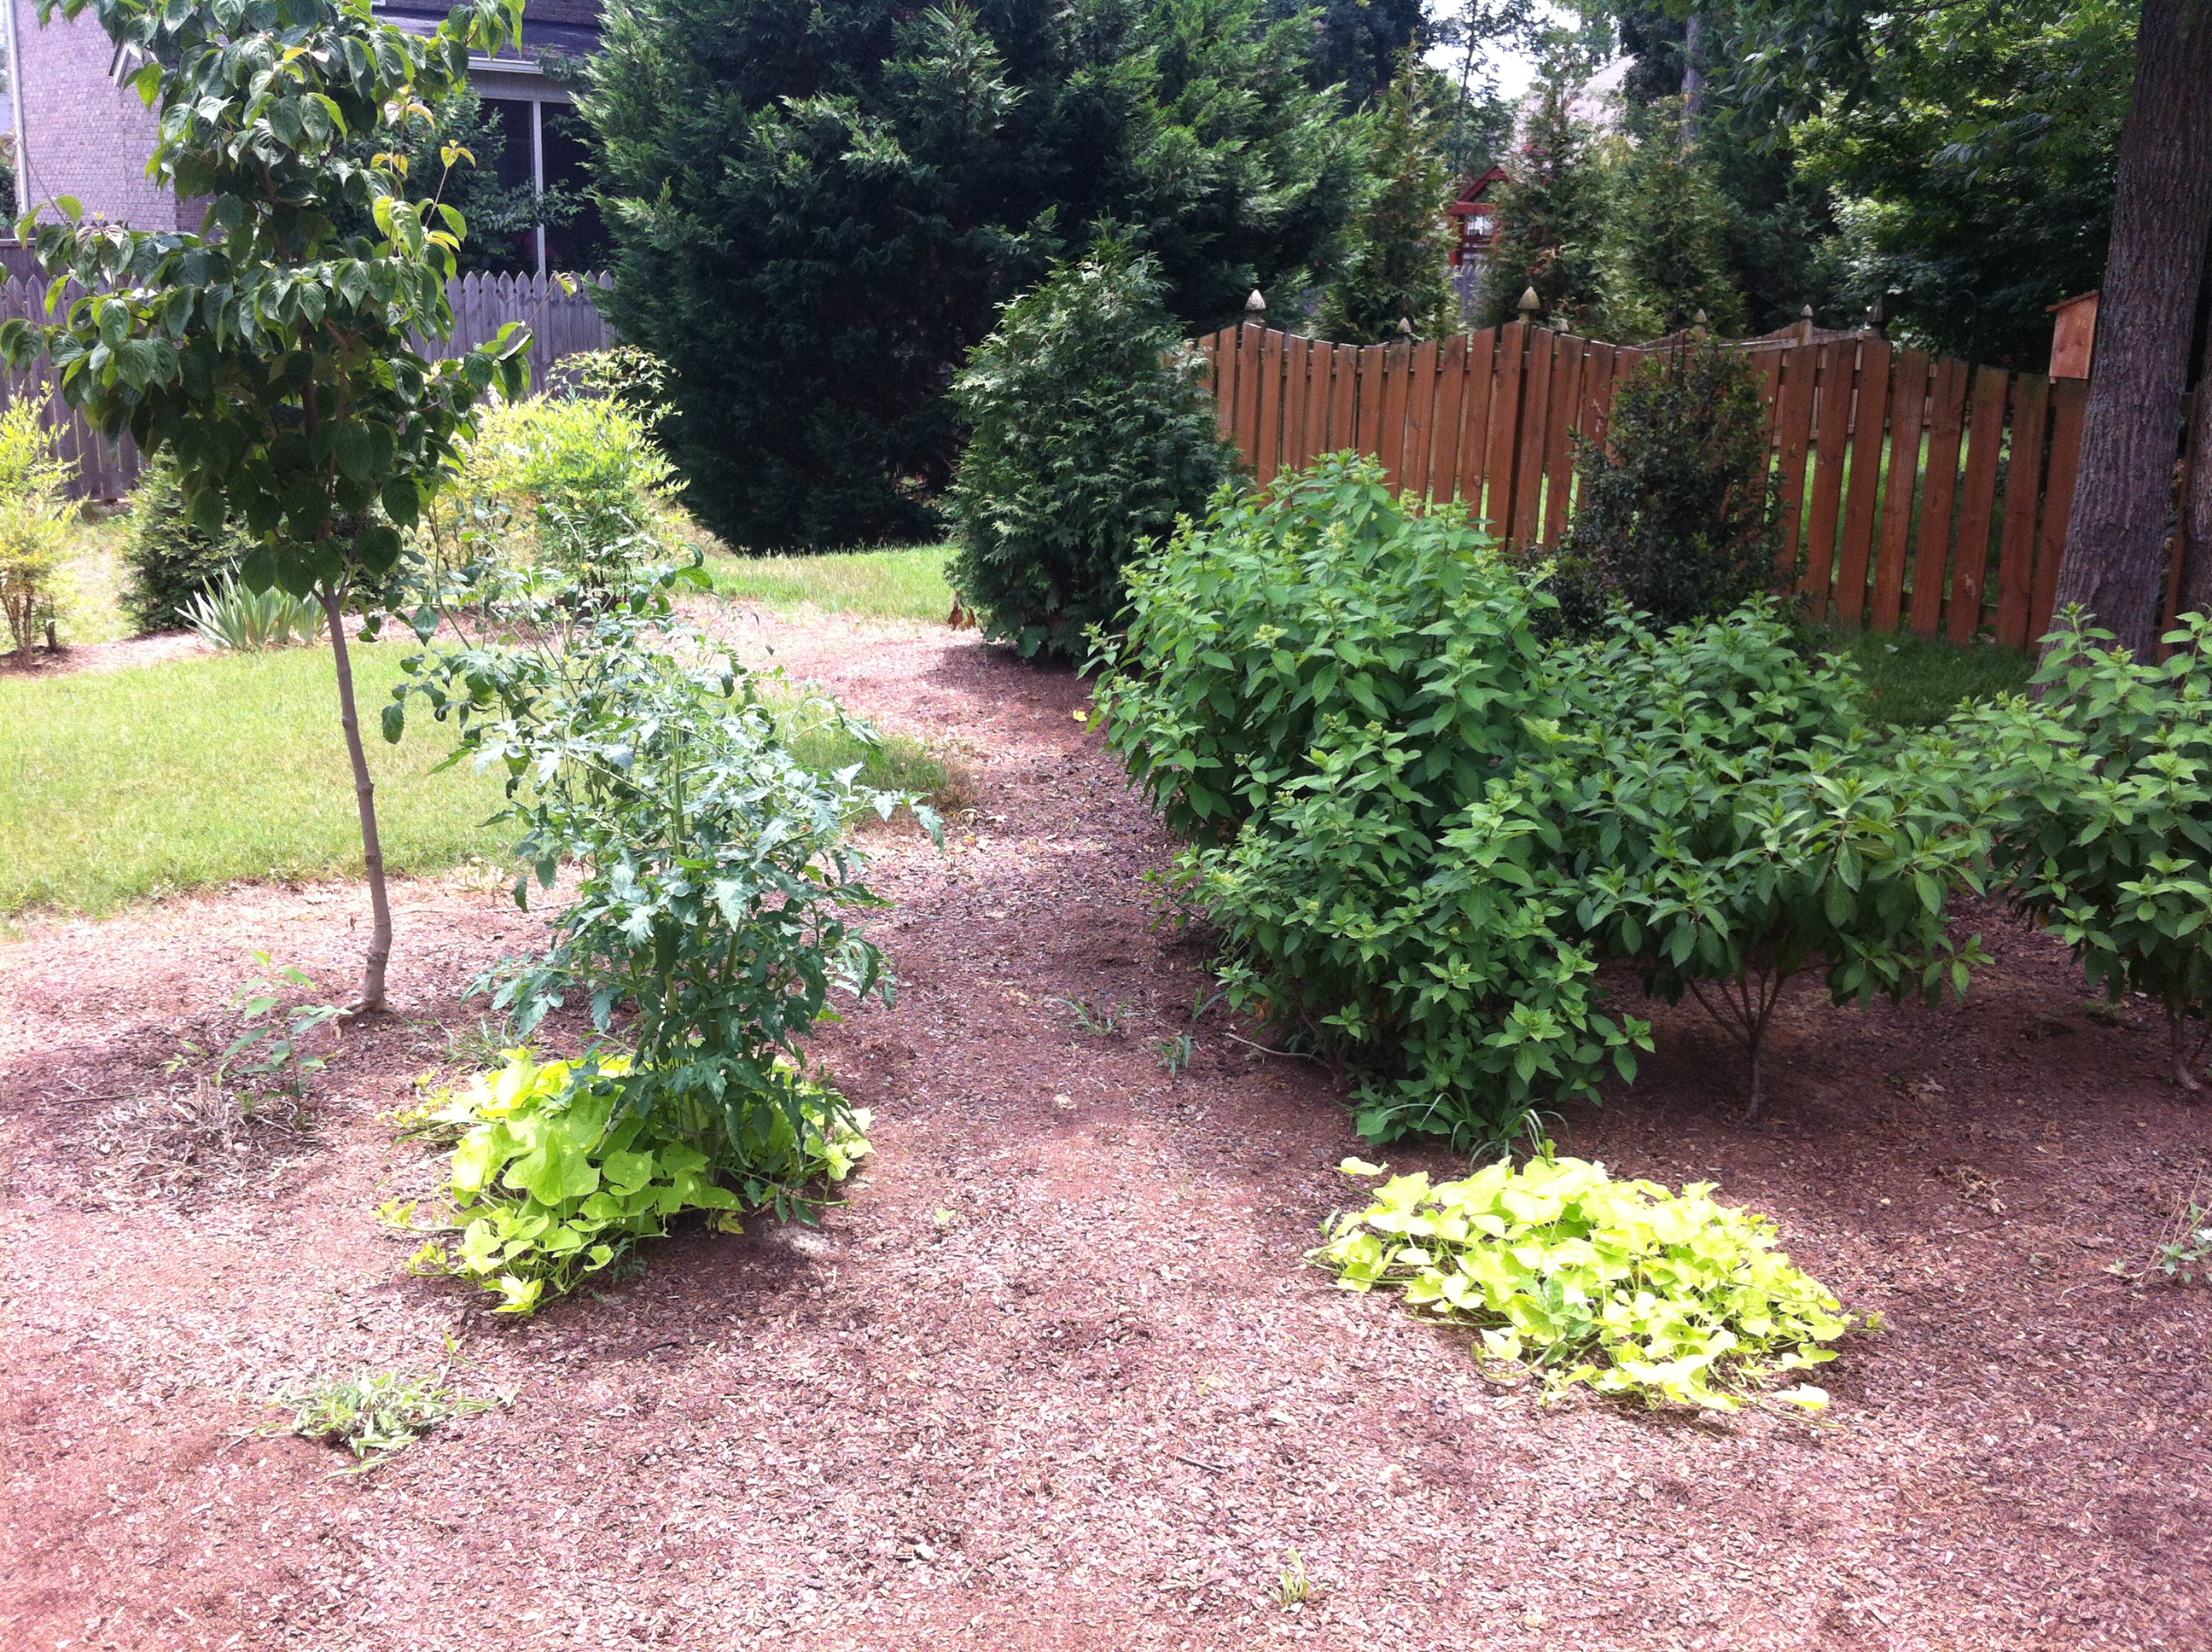
Volunteer cherry tomatoes with Margarite Sweet Potato Vine under Hyperion Dogwood. Limelight Hydrangea group on right.
Don’t overplant peas and beans. They grow so quickly that you don’t need the maximum number per ft. Follow spacing guidelines on plant tag or online resource.
Cool Season vs. Warm Season Edibles
Herbs and vegetables grow best in certain temperature ranges. Spring and Fall are great for some lettuces, kale, broccoli, and cabbage. Summer is best for tomato, okra, cucumber, and beans. Depending on when you choose to get started, this is an important decision.
Herbs for Cooking
The simplest way to get started with herbs is buying the initial starter plants from the garden center. Kitchen gardens can be grown in containers or in the ground. Pop the new herb in the ground or container and keep the soil moist, but well drained.
Rosemary is a perennial plant in many climates and will live for several years.
Basil does well in container or raised bed. The hotter, the better. It will produce leaves until flowering. Pinch the flowers and the plant will continue growing. Pesto is one of my favorites! Or a tomato, oil, mozzarella and basil sandwich.
Just Get Started
You’re going to fail a little bit, but learn and grow your first edible today!
What was your first edible plant? Let me know by emailing me elliott@mylandscapeguide.com .