The Lazy Man’s Way to Grow Apples…Choose Honeycrisp

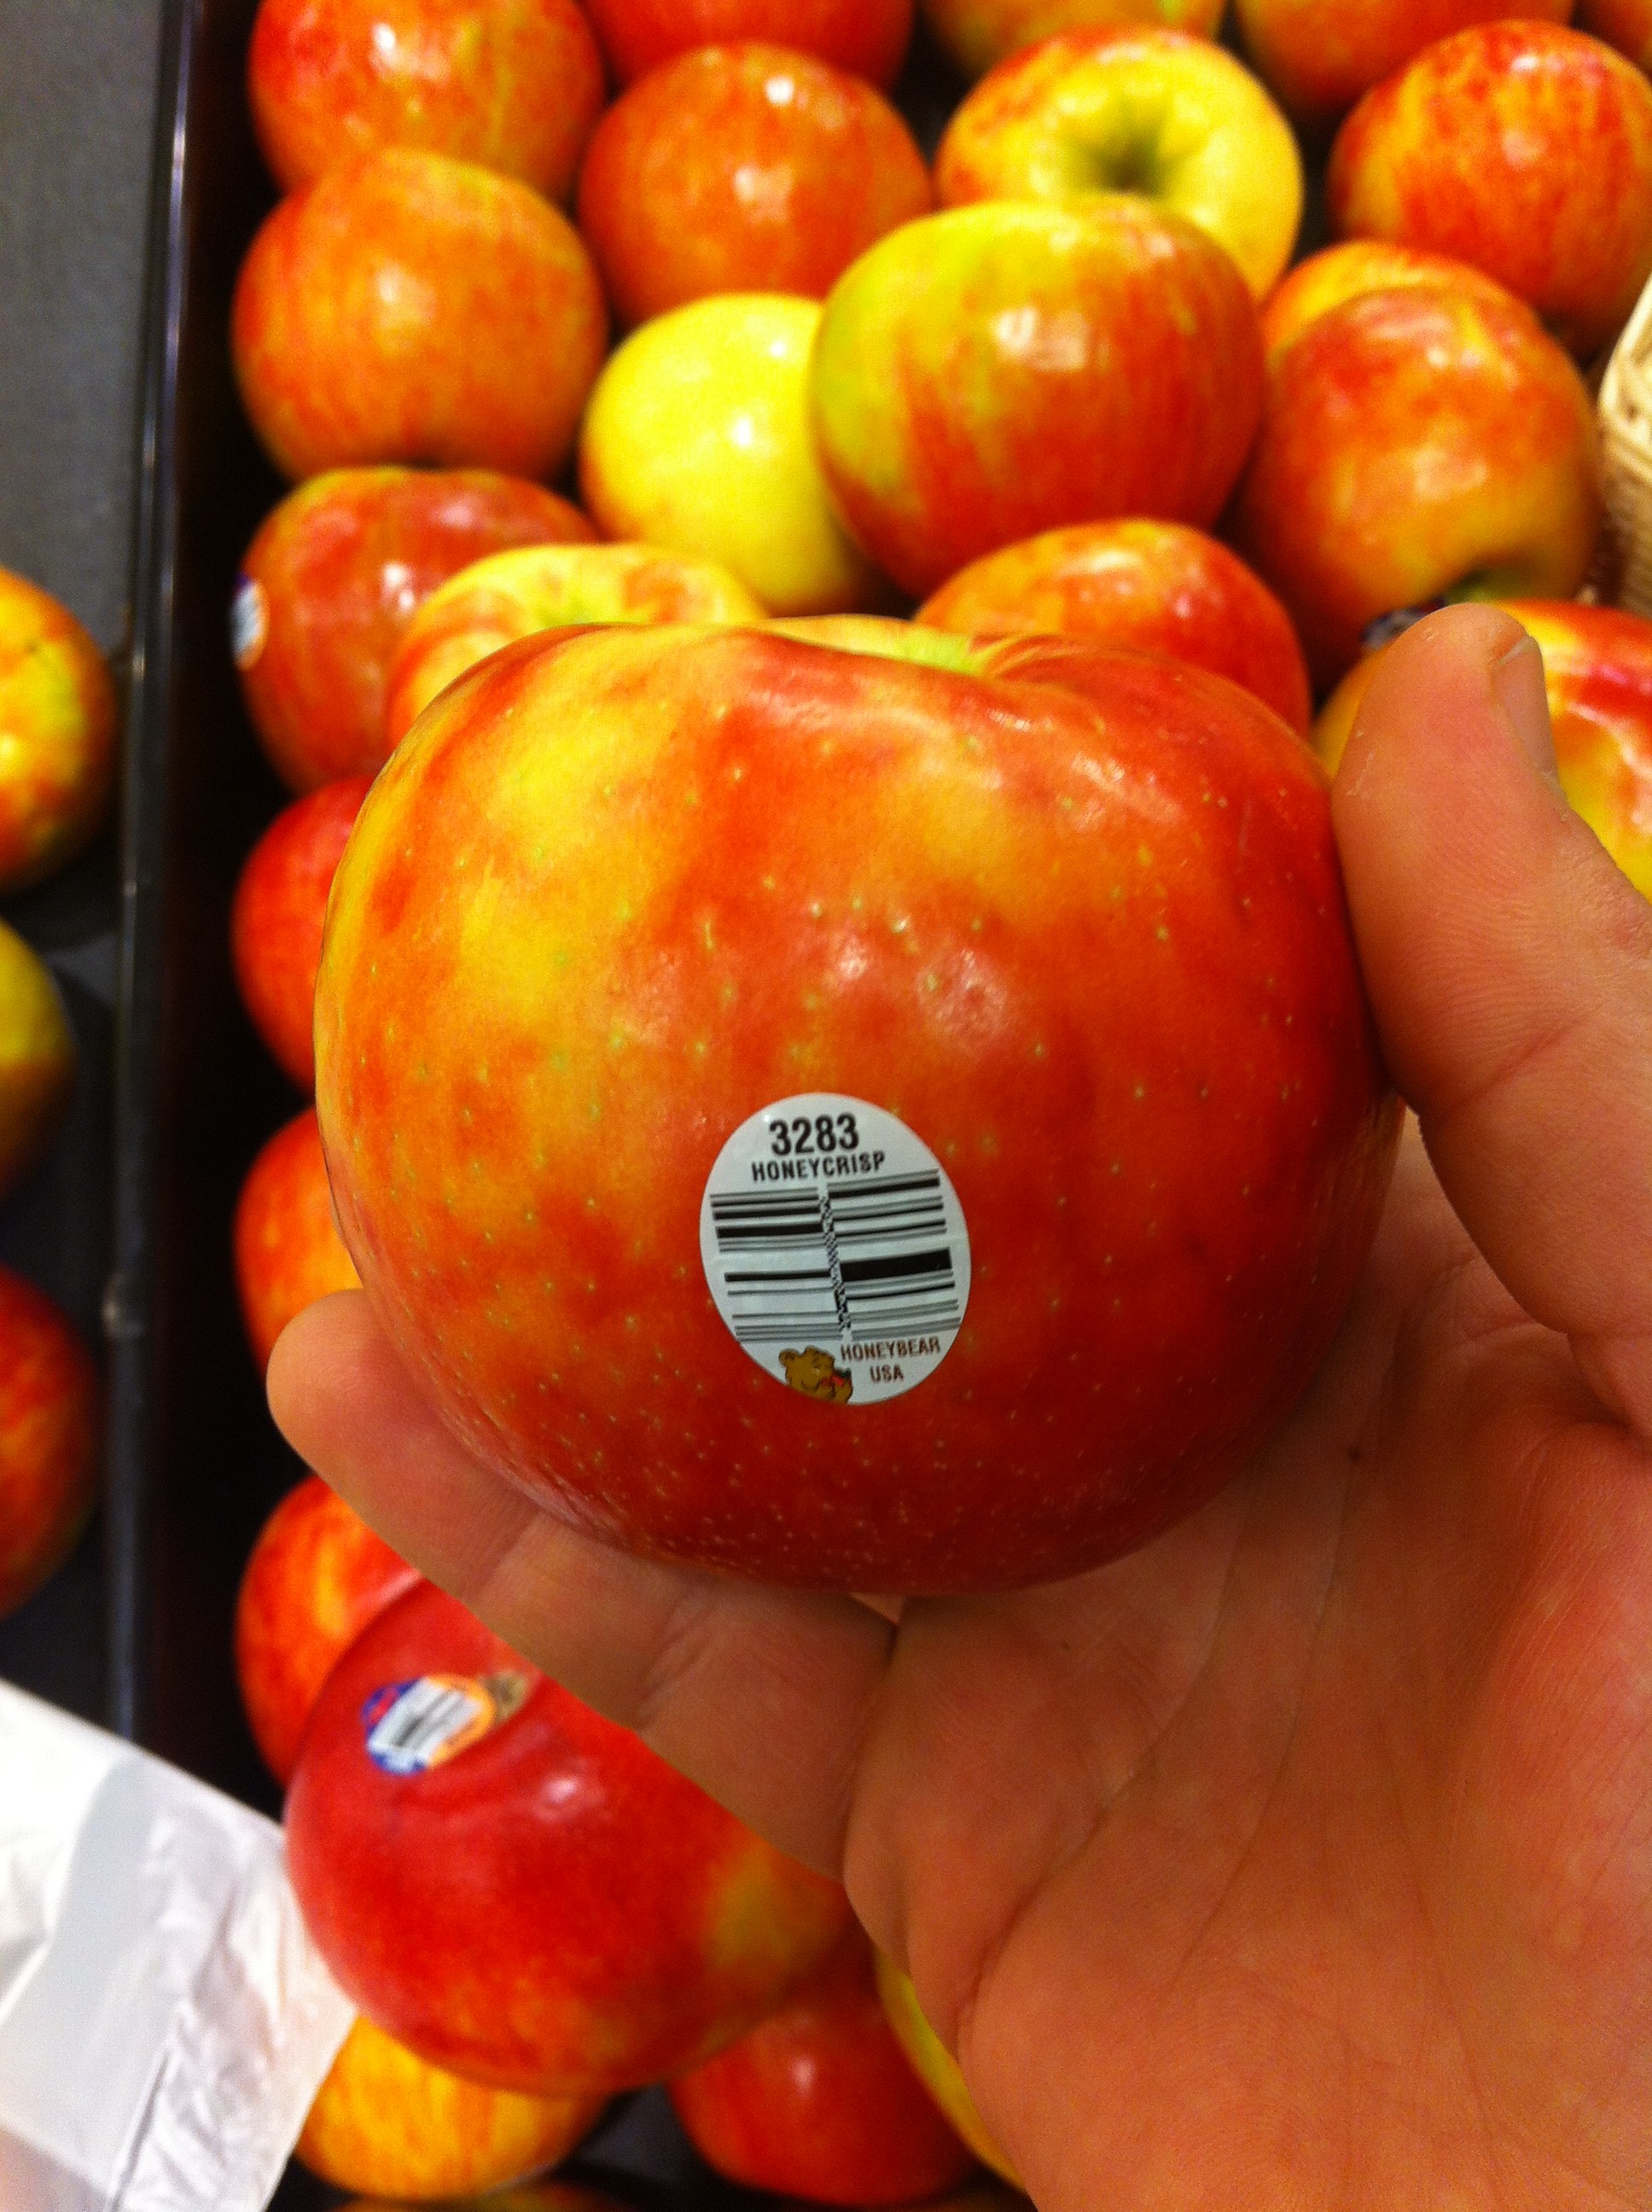
I remember the first time I bit into a Honeycrisp apple. The apple had a crisp, crunchy feel as I chewed. The skin was not too thick. The flavor was so sweet. Now here’s the best part…


Honeycrisp apple is the most insect and disease resistant apple on the market.


Honeycrisp Apple is the best choice for landscaping. Easy to grow, hard to find!

Honeycrisp Apple is the best choice for landscaping. Easy to grow, hard to find!


If you haven’t eaten a Honeycrisp apple, look for it in late Fall in your grocery store.

<

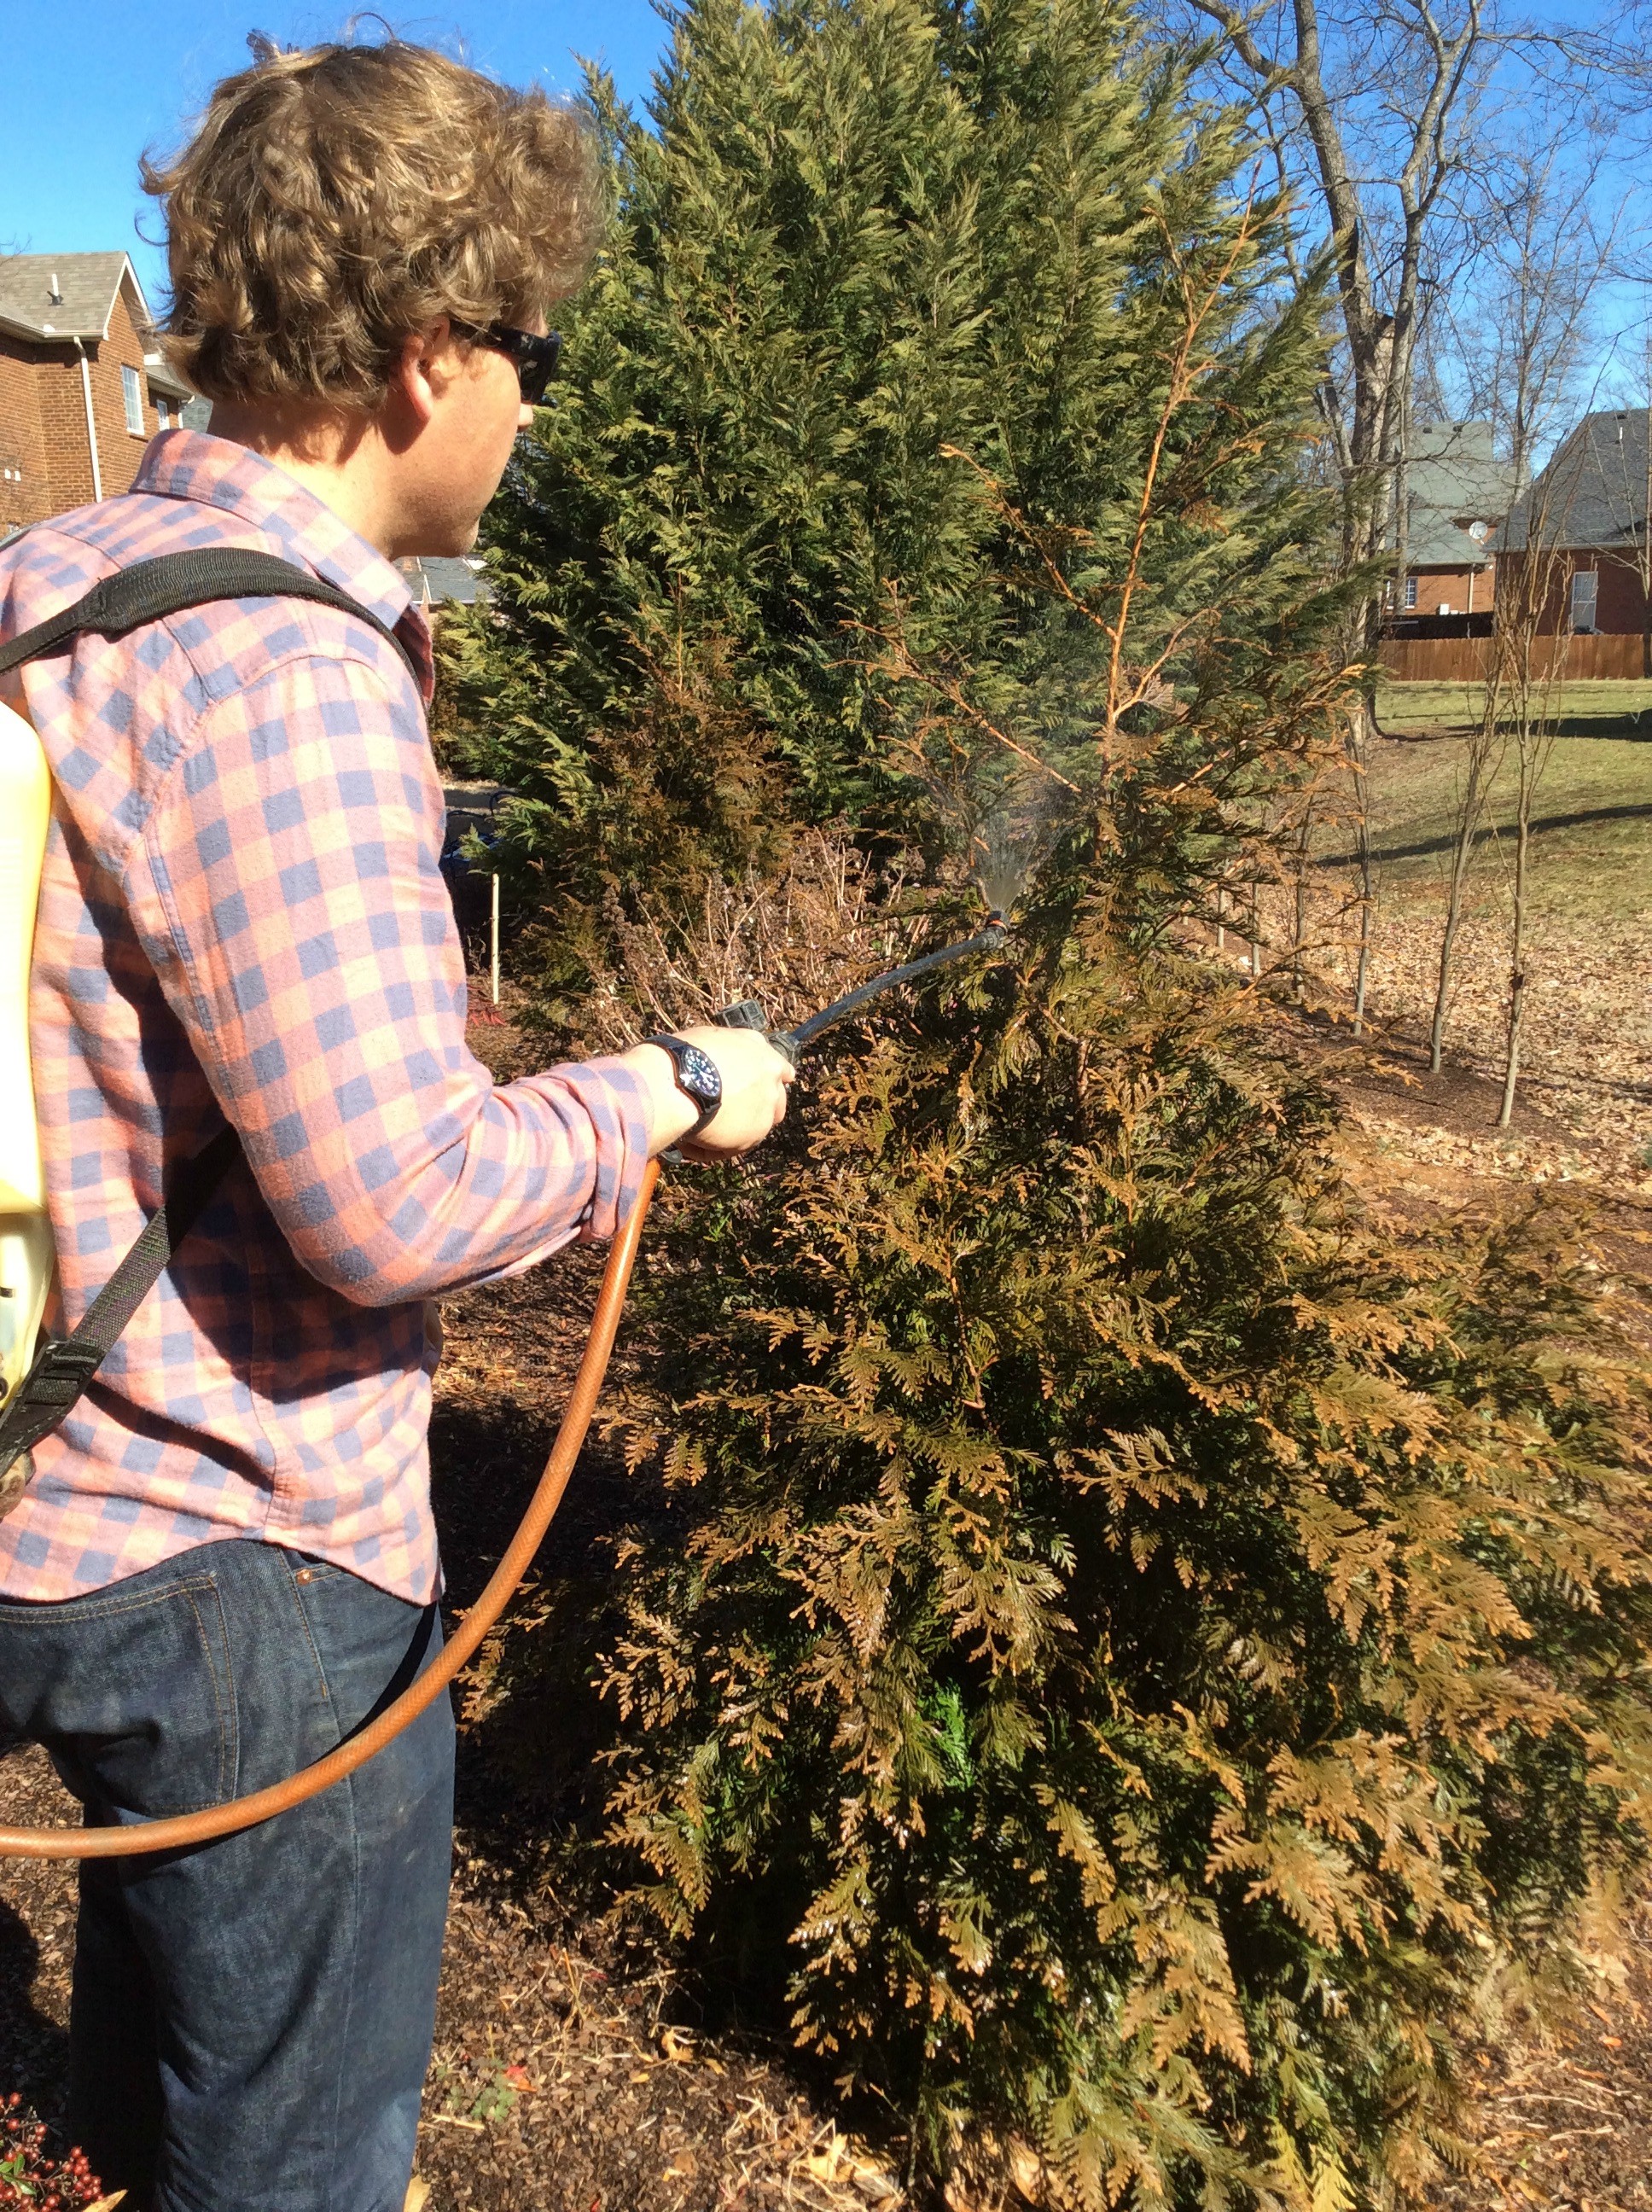
Honeycrisp is the best for your landscape because the bugs and disease won’t bother it. Imagine, shiny, beautiful apple leaves all Summer long with pretty red fruit. No cedar apple rust, no fireblight, just a few aphids.


Honeycrisp apple was developed by the Univ. of Minnesota, so it’s cold hardy No need to worry about it dying on you when the temp. drops to zero.


I have seen fruit growing on very young trees. This variety will definitely bear fruit at a young age.

How big does Honeycrisp get? It depends on the rootstock. Rootstock means the roots are a different plant than the Honeycrisp Top. They are grafted together. For the largest plant, graft a Honeycrisp onto a Malus domestica rootstock. Expect Honeycrisp to get 10 ft to 15 ft tall if you don’t prune it.


When to prune Honeycrisp? Late Winter, February or March, before the tree breaks dormancy. All apple trees should be pruned before they break dormancy.


Question: What is your favorite kind of apple tree? Please leave a comment below.

Get Rid of Your Mite Problems on Evergreens Once And For All…

Horticultural (hort) oil suffocates insect and mite eggs when applied in the Winter. Mites and insects cannot become resistant to suffocation like they can with other chemicals. It’s also cost effective because the oil is inexpensive. Finally, lower Winter temperatures mean there is no sweating through this task!


Apply hort. oil in Feb-March to your evergreens to kill pest eggs.

Apply hort. oil in Feb-March to your evergreens to kill pest eggs.

I’ve been applying oil on my evergreen trees and shrubs since February 2007. Emerald Green Arborvitae is susceptible to the the two-spotted spider mite. It’s expensive and difficult to kill the mite during the Summer growing season. Prevent insect and mite problems by killing the population before it becomes damaging.

Disclaimer: read the label or instructions. Don’t deviate from the instructions. Some oils hurt trees and shrubs if you apply them over a certain temperature. I have never had problems, but I always follow the instructions.

  1. Buy a pump sprayer or opt for a Solo brand backpack sprayer. You should apply dormant oil every Winter. February is a great month to do this. The days are getting longer so find the time on a weekend to coat your evergreen plants with oil.
  2. Purchase horticultural or dormant oil if applying in Winter. There is refined hort. oil for Summer applications that may be more expensive.
  3. Spray under the needles and broadleaves. Mite and insect eggs will certainly exist there. Spray the bottoms of the needles by flipping the spray wand upside down and make a up and down motion with your arm.
  4. Covering every needle and leaf is essential. Leaving gaps allows the insect or mite eggs to survive. Take your time and coat everything well until droplets form.
  5. Rinse the tank with clean water. Avoid using the same pump sprayer or backpack sprayer with herbicides.


Question: What landscape plants do you have insect or disease problems with?

Right and Wrong Plant Install Methods – And Little Pointers That Will Increase Your Success

A beautiful tree is bought and installed the same day. Two weeks (or two months) later the leaves are wilting or the needles are turning brown. What happened?

Hollywood Juniper under transplant shock. The soil root ball was incorrectly installed.

Hollywood Juniper under transplant shock. The soil root ball was incorrectly installed.

The plant is in transplant shock. What?

When it was planted or transplanted, something happened that increased plant stress tremendously. Wait, stress, shock, is this even real?

Yes, it sounds funny, but transplant shock happens on some level every time a plant is installed. The roots are happy before the install process occurs and become stressed when water in not applied regularly.

Think about it… plants are not designed to be moved!

Most transplant shock occurs from under-watering. If the roots aren’t happy and moist, then the entire plant suffers. It may take weeks of under-watering or incorrect watering techniques to become apparent. At that point of visual contact and confirmation, it may be too late.

Here’s how to avoid transplant shock.
  • Start with a healthy plant. If the tree or shrub is wilted or looks sick at the garden center, don’t buy it.
  • Dig a proper hole. That means two times wider than the root ball. Try to dig and install just one plant a day if you have a large project. Don’t get in a hurry here. I have stunted more plants because I became exhausted and cut corners.
  • Install correctly. Remove the container (plastic pot) if applicable. If the tree is wrapped in burlap and/or a wire basket, DO NOT REMOVE. The burlap and basket protect the delicate roots from further stress. Apply appropriate amounts of water. You can’t over-water at the point of install. Make a moat!
  • Add mycorrhizae at planting time. Mix with water for greatest effectiveness.
  • Check the root ball every day for moisture with your finger. If needed, soak the root system.

If you follow the guidelines above, you’ll succeed 99% of the time. Good luck!

Question: What install methods have you found to be the most effective? Let me know on Facebook