Landscape Design Principle #2 – Line

Have you ever noticed how sidewalks or buildings draw your eye?

line

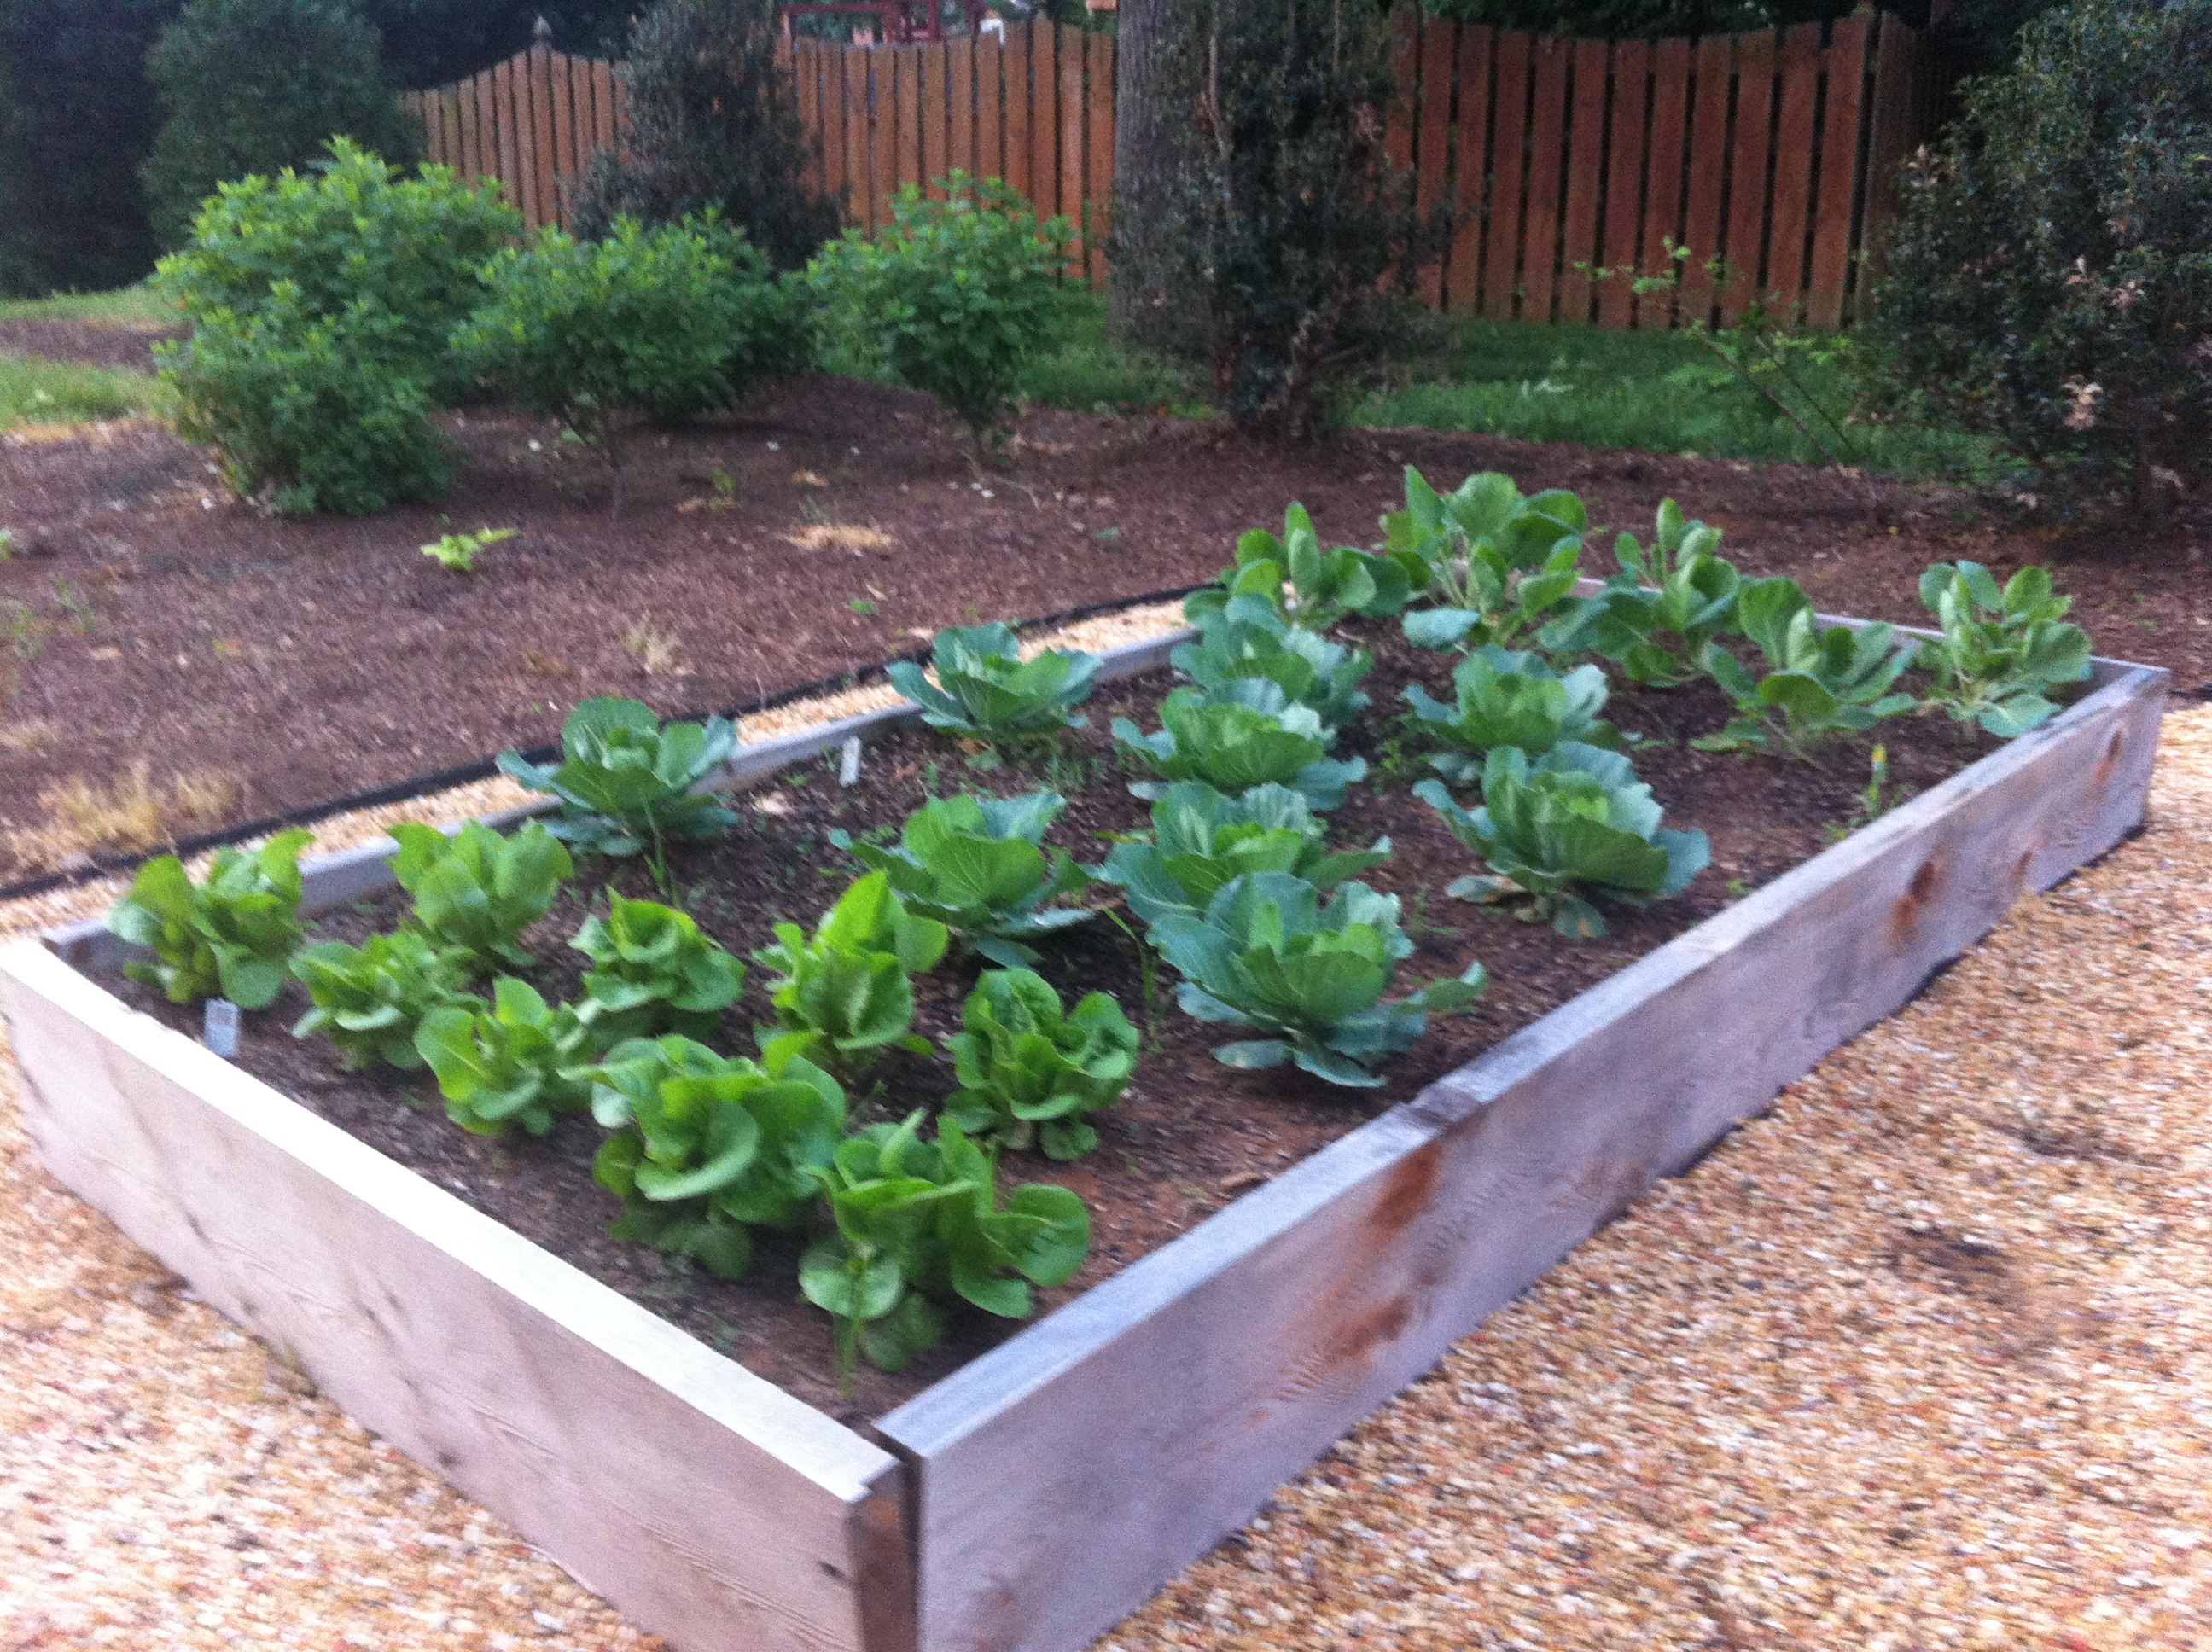
This raised beds creates a sharp Line between the soil and the footpath. The sharp Line creates a clean look.

You just follow the edge, unconsciously, seeing where it leads.

Line is a landscape design principle because it’s inherent in our nature. We want excitement and uniformity at the same time!

How Pros Use Line to Create Great Landscapes
  • Sidewalks and Pathways: It’s common to see straight edges formed by stone, concrete, etc. Typically these paths lead to a focal point.
  • Vertical Lines from Trees: Trees form different kinds of Line based on their natural shape. There are several tree shapes ranging from round, to oval, and columnar. Mixing your shapes creates interest and keeps the landscape from seeming like a fortress. If you want privacy, you want more upright lines.
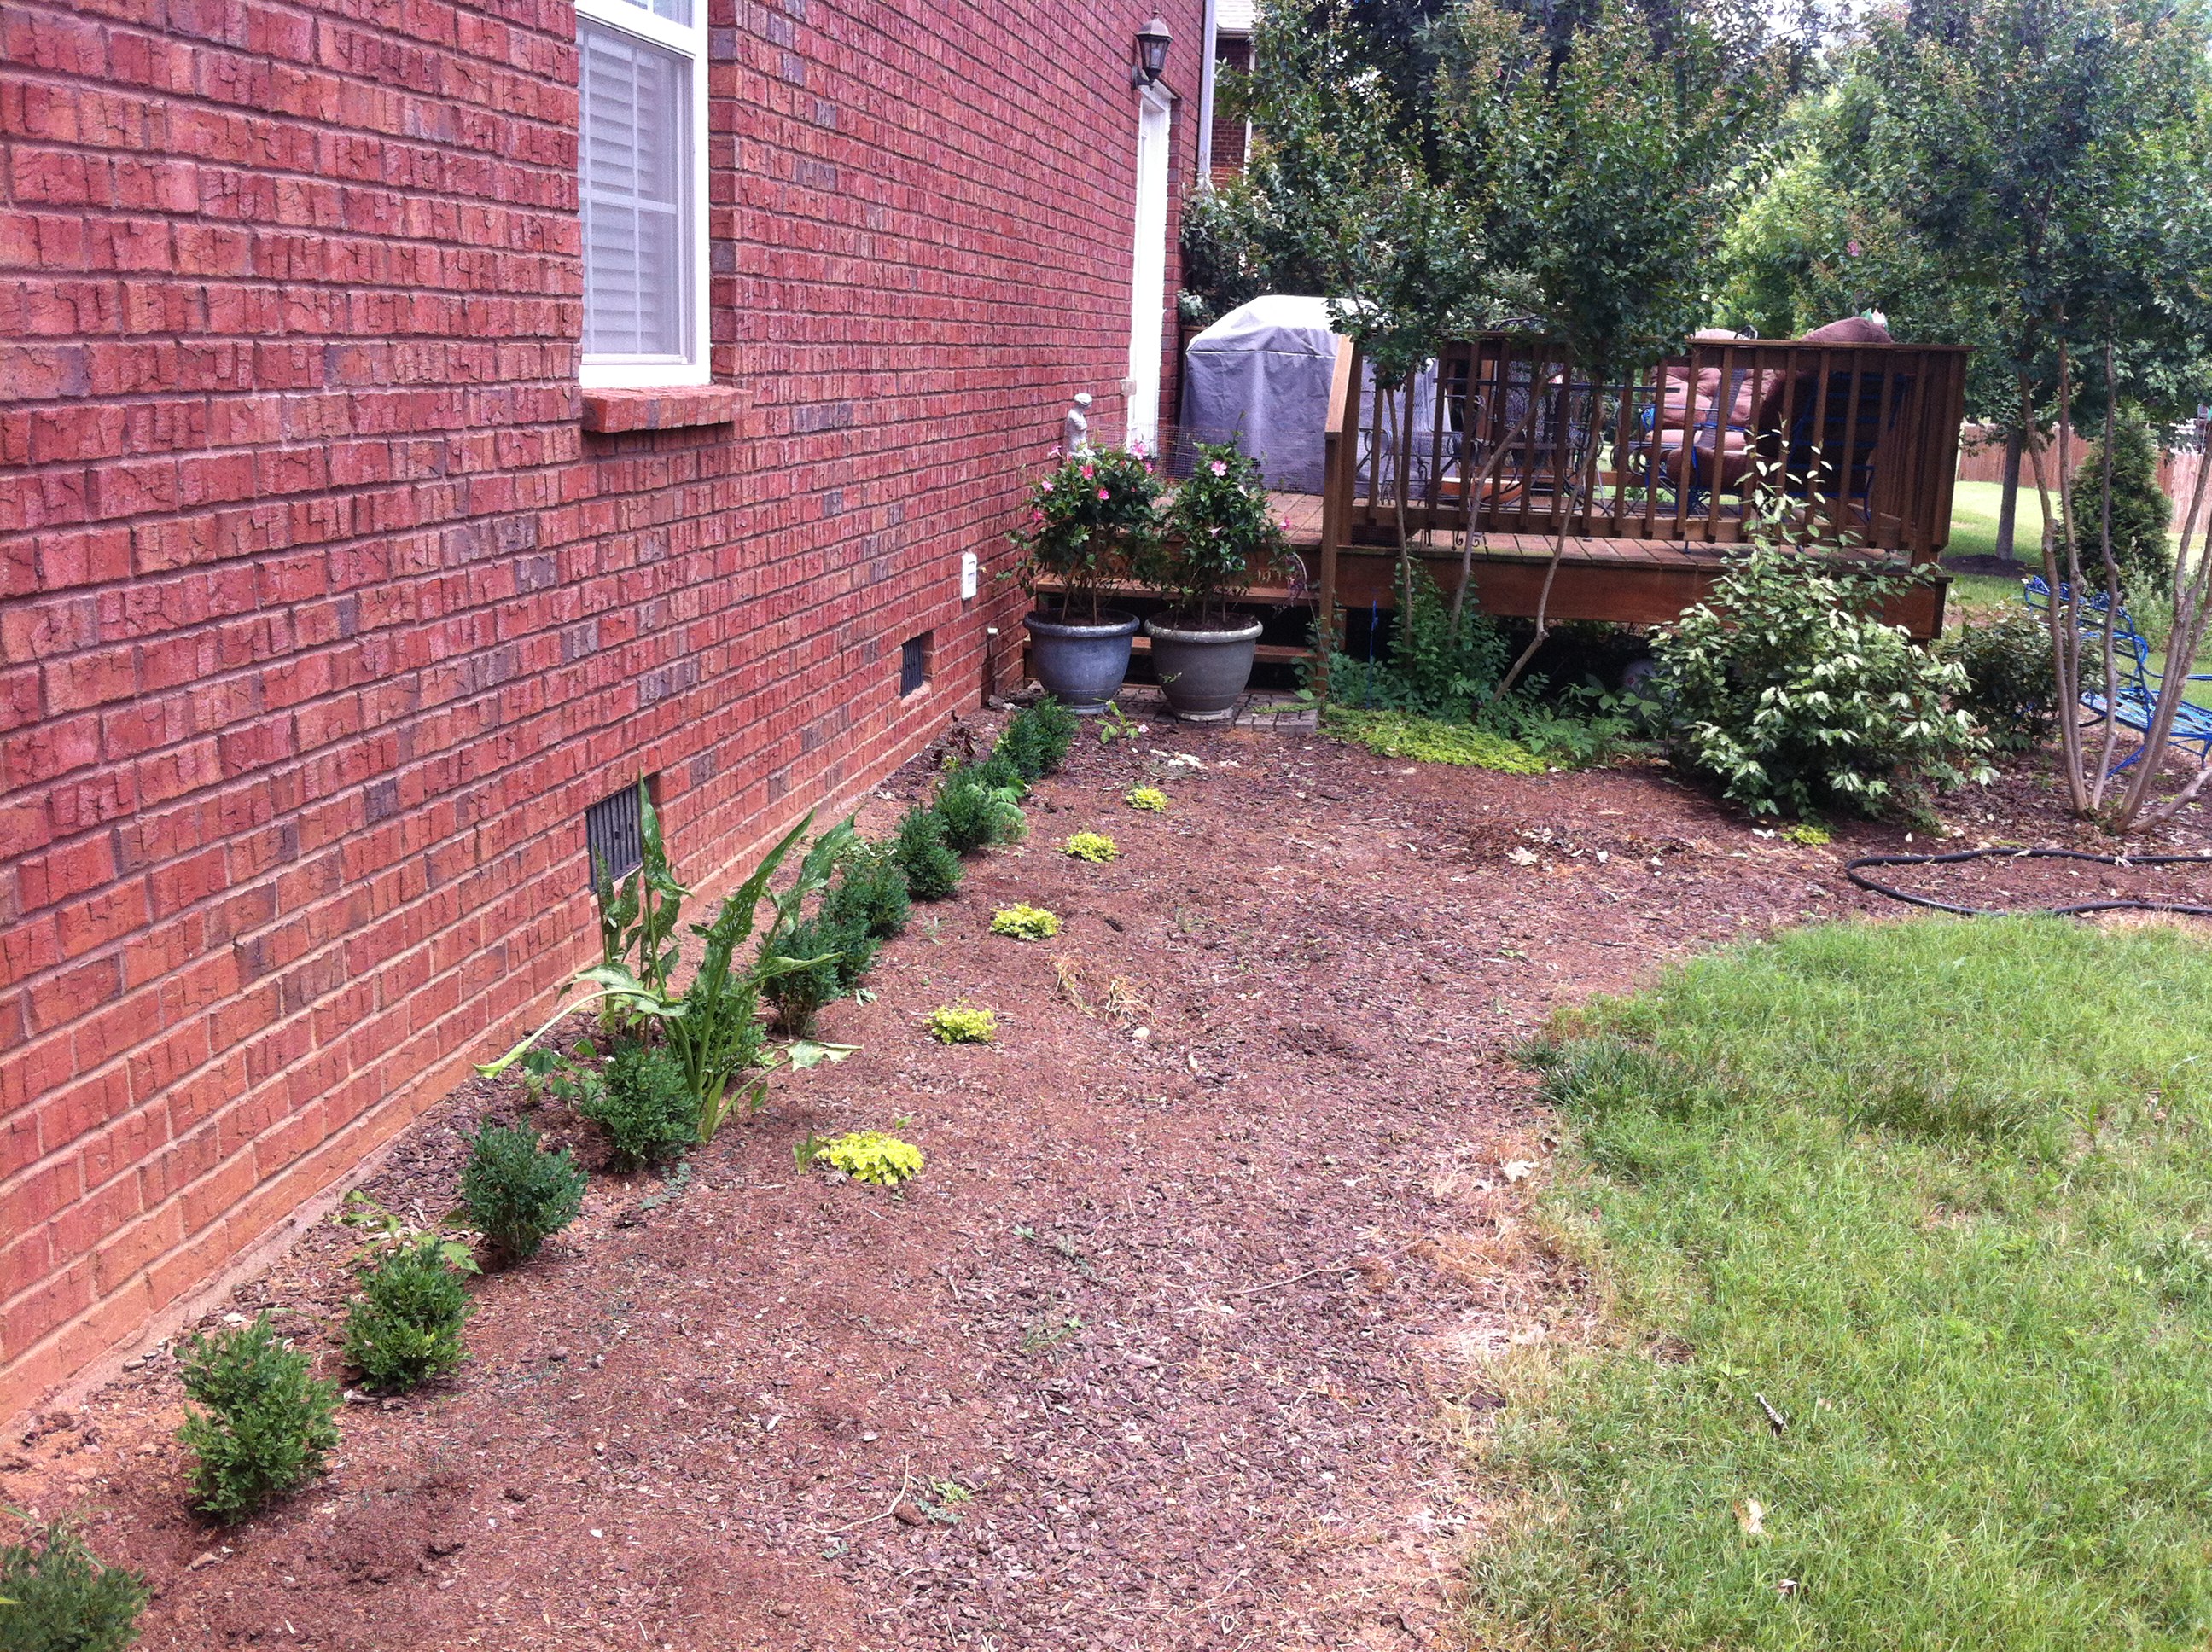
  • Architectural Lines from Your Home: Matching the forms of your home’s gables and roof lines creates uniformity and is pleasing to the eye.
Lime Yellow is a hot color that catches the eye.

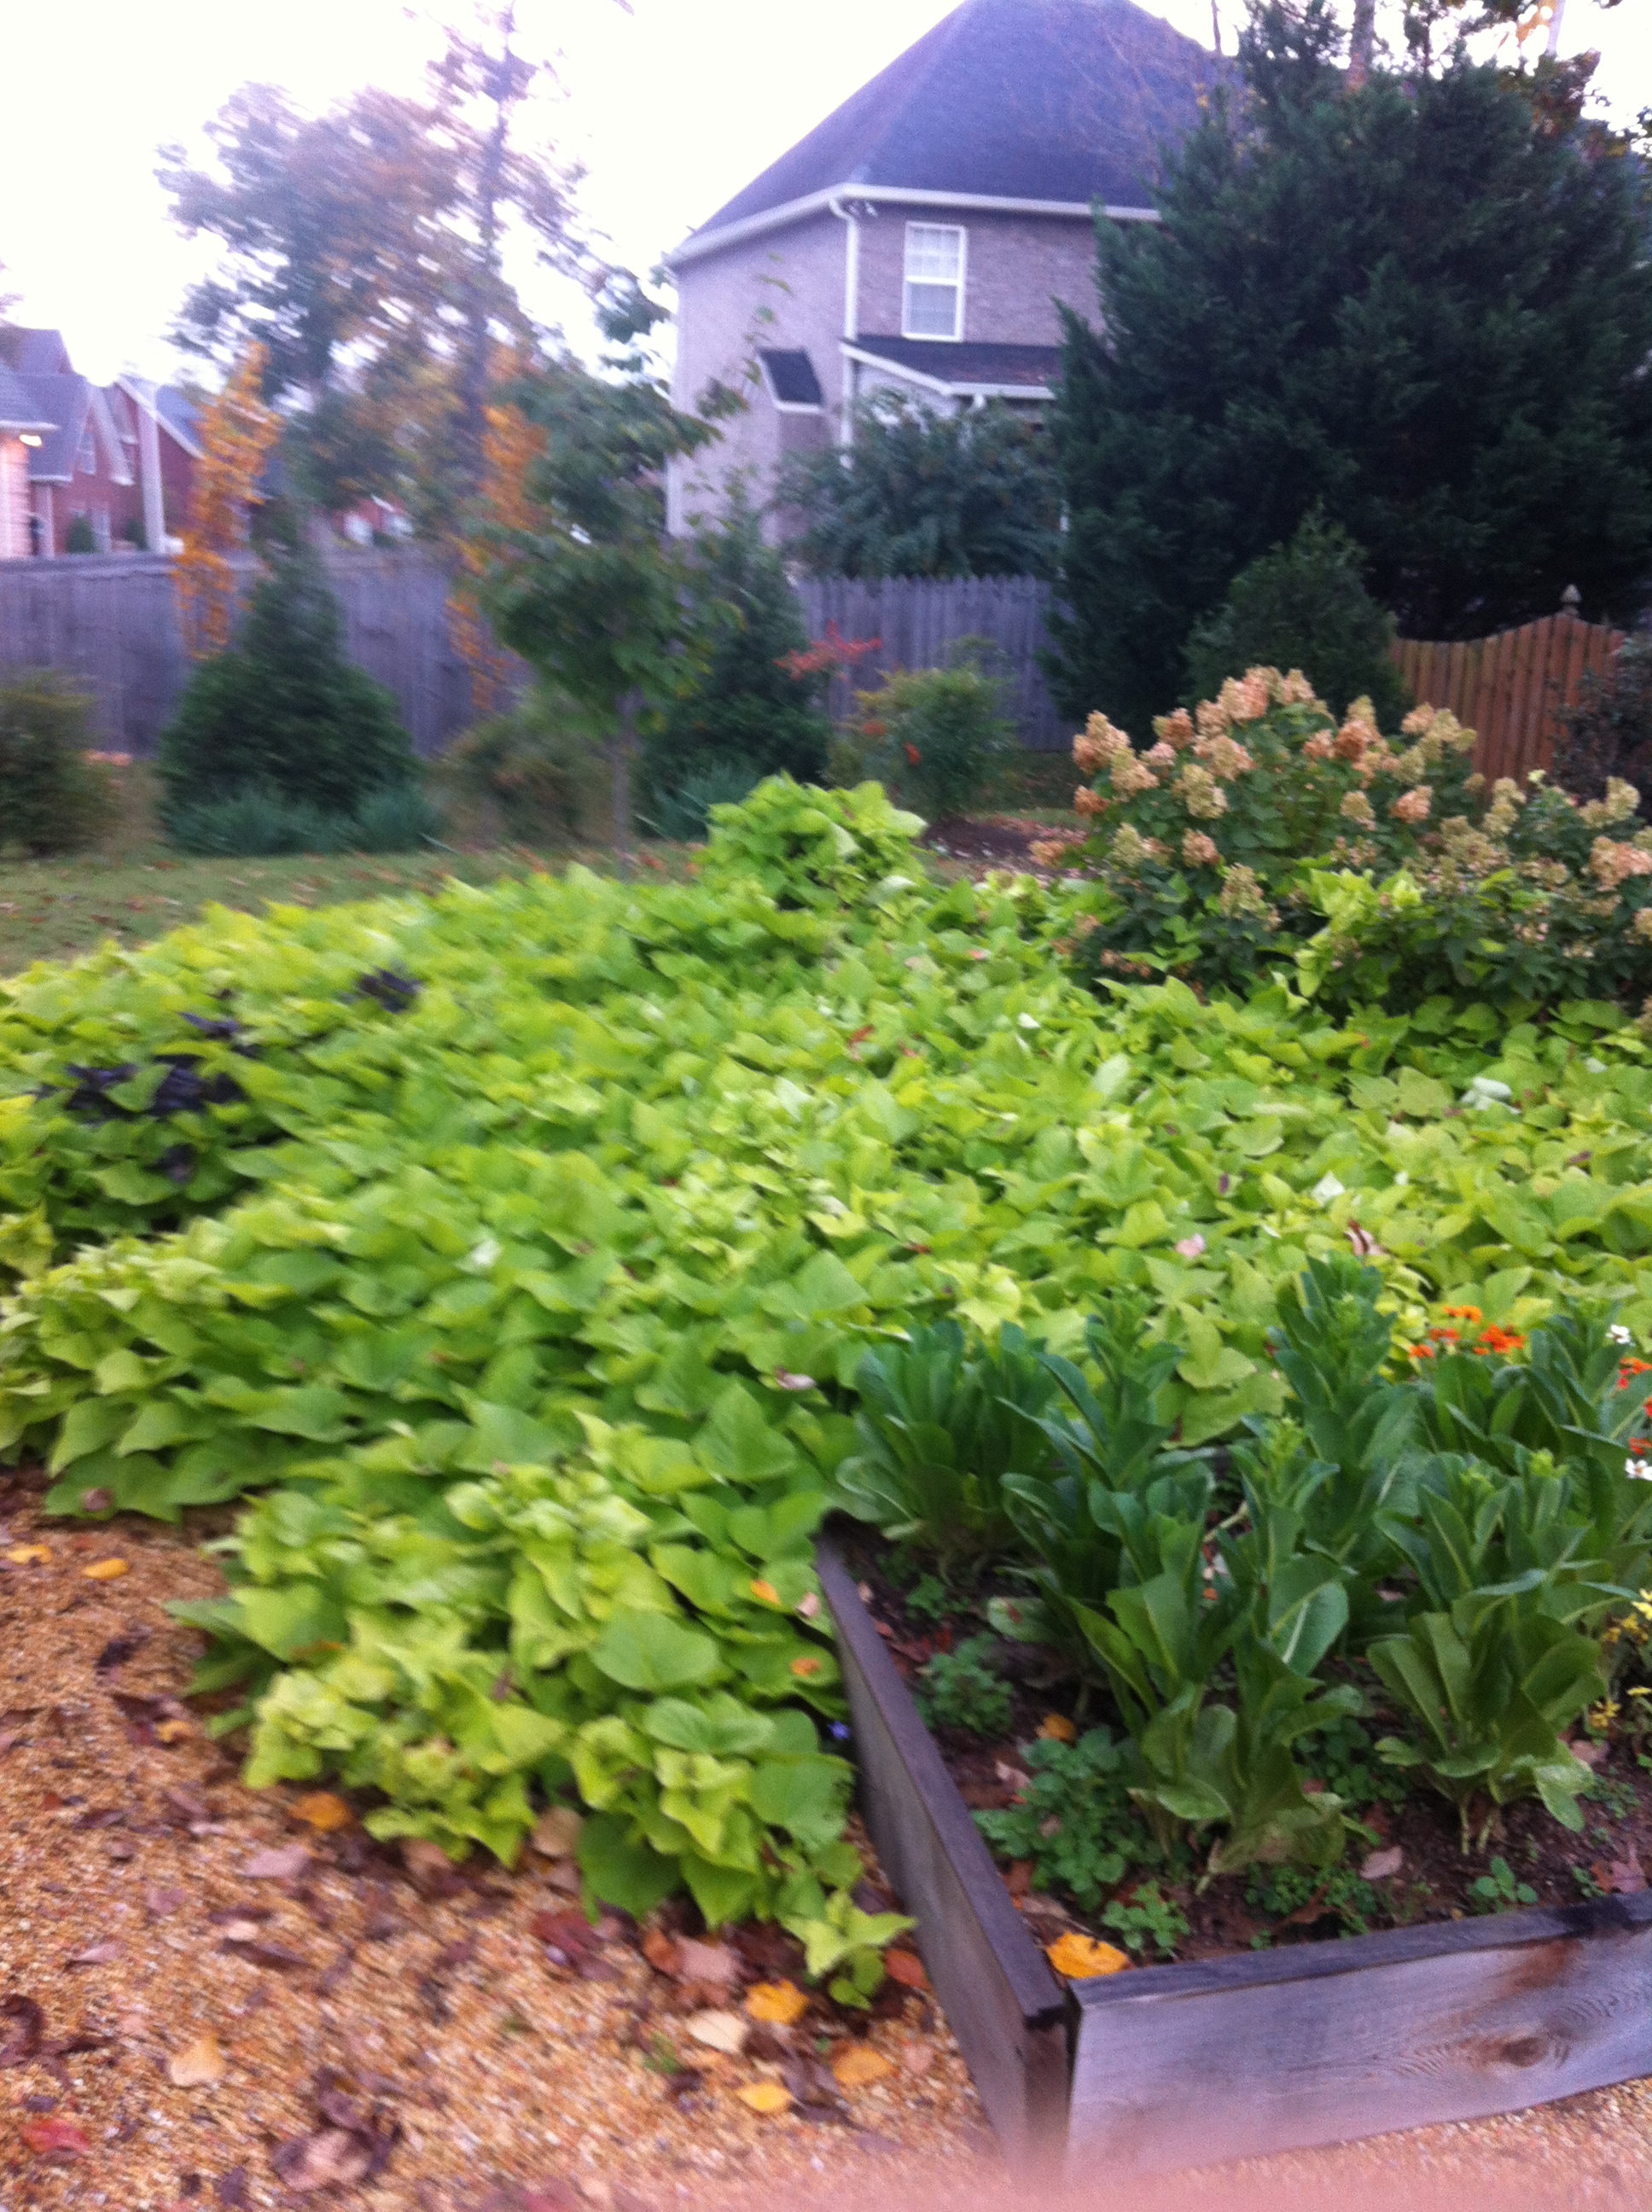
The sweet potato vine softens Line with the raised beds and evergreen trees in the background.

How You Can Get Started Right Now
  • Are you starting from scratch? Is your home new? If yes, then think about trees first. They take up the most space and create the most vertical Line.
  • Do you already have a mature landscape? If so, think about trimming branches in trees or adding shrubs that add different lines like a Grey Owl Juniper (Juniperus ‘Grey Owl’), New Zealand Flax (Phormium), or any ornamental grass. All add different kinds of Line to your landscape.
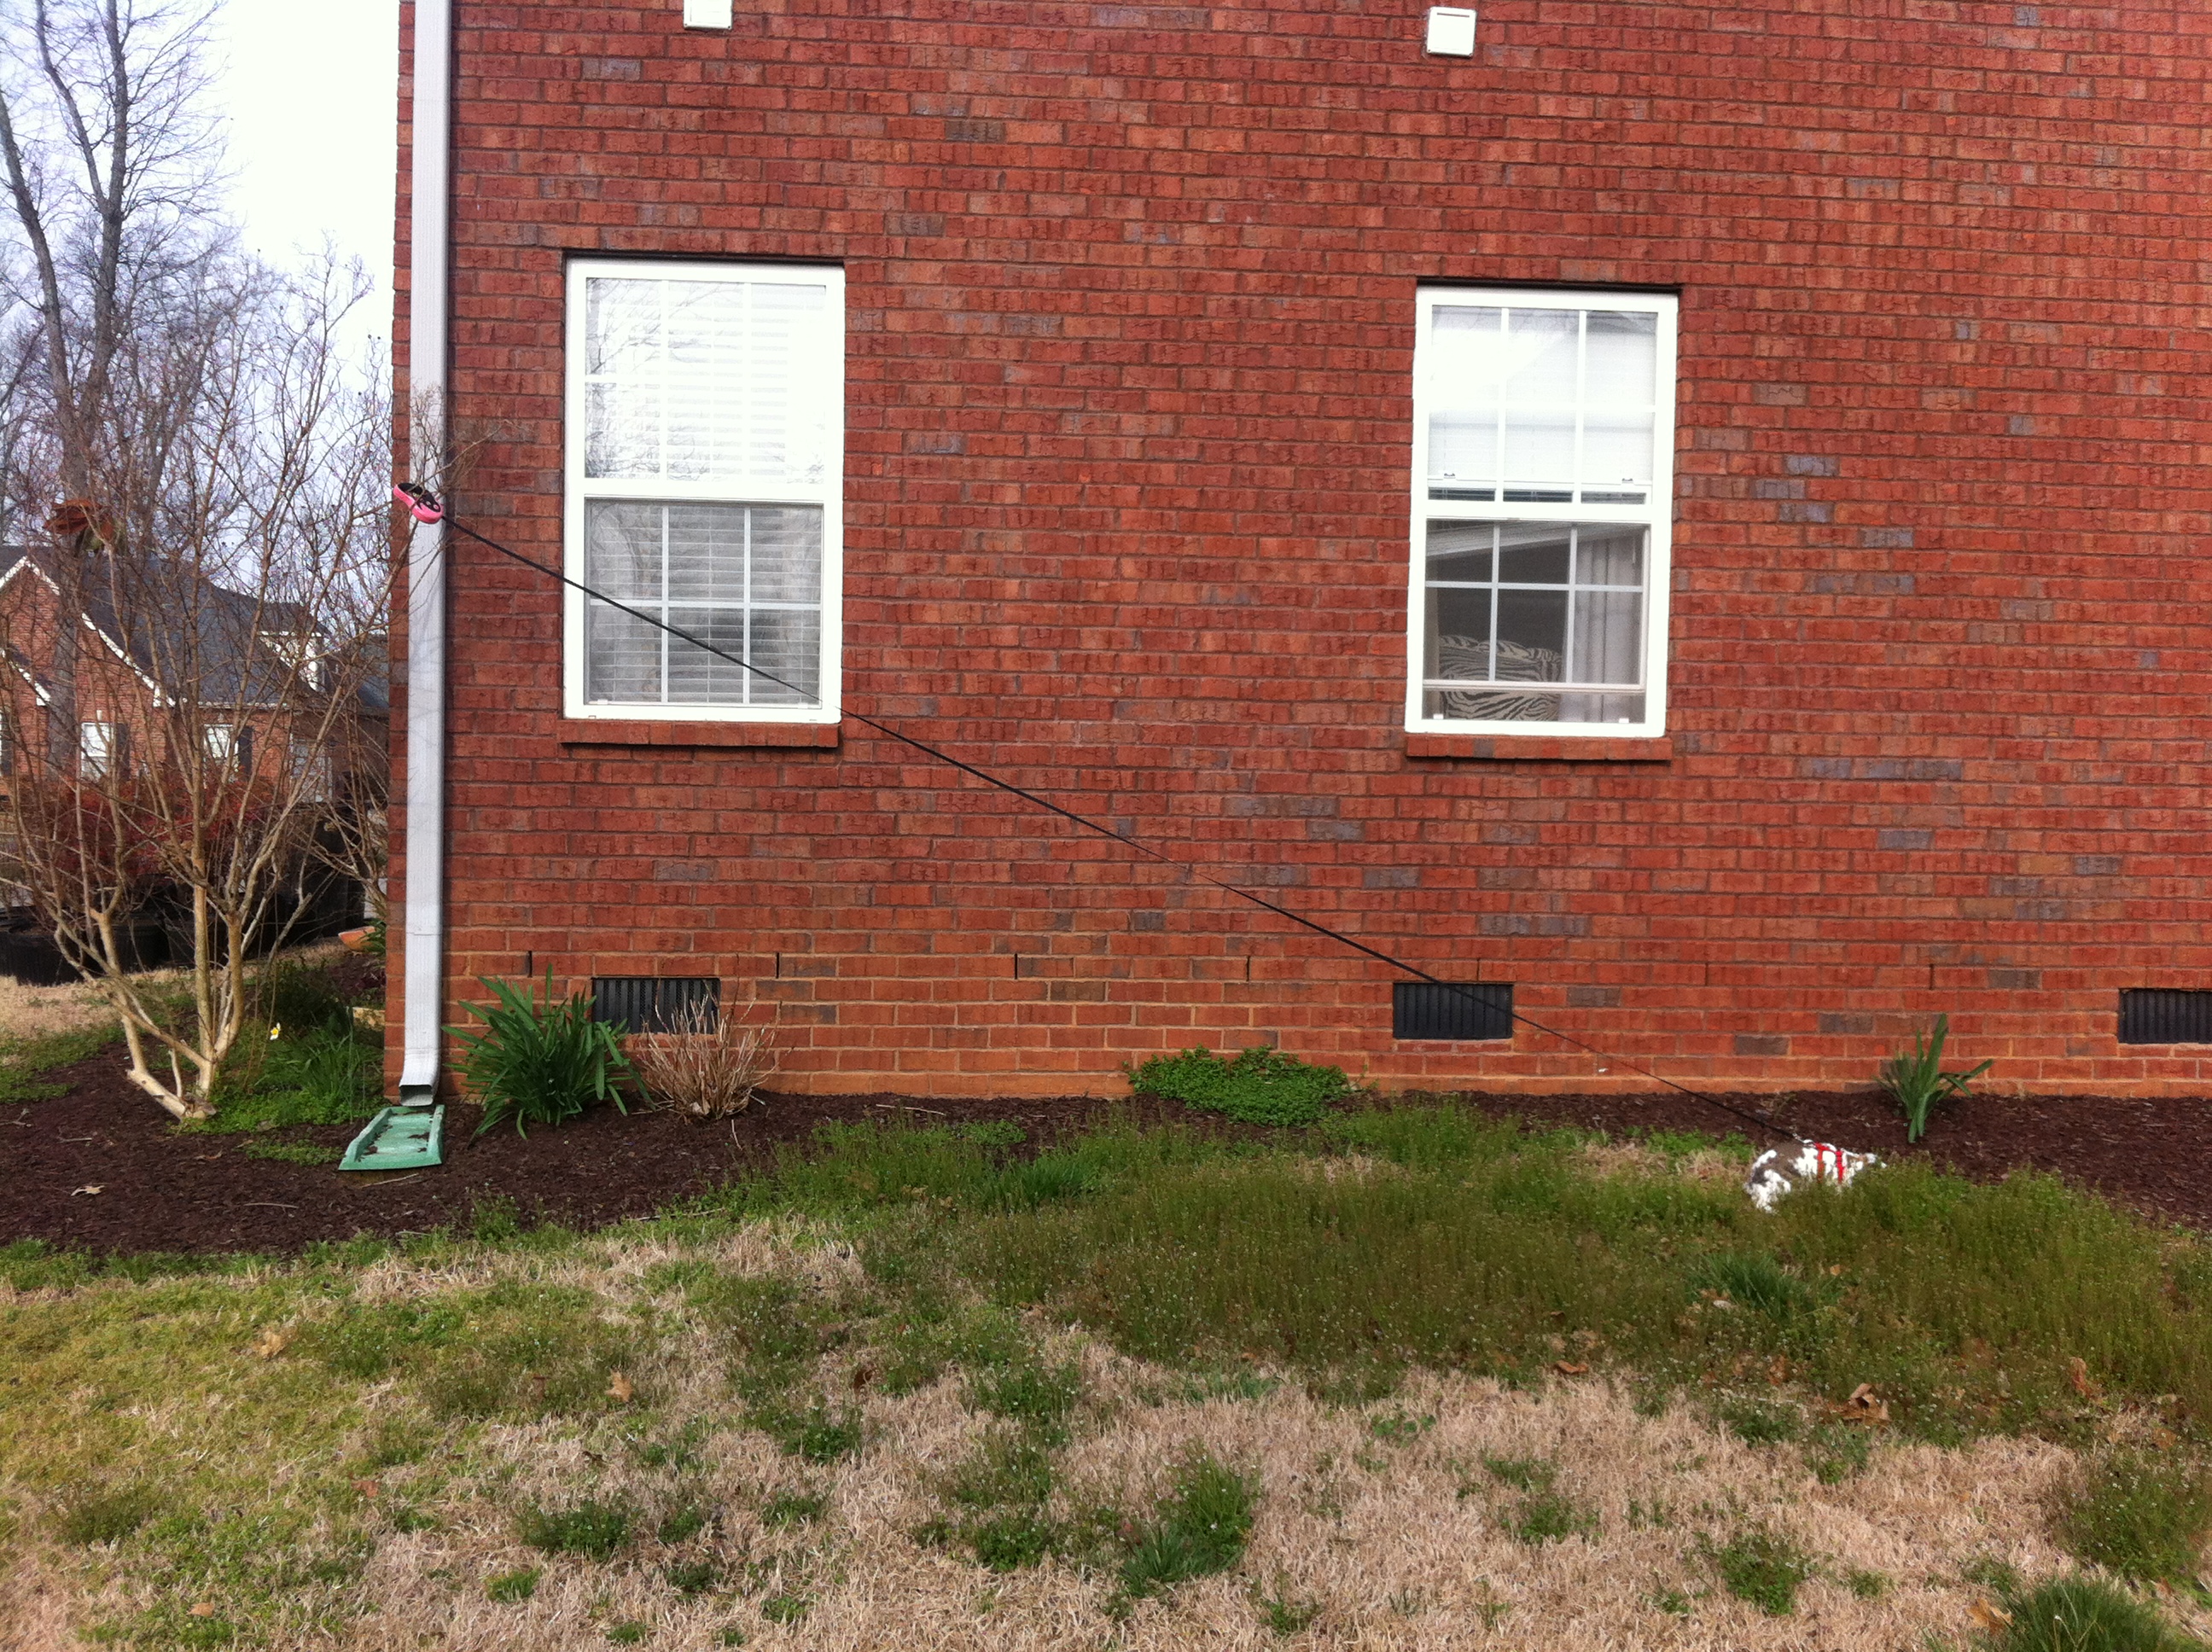
  • Edge your existing beds. Use mulch to create a sharp contrast with your lawn or driveway, or use an edging tool to dig a narrow trench between the bed and your lawn.


Instant Success – How to Take a Soil Test

Why do you even care? You’re busy, right!?Soil Test Warning

Soil tests tell you exactly what your lawn, landscape, or soil is missing. Add the proper ingredients and your patch will thank you by looking great!

Soil tests are used by the pros, because they work!

You Probably Know Your Problem Area

If you definitely have bad soil in one spot and better soil in other places, consider two soil samples for lab analysis. I recently paid $8.50 for each sample with a 10 day result. Call your local farm extension office for options.

Where To Buy

I have never bought soil testing equipment online. I don’t endorse any soil testing kit sold online. Just send your soil off to a pro lab through professional networks.

Your local agriculture extension office will know where to go. If you have a local farm store, they will know what to do. You may have a farmer’s co-op in the area, they’ll have an answer.

Step by Step
  • Scrape the vegetation (grass, etc.) away from the hole. You don’t want grass or any organic matter in the sample, just soil. Organic matter like grass will skew your lab results.
  • Dig a small round hole 6 in. deep. Place the backfill soil away so it doesn’t mix with your sample.
  • Shave the edges of the hole with a trowel or spade and use as your sample.
  • Place the soil sample in two (double-bagged) plastic grocery bags to prevent spillage in the car.
  • Dig two more holes and repeat (Optional, but recommended).
  • Follow any additional instructions on soil test bag.
Understanding Your Soil Test Results
  • Actual soil test results. Notice the recommendations at the bottom based on pounds (lbs.) per 1000 sq. ft.

Your results will describe the amount of Nitrogen, Phosphorous, Potassium, etc. This is why you buy the soil test from a farm store. They will know how to interpret the results and have the ingredients you need to fix your soil.

For example, say you want green grass. You get a soil test. It shows low magnesium and calcium. You add limestone in the proper amount, the soil pH changes, and your grass looks brilliant.

If you get a soil test and need help with the results, please contact me on the Facebook page and I’ll do all I can to help you succeed!

What is the Best Season to Plant Landscape Trees and Shrubs and Why

The best season to plant trees and shrubs is Fall. Starting in late September until December or until the ground freezes.

If you’ve never planted a tree or shrub before, read this.

This foundation wall was planted Nov. 2013.

This foundation wall was planted Nov. 2013. (Before)

Green velvet boxwood transplanted Fall 2013.

Green velvet boxwood transplanted Fall 2013. (After six months)

Fall planting encourages the roots to grow into the new soil and get a head start for Spring. Fall soil temperature is higher than the air temperature so the roots will continue growing until Frost.

Less irrigation is needed during the fall and dormant season from December to March it’s almost nonexistent. That means less watering work.

What to do when installing in Fall

  • Mulch the plant with pine tree bark, fir bark, or pine straw. This helps lock in moisture
  • Make sure to back fill the hole with loose soil and irrigate the plant to eliminate air pockets
  • Check the soil moisture with your finger right on the root ball. It doesn’t matter anywhere else. Irrigate if needed.

The second best season is Spring, followed by Summer. During the growing season, more water is needed to help the plants through transplant shock toward establishment.

Heck, you can even plant during Winter. Just not when the ground is frozen. Get started today!