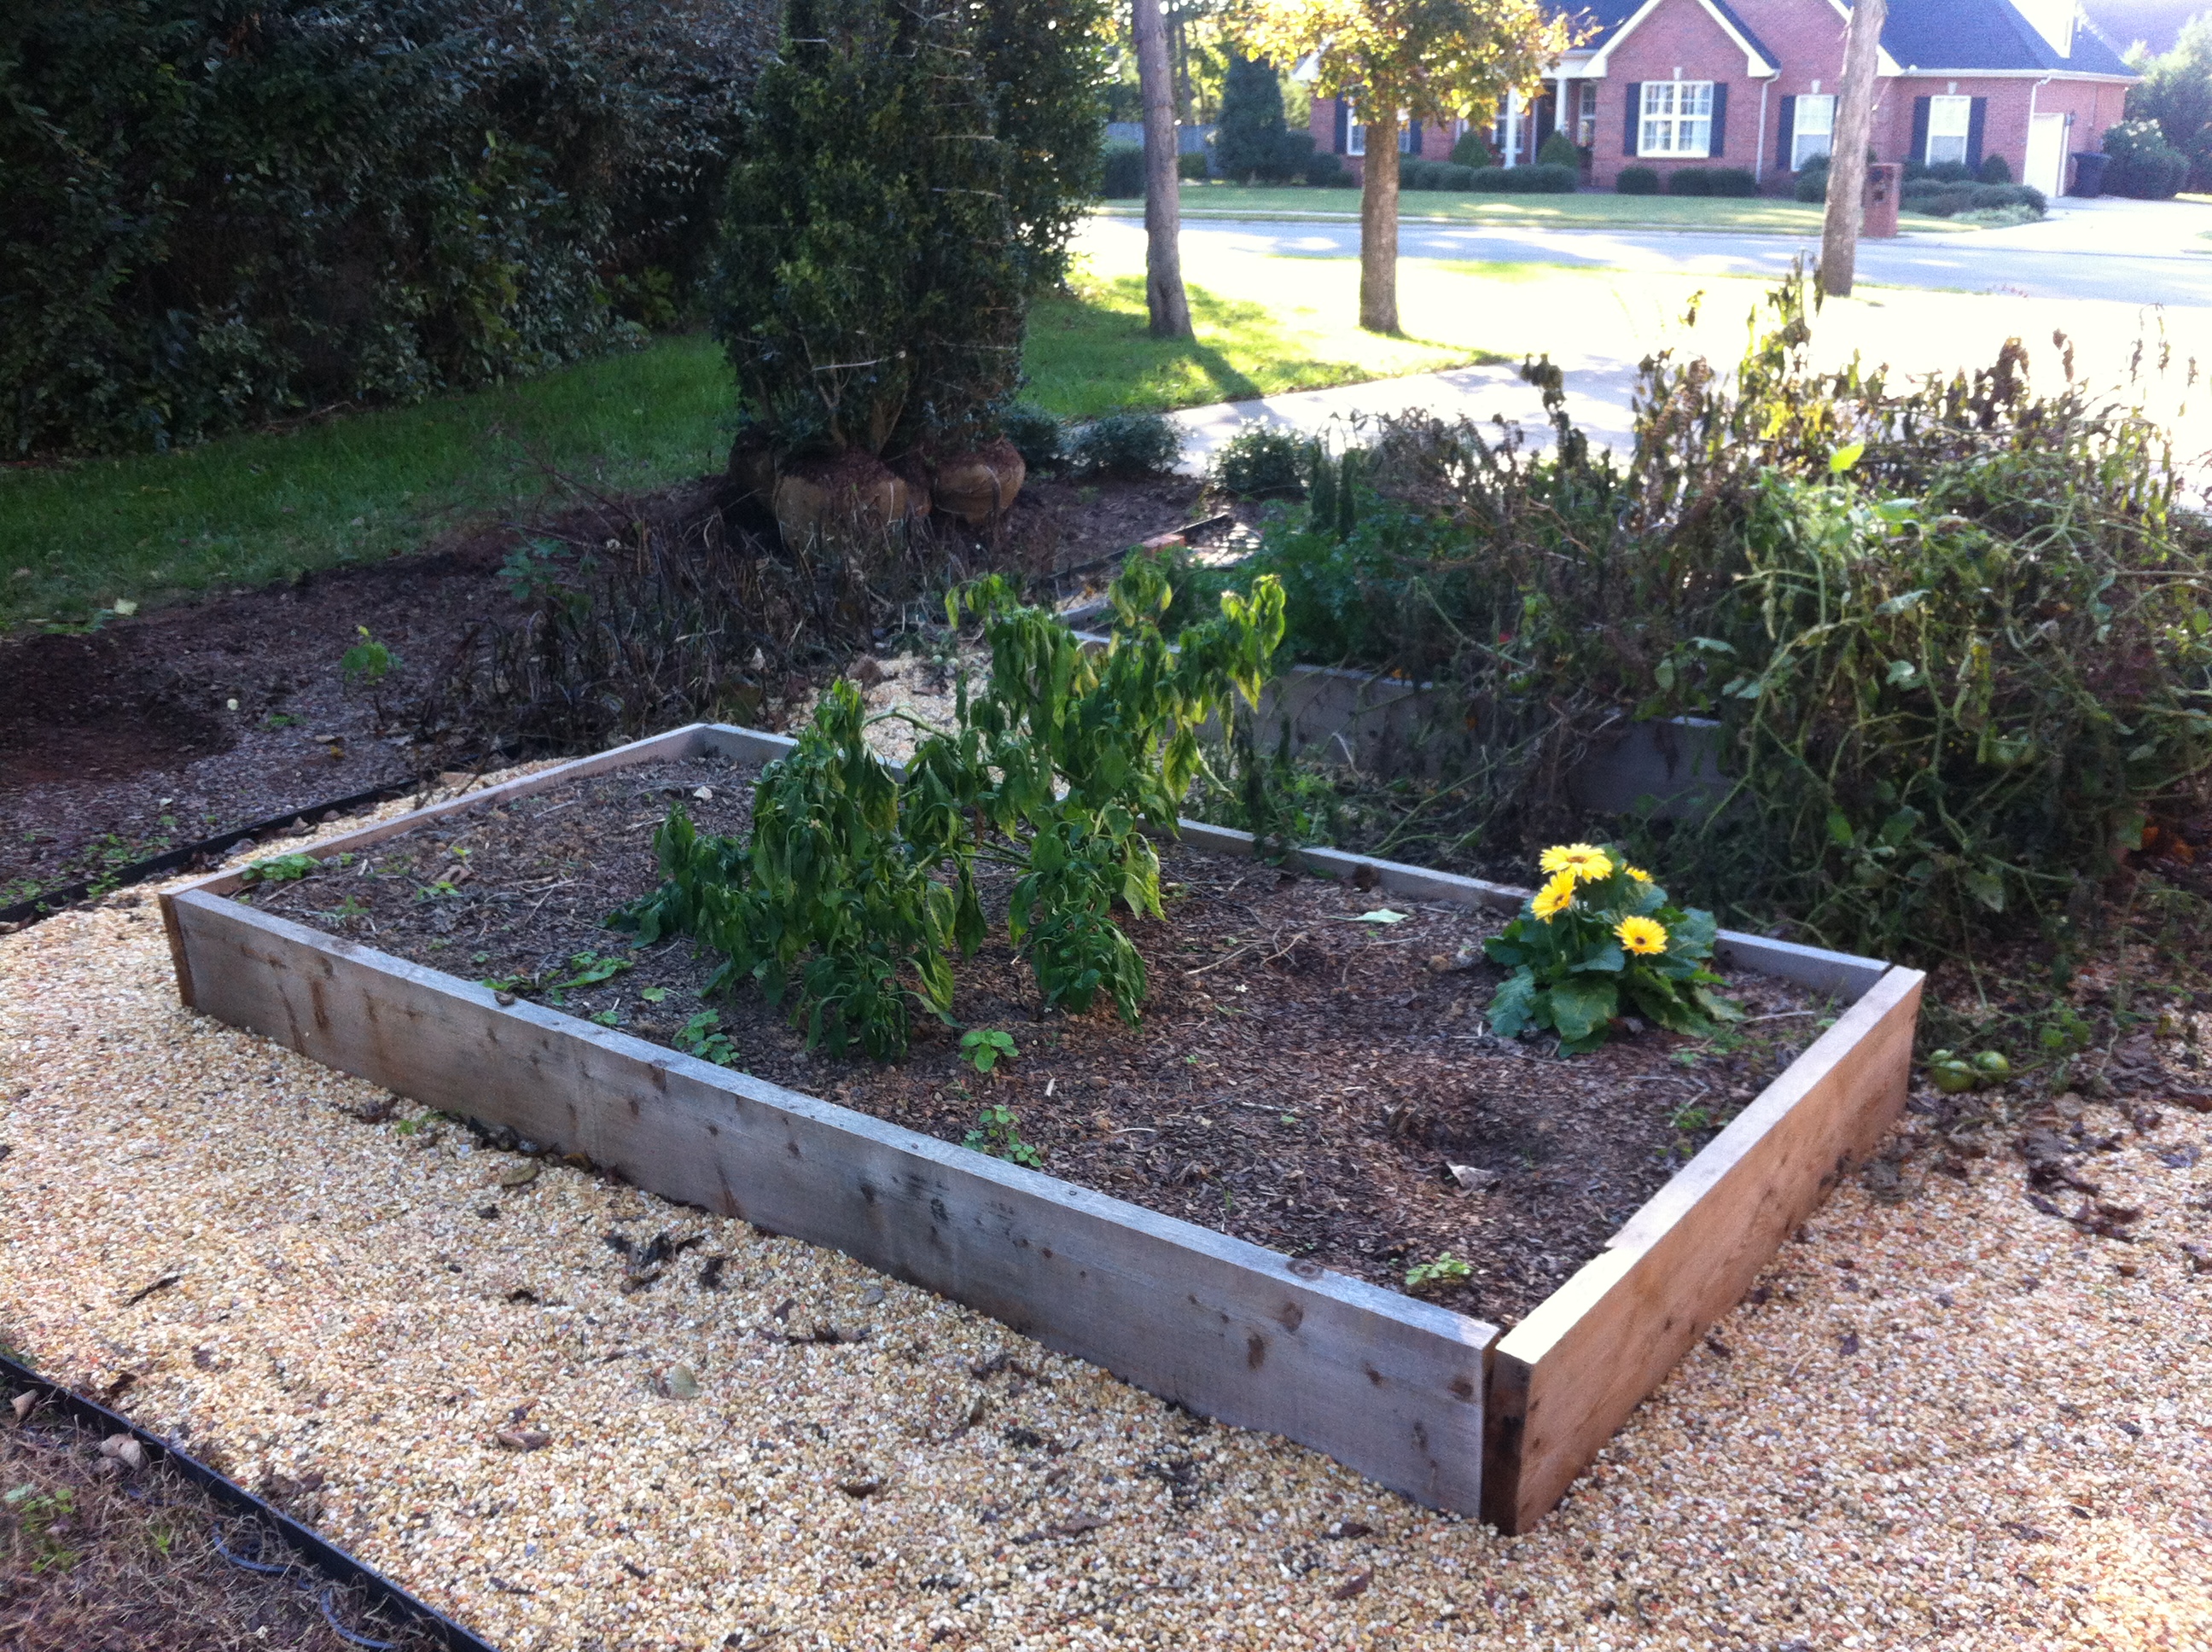
Texture is simply the different leaves, forms, and shapes of living plants and hard surfaces.
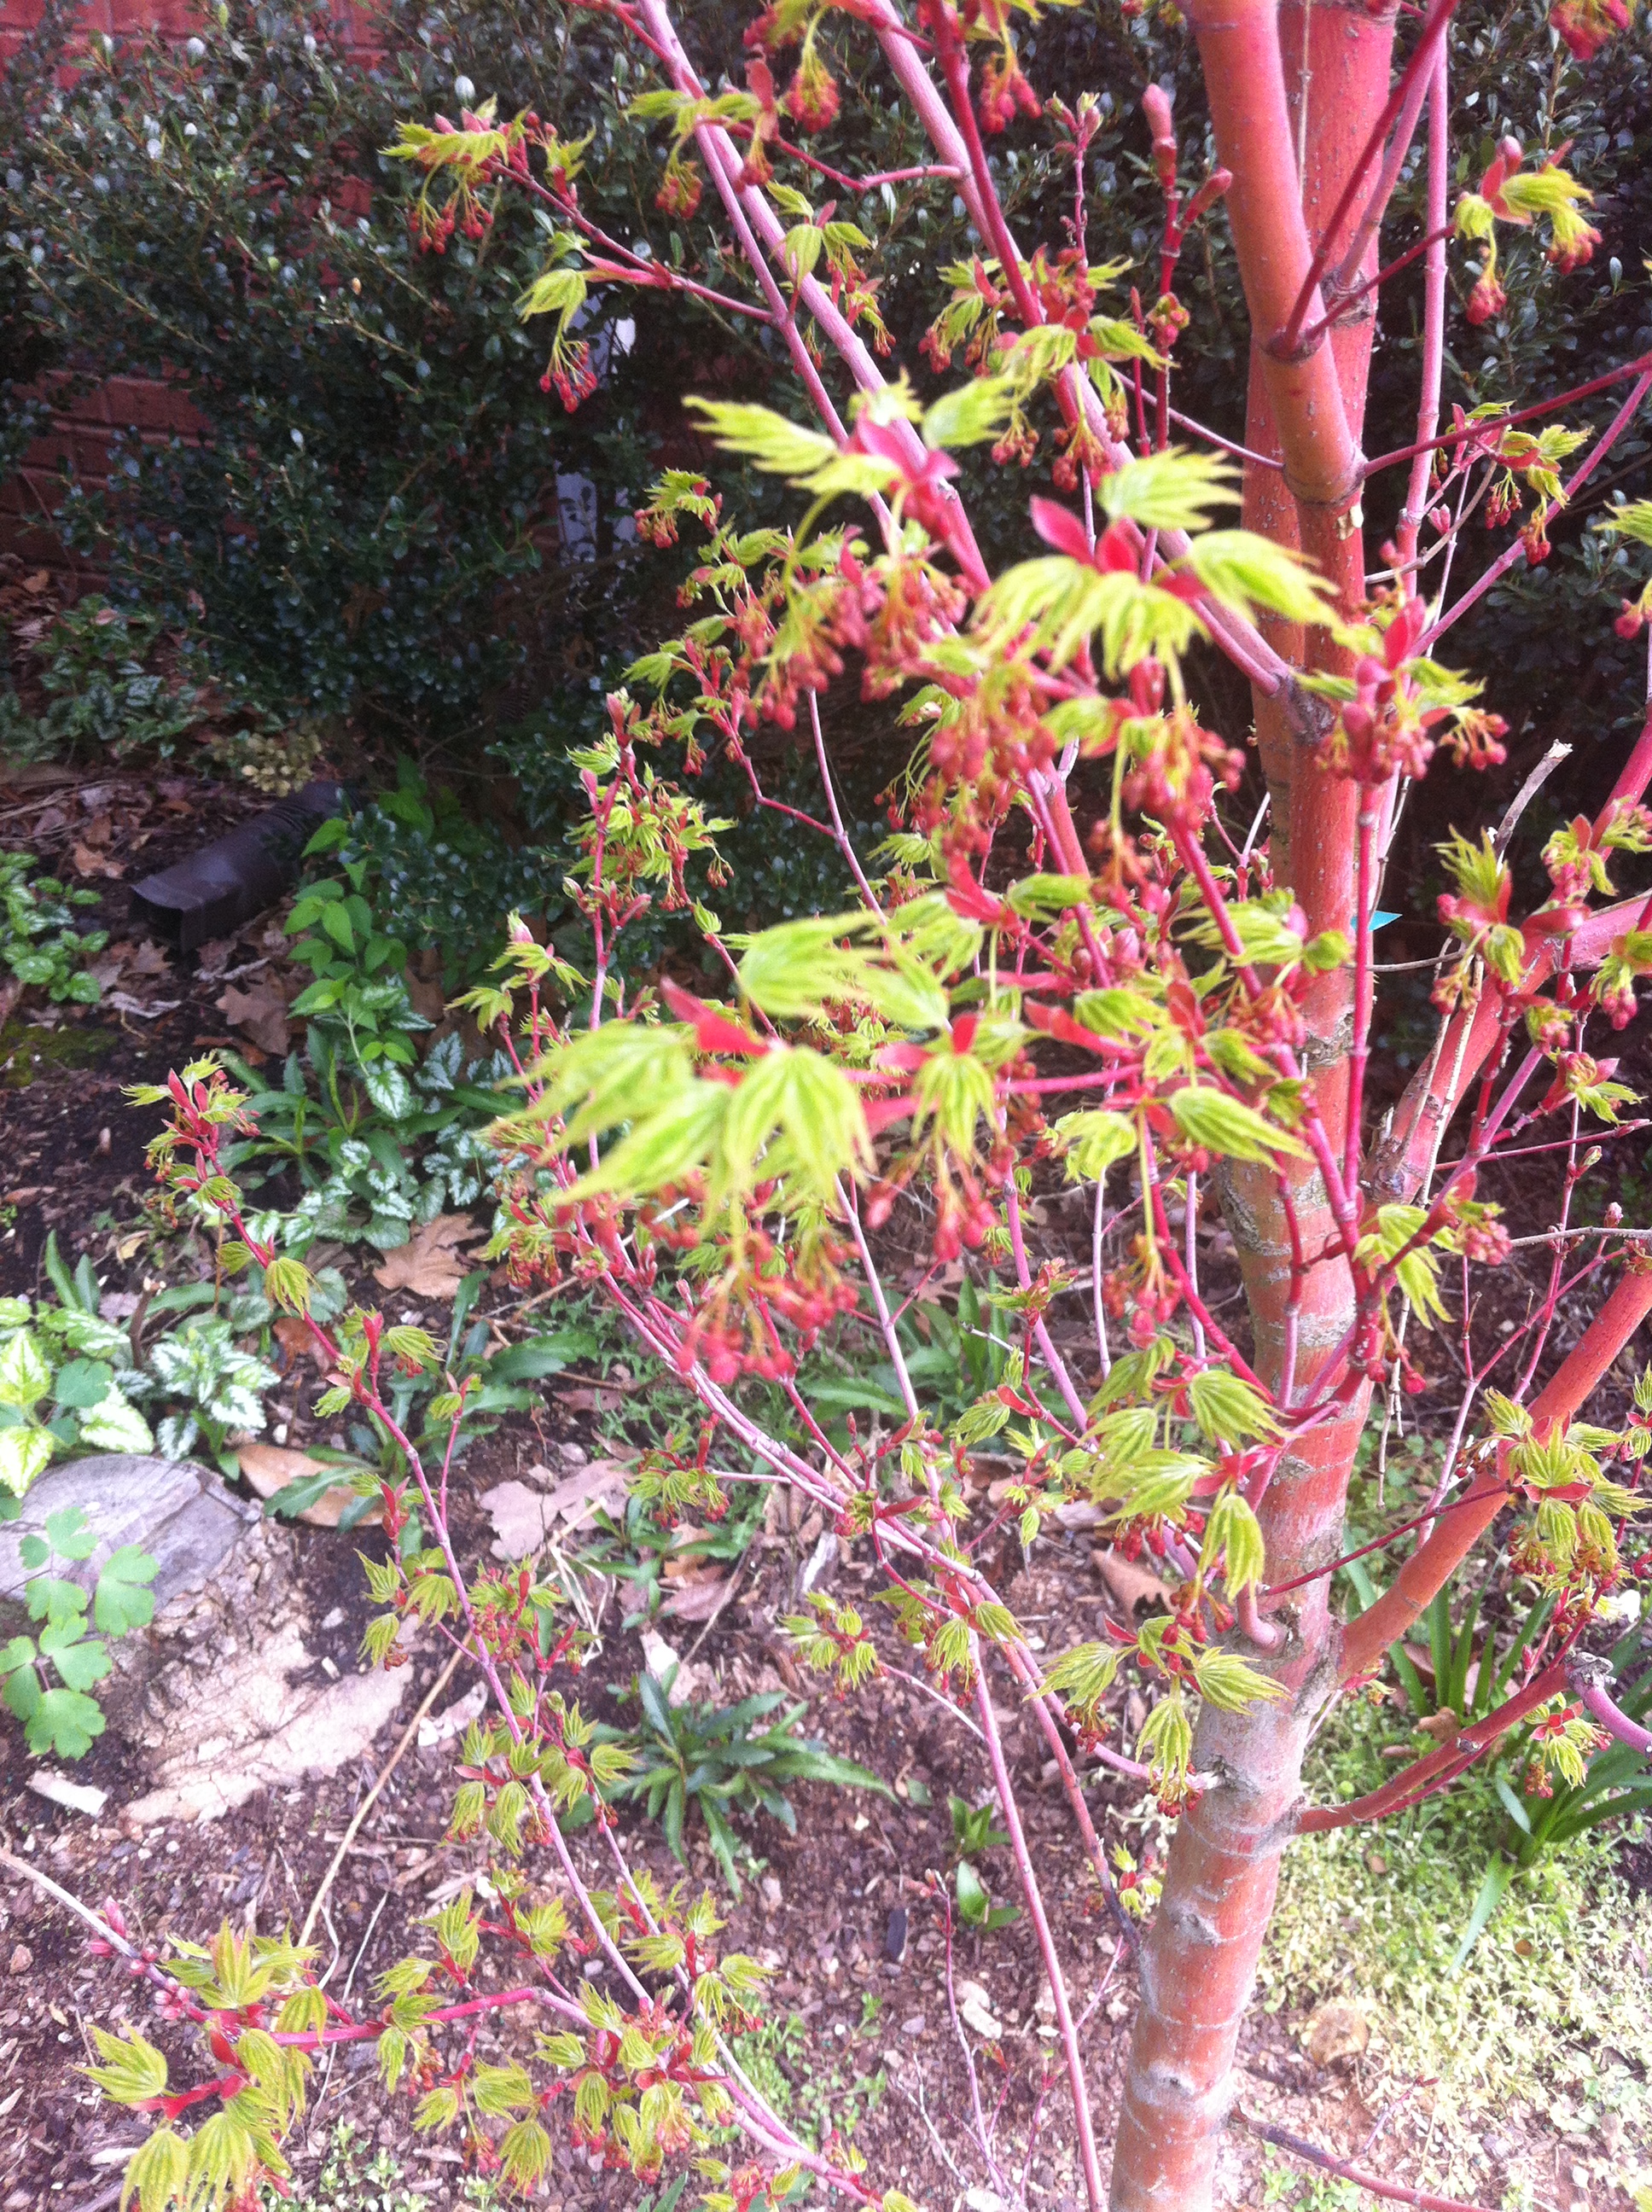
Sango kaku Coralbark maple has fine leaf texture.
Your grass has a different texture than your home. Your textures should compliment each other. Not fight against one another.
Contrasting the textures in your landscape is simple to do, but also easy to mess up. Don’t overdo it!
The best way to approach texture is to choose your favorite forms and use them again with other plants mimicking that form or copying it.
I typically pick a tree texture, then shrub, finally two-five textures at or near ground level. Again, the easiest way to design is using your favorite plants.
Here are two more images of different texture groups.
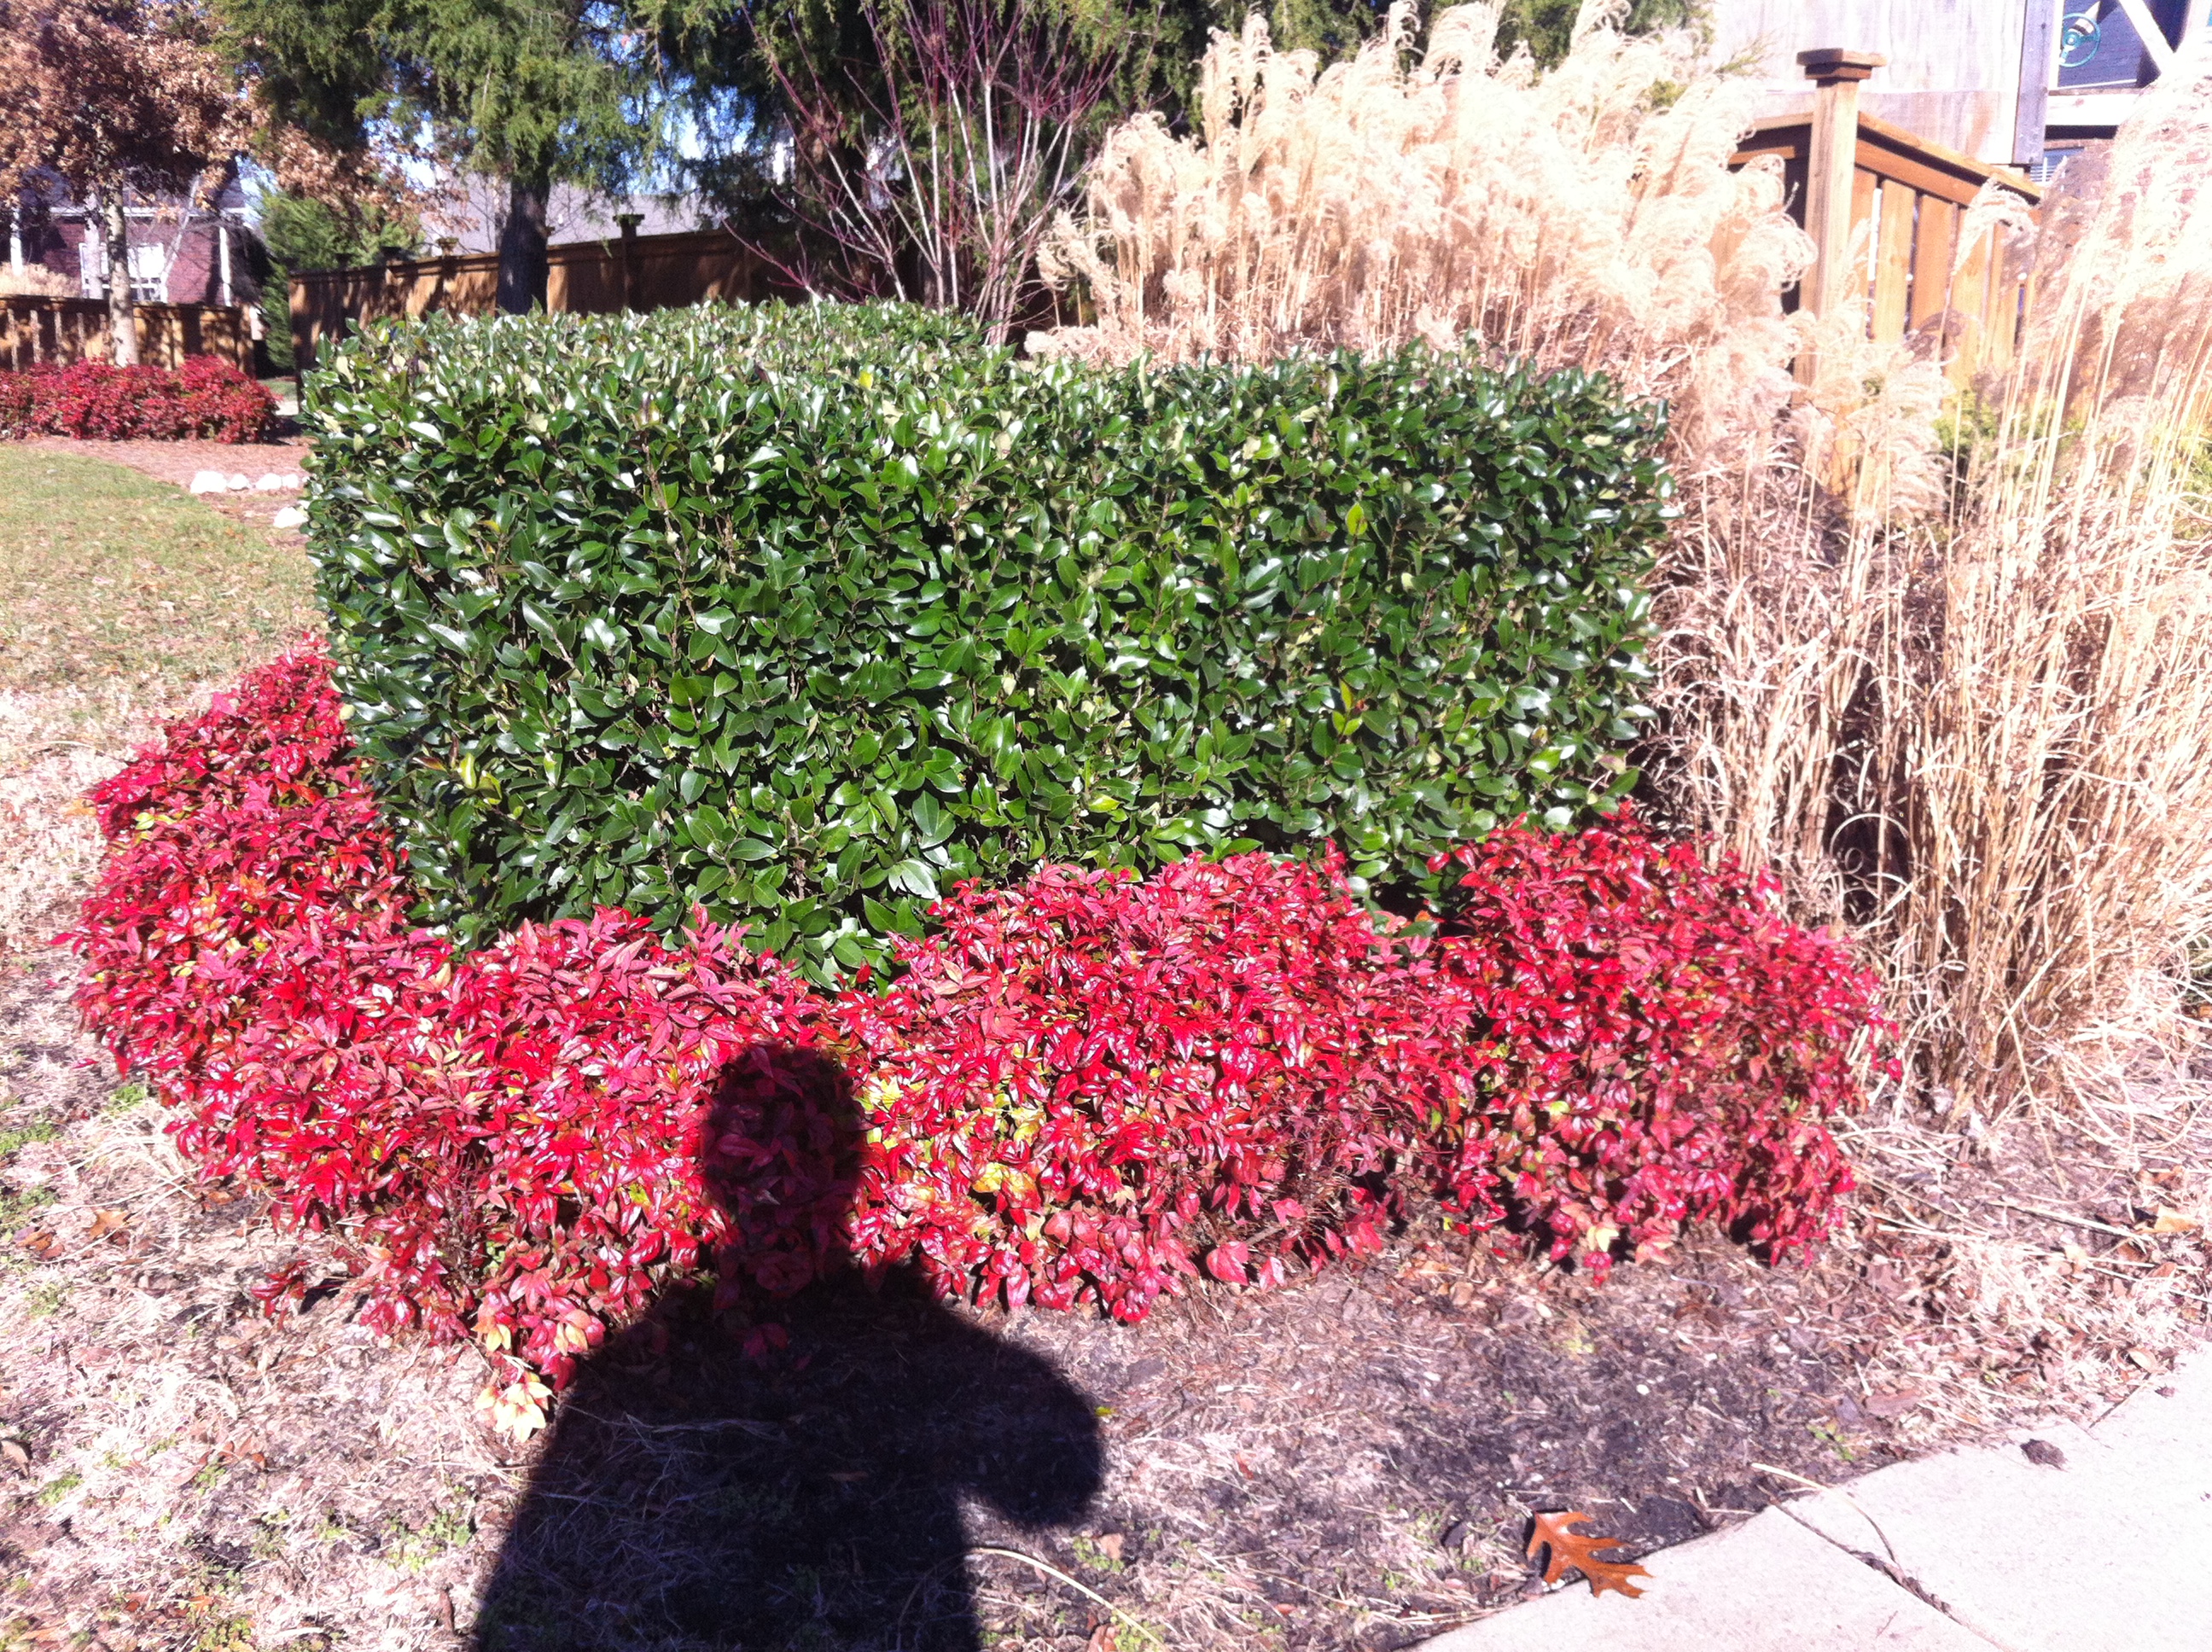
Red Firepower Nandina, Chinese holly, and Miscanthus grass.
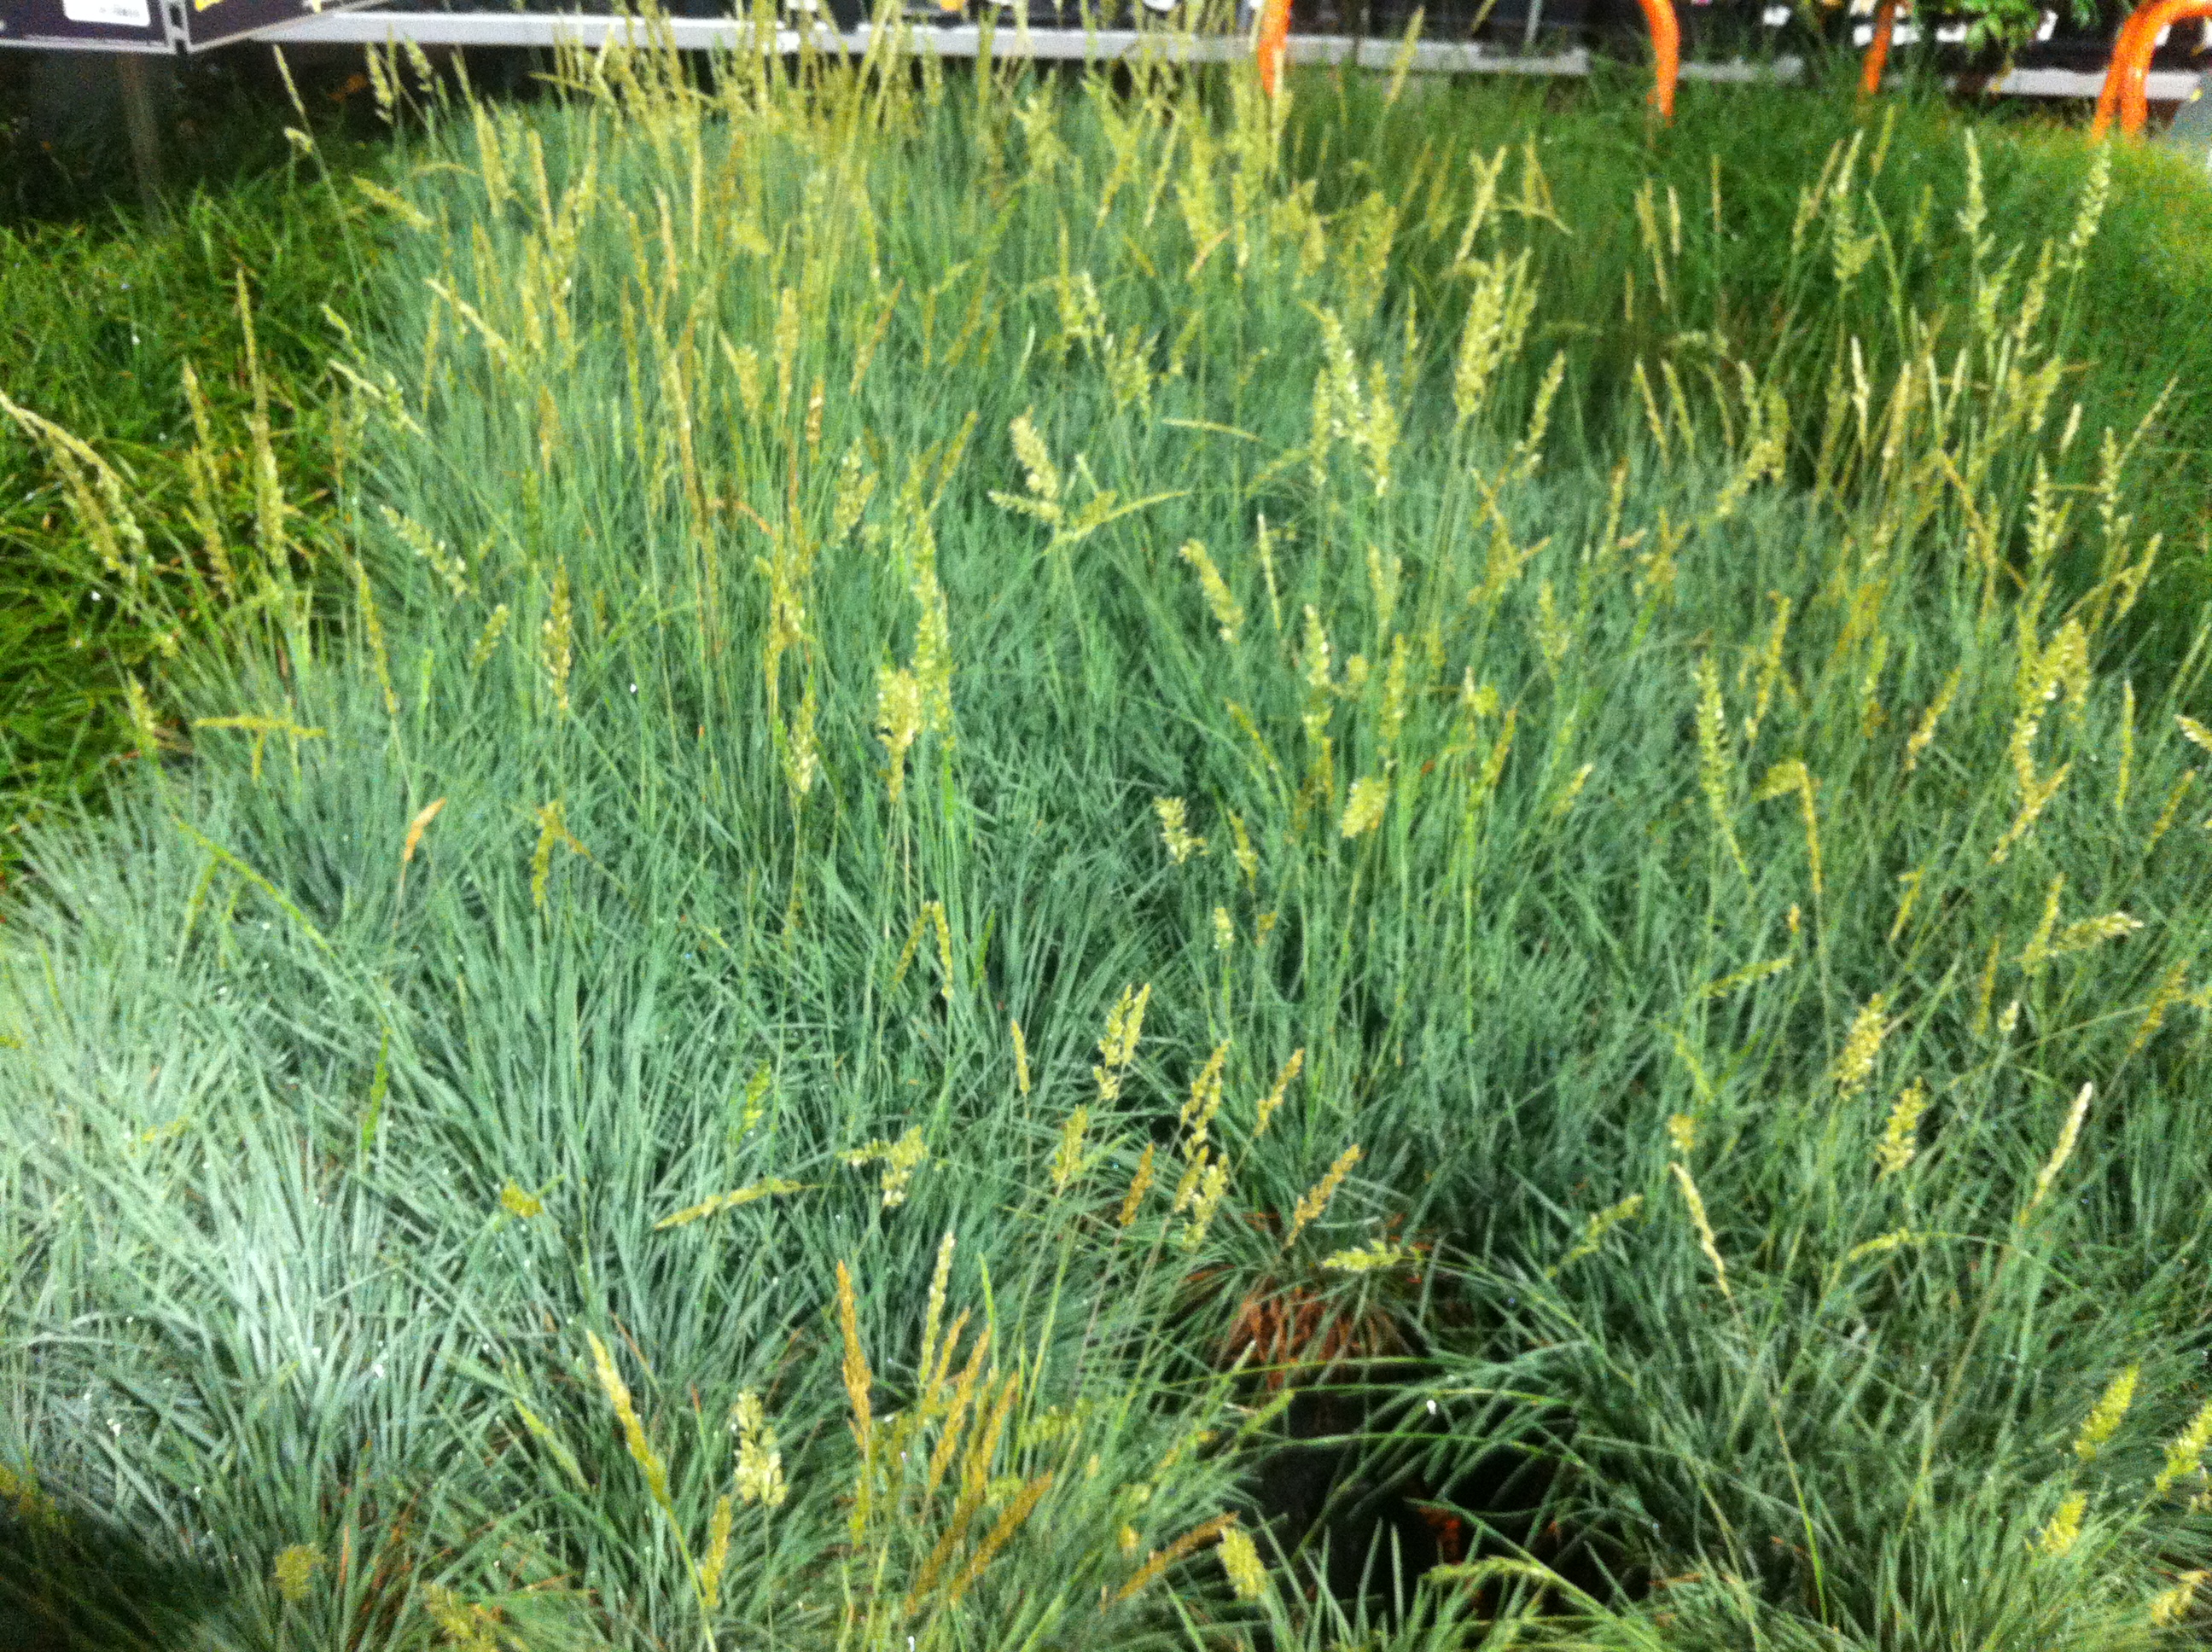
Little Blue Stem grass has excellent thin texture grass blades.
What is your favorite landscape plant texture? Mine is definitely a broad leaf matched with needle leaves.