How to Select and Purchase A Garden Water Hose

You’ve seen the commercial, haven’t you? The infomercial, as seen on t.v., hose that shrivels? Don’t buy that unless you want to replace in a year.

Hoses are an investment. Here’s how to buy the right one, the first time.

For a landscape, purchase 100 feet lengths. 50-75 feet is the next best thing. If you’re only watering plants on a patio 50 ft. is more than enough.

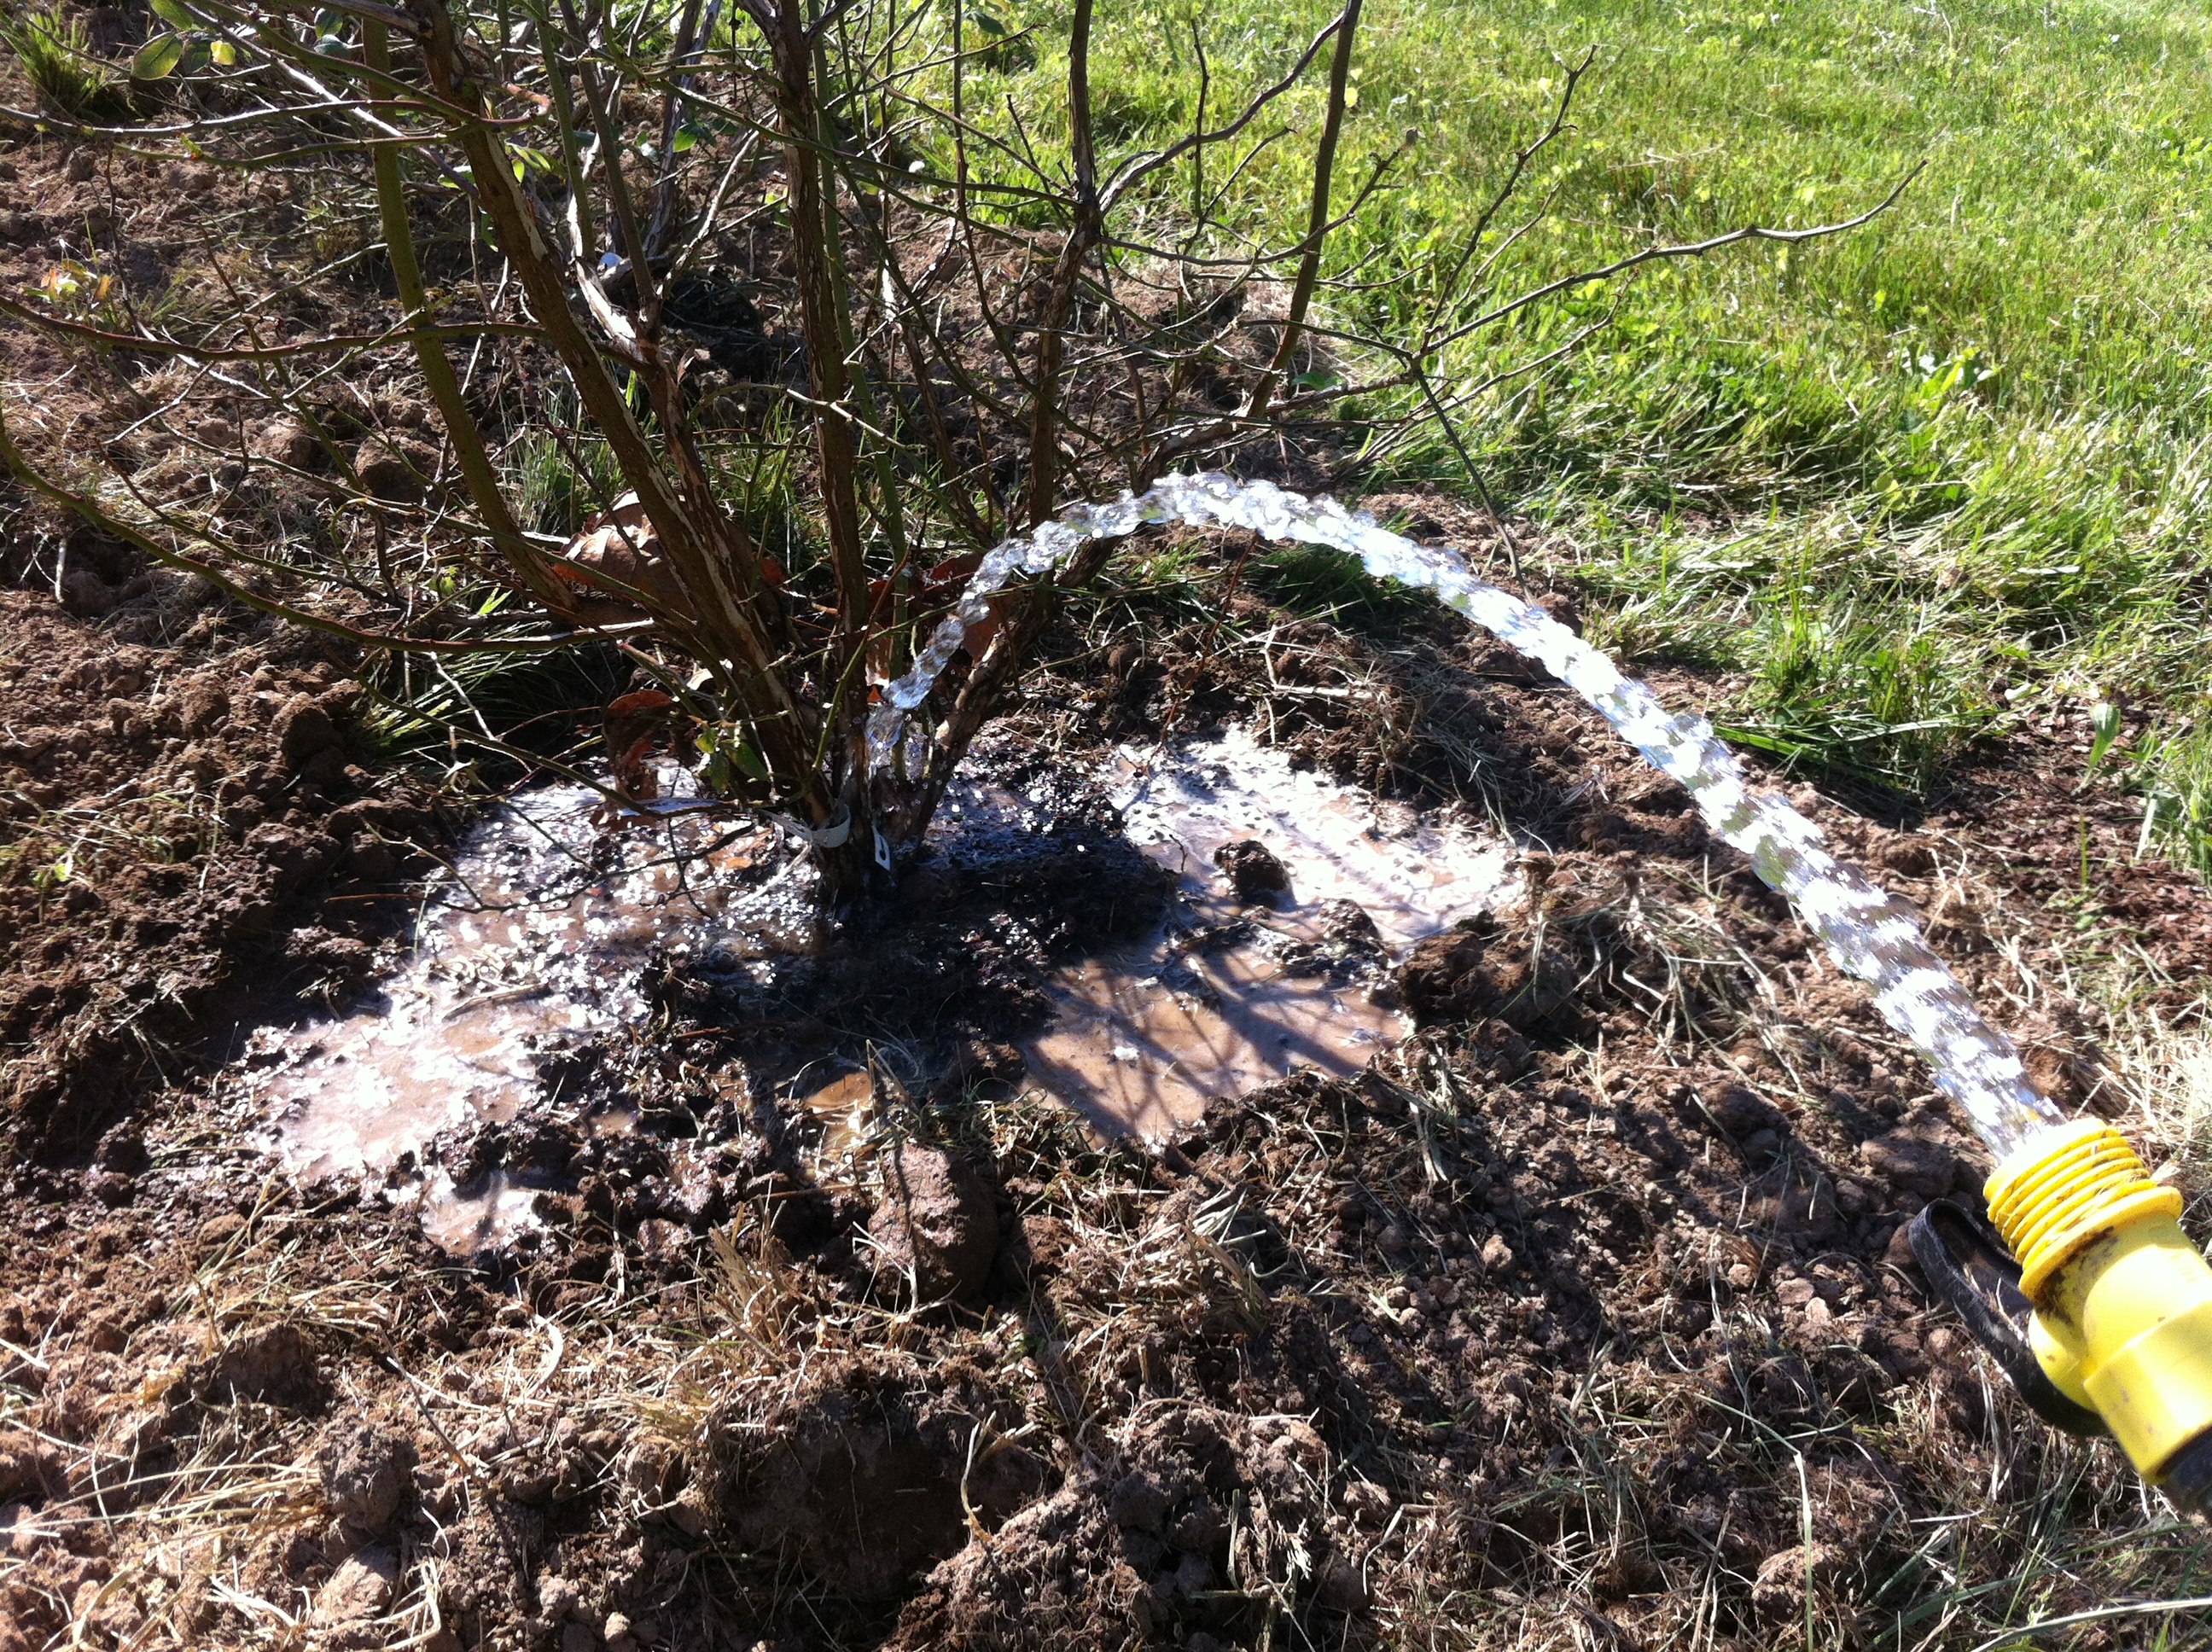
I prefer 3/4″ diameter, but it doesn’t have to be premium rubber. Buy a professional grade hose in black color. If you take care of the hose, it will last over 10 years. When not in active use, drain the hose and roll. Store in a shaded place. Sunlight degrades the plastic or rubber hose. The less sunlight, the longer the hose lasts. I keep mine in the garage or under the deck.

3/4″ diameter water hoses are easier to repair than 5/8″ or 1/2″.

Dragging hoses through the yard can damage delicate plant leaves and stems. Consider buying two hoses and get a Y splitter to connect two at the source. Then you don’t have to drag one back and forth, back and forth. Each time the hose is moved, it has the potential to damage delicate leaves and stems. I’ve damaged more tender young hostas while dragging a hose than any other reason.

Do you have a particular kind of hose that you like? Please leave a comment on the Facebook page.

See How Easily You Can Learn to Water Plants This Way

You’re shopping at the garden center and something catches your eye. You purchase impulsively and take it home. You have found the right site and dig a proper hole for the future of your new investment. You even install it correctly. But wait!


Irrigate until a pool forms. Soak the transplant, then allow to dry. Repeat

Install Tip: Irrigate until a pool forms. Soak the transplant, then allow to dry. Repeat

Then you forget about it… for two days(or longer) and the leaves are dead. Burned to a crisp by drought stress (wilting). (I just did this with some annual Zinnia flowers. They will recover).

What happened? Learning Curve!!!

You didn’t water it! Or more appropriately, you didn’t irrigate correctly or effectively.

But wait, you say! I sprayed water over the stems and leaves for a good 30 seconds. I promise.

Irrigating the stems and leaves might make you feel good, like it’s cooling a shrub’s branches and leaves. But if you don’t reapply every few minutes, the lasting effects are minimal. The roots are the only thing that matter here.

Soak, then Allow to Dry
  • Trees and shrubs grow best when they are soaked, then allowed to dry. Ebb and flow, just like rainfall, the ground is very wet, and soggy. Then the Sun comes out and the soil is baked dry.
  • Roots grow away from the new plant into the soil in search of moisture. They won’t grow out unless they need water. If you’re over-irrigating, then the root stay put. They are fat and happy where they are.
  • If no moisture is available, the plant will enter stress and decline. Keep them moist by soaking, then check with your finger daily.
Pro Irrigation Techniques
  • First, buy a 3/4″ water hose. I don’t like anything in a smaller diameter. 1/2″ is bad. 5/8″ is bad. I like the premium quality hose, spend as much as you can afford. You pay for what you get.
  • A new plant has 100% of its roots directly underneath the tree trunk or shrub stems.

Direct all the water there by dripping it from the garden hose. Spraying the water over the stems and leaves might make you feel good, but it’s not effective.

  • The most effective and efficient way is to place the hose end directly on top of the new plants’ root ball.

A second, inexpensive way to irrigate new plants is with five gallon buckets. Use a drill bit and drill a small pin sized hole on one side of the bucket bottom. Fill the bucket with water from the garden hose and place the pin hole side near the root zone. All the water slowly flows to exactly where it’s needed.

Use a drill to make a small hole on one side of the five gallon bucket.

Use a drill to make a small hole on one side of the five gallon bucket.

  • I love the bucket method because it’s temporary and portable. No need for a irrigation system or multiple hoses.
Efficiency
  • Keep the area around the roots weed and grass free.

Grass sucks moisture from the soil like a straw. The less vegetation near your new tranplant, the more water it will keep for itself. Use a shovel to cut the grass, use mulch to smother grass, or use chemical herbicides to keep the invaders at bay.

  • The more grass and weed-free space around the edges of your new plant’s root system, the better.

Do you have a great technique for irrigating plants? Please share it on the Facebook page.

The Wrong Way and the Right Way to Buy Landscape Plants

You walk into a local garden center in Spring. The sun is shining, the temperature is perfect. All these plants look great. Where do I begin? It’s easy to become overwhelmed.

How do you determine the best plants and know what is a bargain?

Remove the container to check the root health.

Remove the container to check the root health.

Start with a plan. Before you arrive, determine what you’re looking for. Are you looking for seasonal color to decorate your patio? Choose flowers like annuals and perennials. Shop your favorite colors.

Do you need privacy from a neighbor? Shop the evergreens. Evergreens vary by color and leaf texture. Pick out your favorite and shop the different sizes.

The wrong way to buy begins with a lack of focus.

Size

The smaller the plant, the less expensive it will be. This is age related. Plants are priced depending on the age. The older, the more expensive. Some landscape plant varieties like American boxwood and Japanese maple grow slowly so they are more expensive compared to faster growing varieties like Korean boxwood and red maple.

If your budget is under $100, shop the small plants (1-3 gallon container size). Remember to have  patience and allow the new transplants to grow and mature. The difference between a $50 shrub and $500 shrub is a few years. Get started today!

Bloom

Don’t always buy plants that are in bloom. “But the ones in bloom catch my attention” you might say. I’m certainly guilty of it as well. Most trees and shrubs only bloom for a short period each Spring or Summer. Be prepared to see your new purchase not bloom again for another year.

It depends if it’s an annual or perennial. Huh? Perennials come back from the ground every spring. Annuals live until a frost (~32 degrees Fahrenheit).

Sometimes the commercial grower forces plants to bloom at an early age. They look great on the retail shelf, but will fizzle once installed at your home. Remember to read the plant tags and double-check to make sure plants will continue blooming or growing.

Clearance Rack

Everybody loves a sale. I routinely walk into a retail garden center and shop the clearance first. Why? You can get the best bang for your buck. But, be careful, many plants are sick and diseased.

  1. Choose the plants that look tired from being in a container for too long. Huh? This means the roots have outgrown the container. The plant will flourish once installed and the roots have ample room to grow outward. An easy way to check roots is remove the plant from the container and inspect the root system. If serious girdling or root spinning is occurring, then you’ve found a root bound plant. Spread the roots apart before installing in the ground.
  2. Or choose plants that have been in drought stress from lack of water, but are recovering. Drought stress looks like wilted leaves with possible burns at the leaf tips. You’ll know wilted plants when you see them. Avoid sick plants unless you’re ready to nurse and coax the young transplant for up to a year.
  3. Avoid plants with dead roots. If the roots are not yellow or white, seriously consider passing on the plant. Some plant varieties have natural brown roots (Nandina).

Have you ever found a bargain and want to share your conquest? Please leave a comment below.