Why You Can’t Afford to Make These Mistakes


Top 10 Edible Landscaping MistakesYou’re new to growing stuff, right?

Well, I’m not. And I got here through trial and error. It’s painful and frustrating. But I’ve made every one of these mistakes (some more than twice)!

Purchasing Mistakes

Buying edible plants at the garden center, taking them home, and parking them in a sunny spot, never to install. SO many plants die this way. Get them in the ground quickly. I know, it’s fun to buy, but when you get home, make the extra effort and install quickly. If you have to wait, keep them moist and in the shade.

Buying/Planting too much at one time. All the fruit or veggies will be ready at the same time. Stage your planting interval over several weeks if you’re planting more than a few at a time. The pros plant for several weeks straight to have a consistent harvest. Don’t buy all your plants at once if you’re new.

Edible Landscape Design Mistakes

Trying to grow edibles in the shade. You need sun and a lot of it. 6+ hours of direct sunlight to have success.

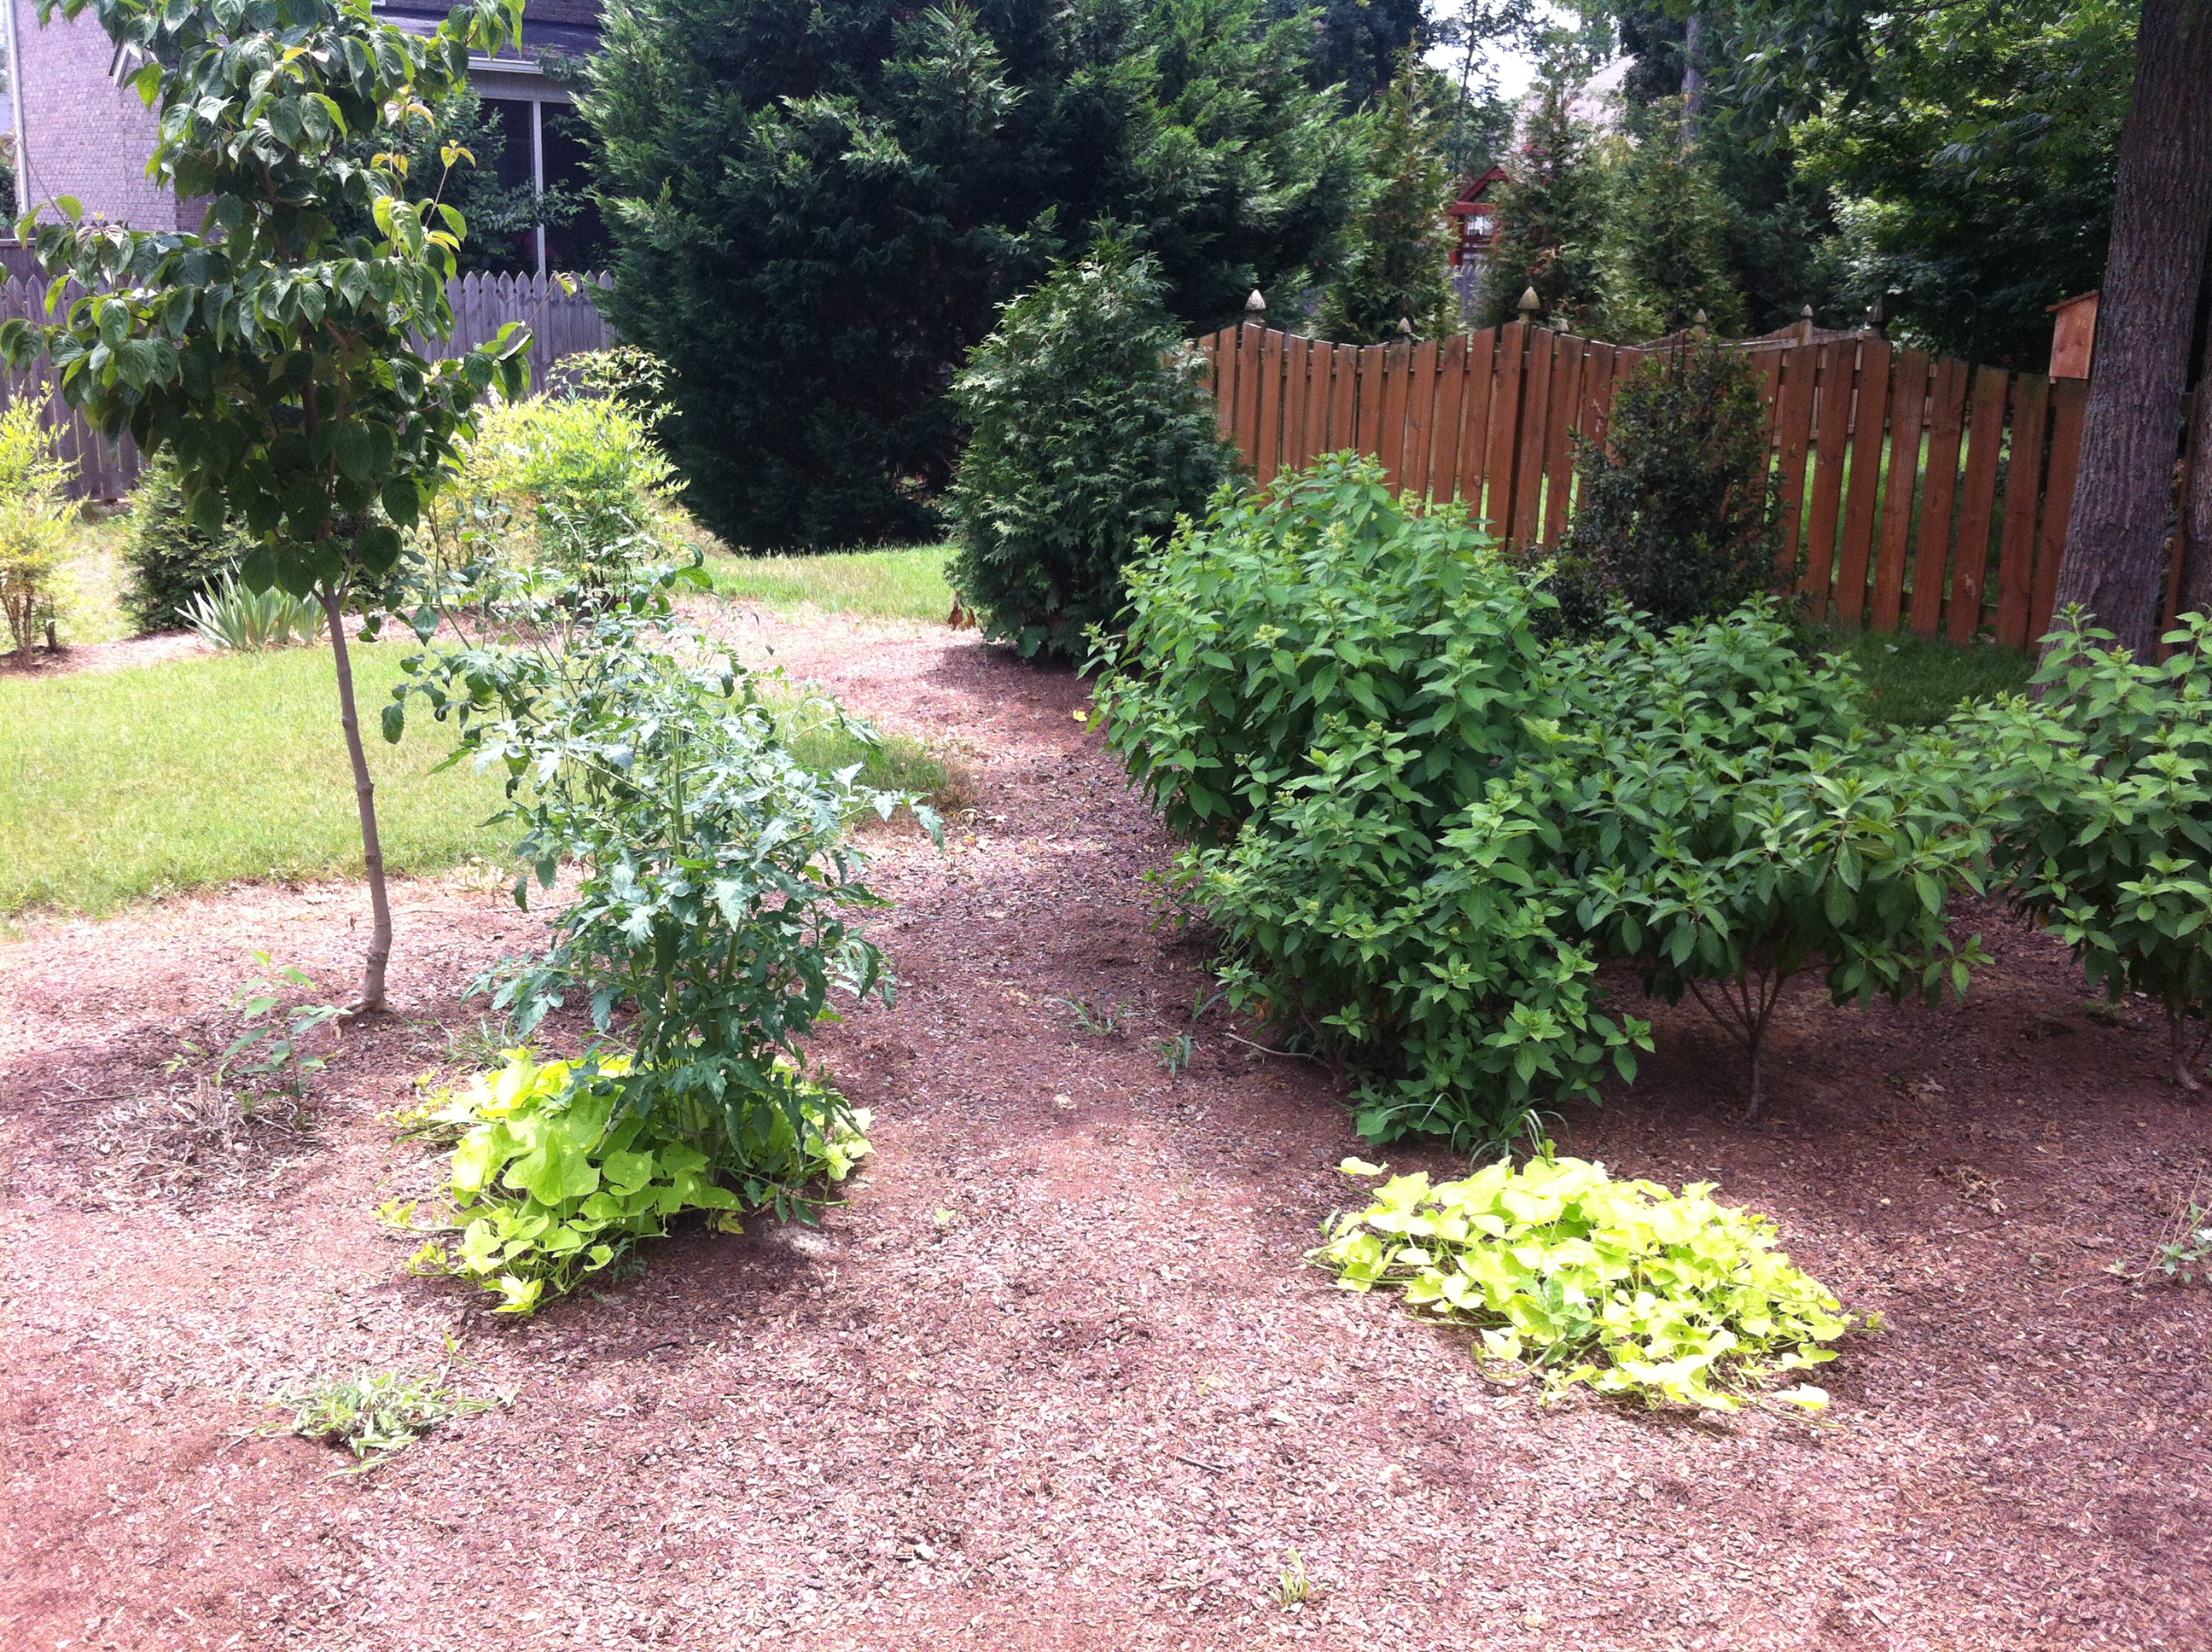
Planting too close together. Read the plant tags. It doesn’t look like it, but your plants are going to expand to the recommended size. More space means a healthier plant with fresh air and more room for roots to grow.

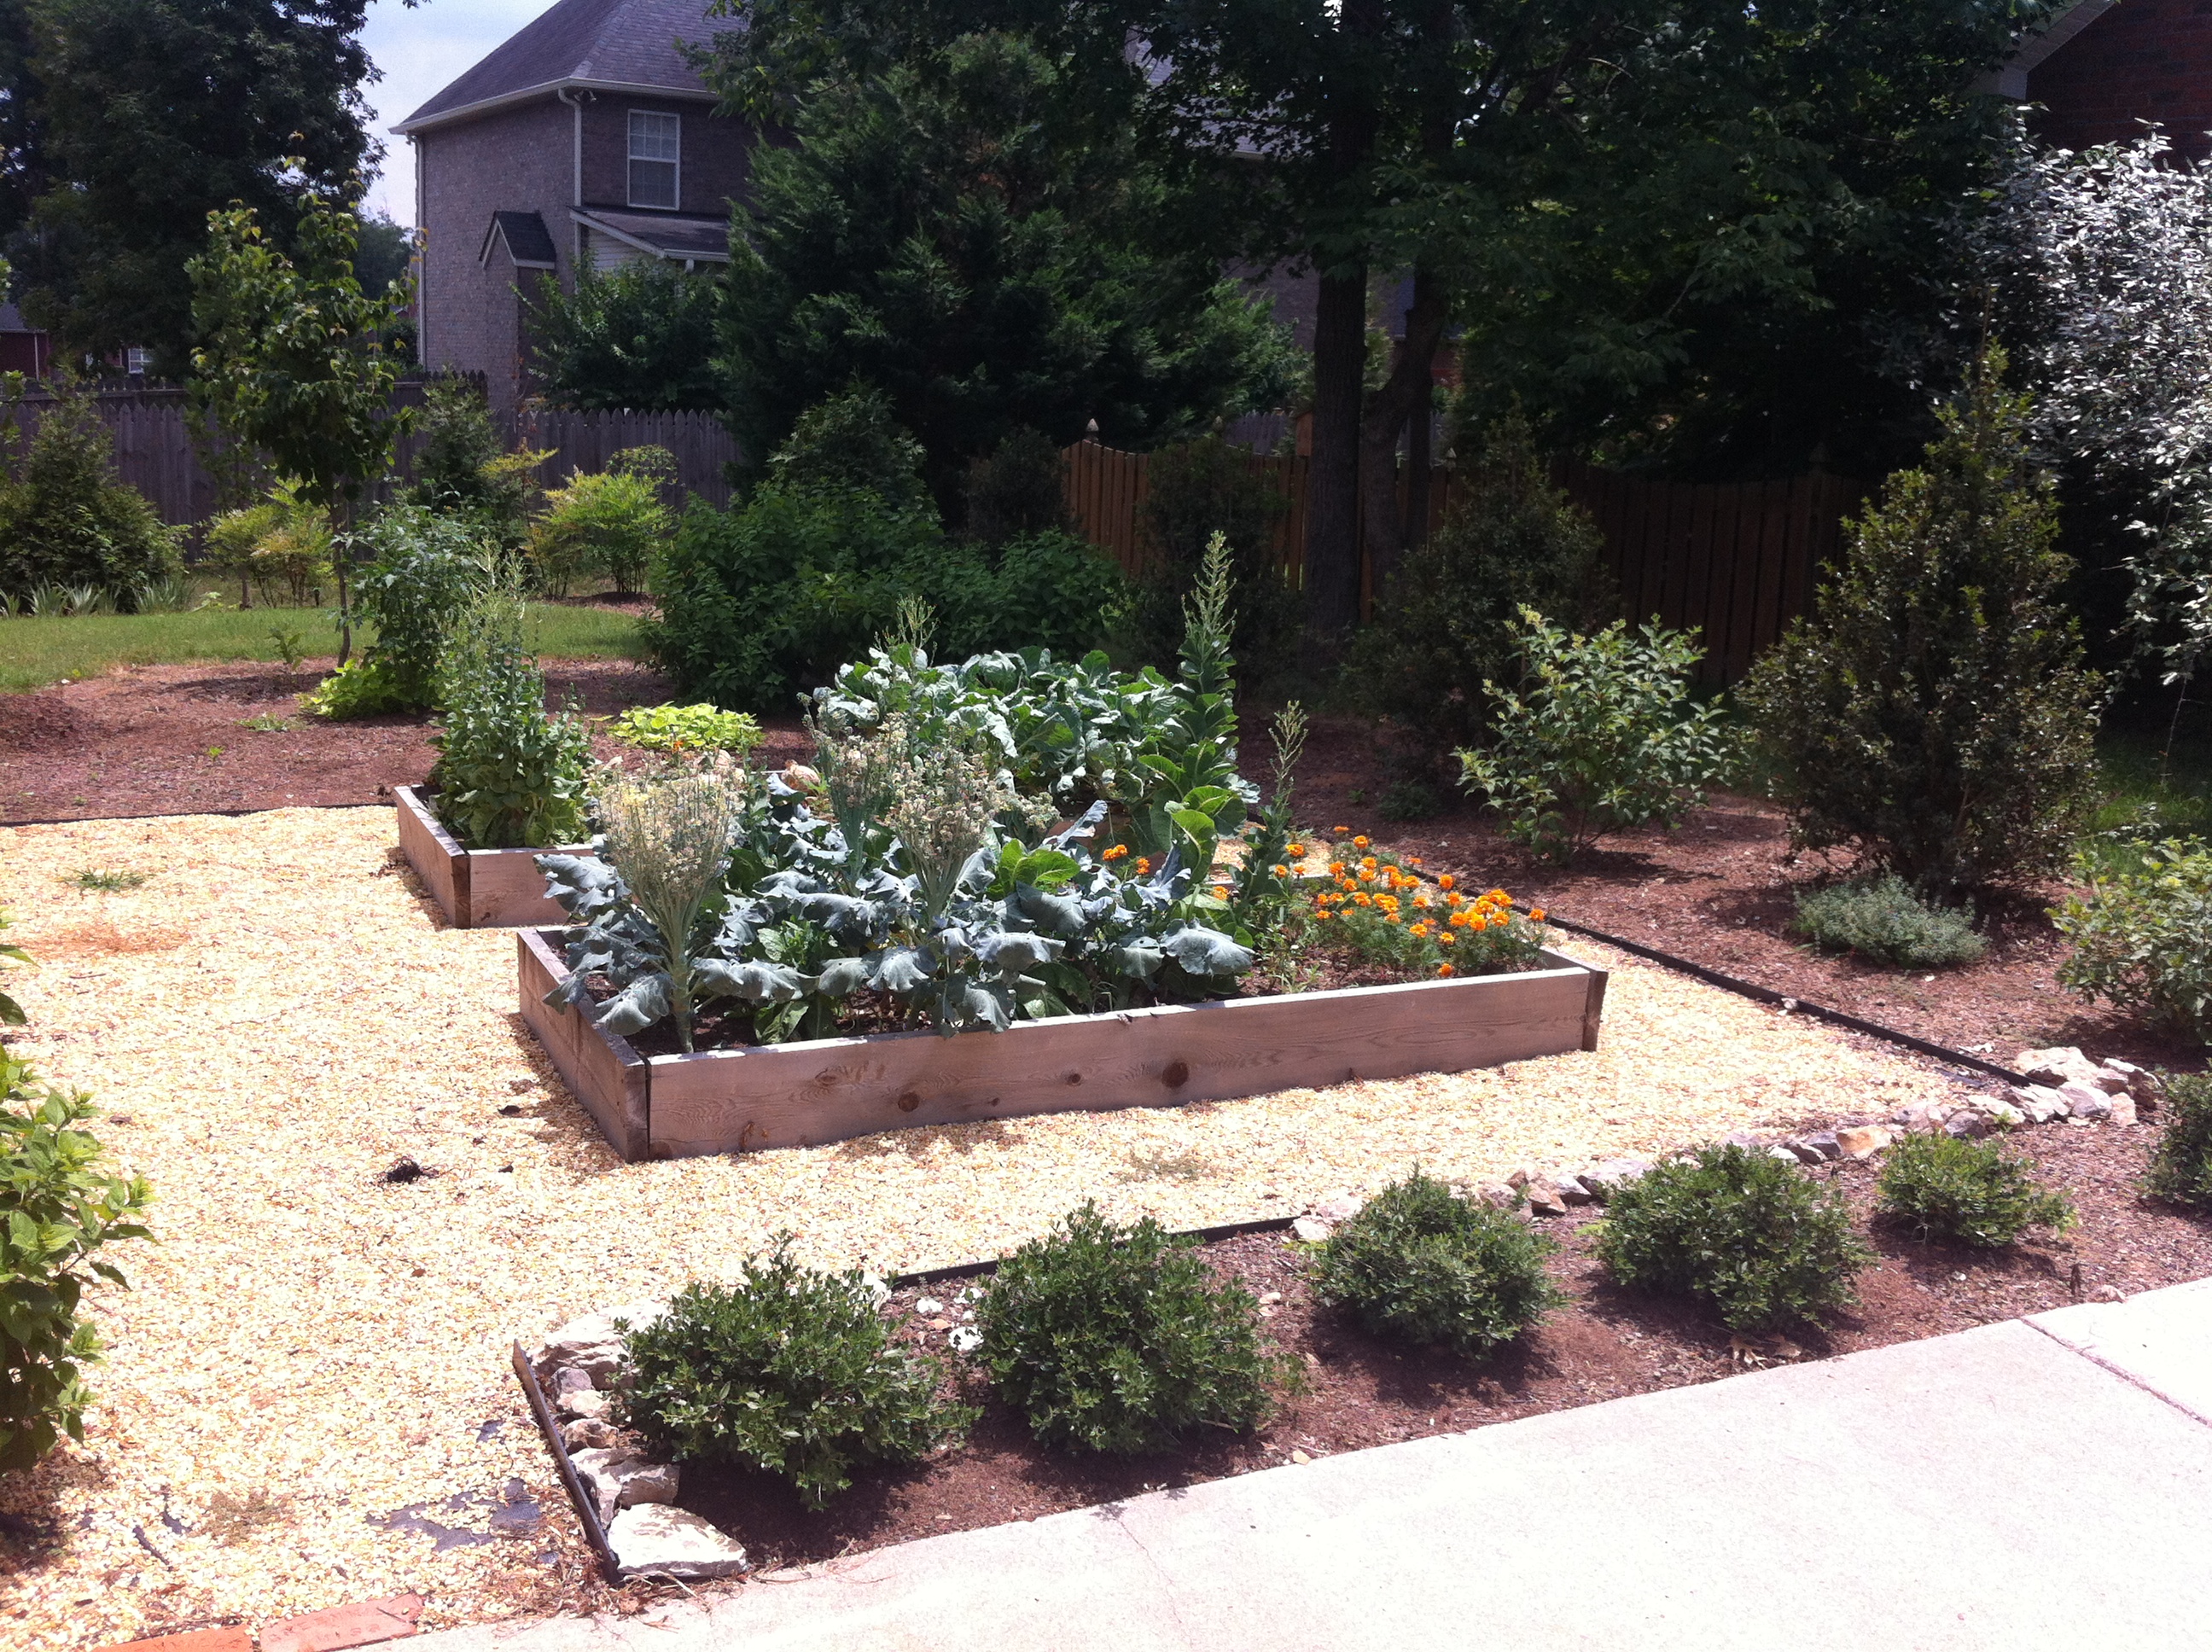
Not keeping cats/dogs/rabbits away from your edibles. Sometimes a hardware cloth fence is necessary. I use raised beds made from 2″x8″ cedar boards. This keeps the rabbits from eating my lettuce and cabbage.

Using pressure (chemical) treated wood for a raised bed. Use untreated wood products. The chemicals that keep pressure treated pine from rotting can leach into the soil and harm you when you eat your plants. Two better options: Cedar is rot-resistant, but expensive. Pine is inexpensive and easy to replace after a few years. Try both!

Maintenance Mistakes

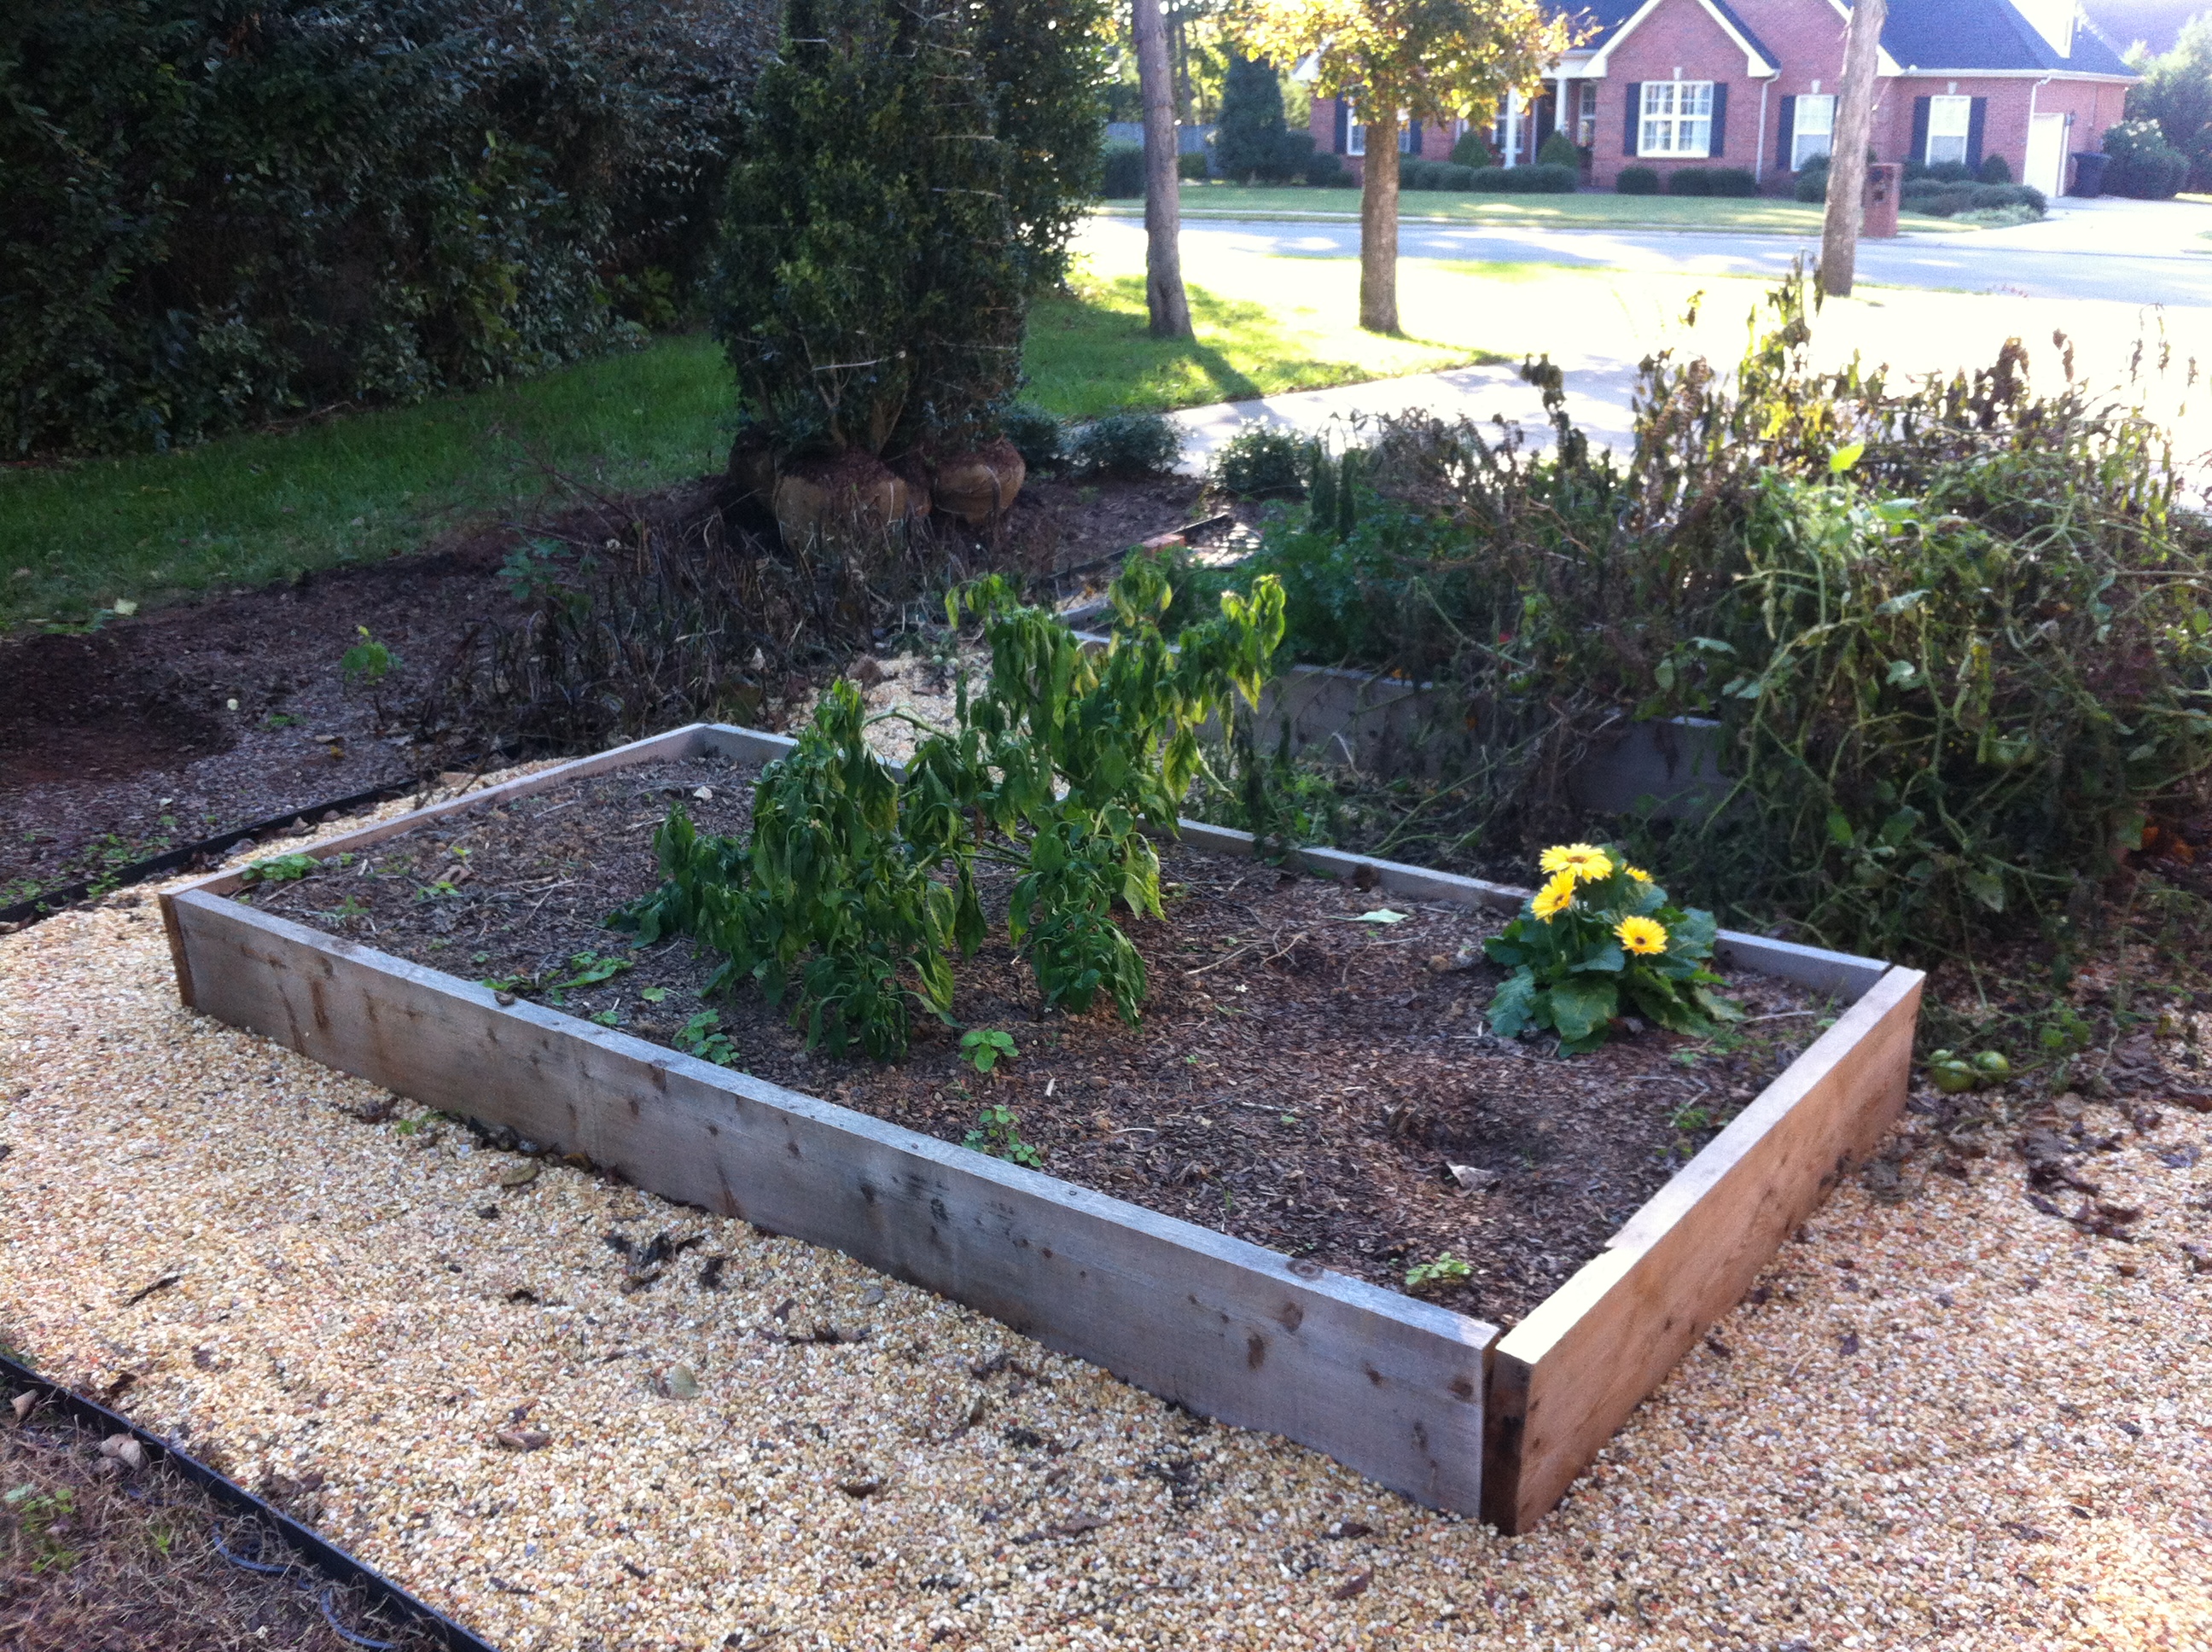
Not harvesting your veggies/herbs/fruits when they’re ready. I have a confession to make. I always let my plants get out of hand. The veggies are ready to be picked and I procrastinate. Every year.  Maybe it’s just that I like to grow and look at pretty things. Or maybe I’m just tired from working all day and don’t want to toil more. Or maybe I know I have to cook a meal with my fresh produce! You’ll have several days to weeks before this becomes a problem. Get ready to reap the harvest! Maybe this is just a unique problem I have…

Watering Mistakes

Not watering consistently. Set a reminder on your phone. Make it daily and disregard it if it has rained. Read the next step to make sure you’re not overwatering.

Not checking the soil moisture with your finger. That’s all you have to do. If it’s wet, let it be. If it feels dry, irrigate to soak then allow to dry. Extra credit: If you’re growing in a container, you can lift the container to feel the weight.

Not leaving a hose nearby. Nothing screams “garden chore” like dragging hoses around. Heavy hoses will break your tender plants too. Be careful dragging. Also, put a hose wand (or valve) on the end to turn on/off water easily.

Soil or Growing Media Mistakes

Get a soil test BEFORE you’re ready to plant. The test will tell you exactly how much fertilizer to add. Too much fertilizer wilts plants because it contains salt. Pros do soil tests, you should too!

Not knowing your soil pH (get a soil test). If the soil is too acidic, the lettuce will taste bitter. Ask me how I know. Add limestone to acidic soil. Most herbs/veggies love pH above 6.0. Blueberries like very acidic soil so you may need to add sulfur.

Just Get Started

Don’t worry too much about failing. It’s going to happen. But these are the most expensive and time consuming mistakes. Avoid these mistakes and you’ll be well ahead of the pack. Did you notice I gave you 12 mistakes instead of 10?

Edible Landscaping for Non Green Thumbs Part 1

Edible landscaping is authentic and tasty. You eat what you produce! It’s not just pretty flowers or leaves to admire.

Broccoli and Lettuce Flowering (Bolting).

Broccoli and Lettuce Flowering (Bolting).

Edibles are here to stay. Try to incorporate them into your landscape. (They are rewarding)!

Combine or Separate

Choose edibles and flowers (or evergreen shrubs) together in the same place, or separate your edible area to concentrate efforts. If you want serious yield, I recommend a raised bed.

To easily separate, build a suitable raised bed.

I like to keep certain plants grouped away from others. This means that tomatoes and beans can grow out of control in a hurry! Don’t plant too many at once. Pros stagger a crop so that all the plants don’t bear fruit at the same time. You don’t have to plant your entire garden at once.

I mix structure with normal shrubs. Structures are teepees and tomato cages. Plants like purple hulled pea, a favorite heirloom. These pea vines grow everywhere and quickly consume land. They need a trellis. Same for tomato. Some kind of structure.

Fruit and Beauty

What about blue foliage? Or silver? Check out artichoke in a shady location, or broccoli for full sun. Broccoli has yellow flowers in addition to the edible floret and silver leaves. Plus, your pet bunnies (wild hares) will love the leaves, too!

Texture is a landscape design principle, so mix leaf textures for viewer interest.

Optimal Soil

One big thing I’ve learned this year. Soil pH. Want bitter lettuce? Grow in an acidic soil. Add limestone if your pH is dipping below 6.0. Buy a soil test kit here. Always do your homework and research a variety before trialing it. However, most veggies and edibles like alkaline soil (pH 6.0 – 8.0).

Blueberries would be one exception. If you need to acidify soil, add sulfur.

Design Layout

Start with a few plants and see how much food you can eat and not ruin. I am guilty of this. I like to fill space. Don’t make this mistake.

Most plants are grouped in layers starting tallest in the back to shortest in the front. Tomatoes, peas, beans, and other veggies that require a structure to grow should be placed with height in mind. Grouping shorter plants nearby makes sense.

Tomato cages are visually striking in an empty space. They create vertical interest.

Volunteer cherry tomatoes with Margarite Sweet Potato Vine under Hyperion Dogwood. Limelight Hydrangea group on right.

Volunteer cherry tomatoes with Margarite Sweet Potato Vine under Hyperion Dogwood. Limelight Hydrangea group on right.

Don’t overplant peas and beans. They grow so quickly that you don’t need the maximum number per ft. Follow spacing guidelines on plant tag or online resource.

Cool Season vs. Warm Season Edibles

Herbs and vegetables grow best in certain temperature ranges. Spring and Fall are great for some lettuces, kale, broccoli, and cabbage. Summer is best for tomato, okra, cucumber, and beans. Depending on when you choose to get started, this is an important decision.

Herbs for Cooking

The simplest way to get started with herbs is buying the initial starter plants from the garden center. Kitchen gardens can be grown in containers or in the ground. Pop the new herb in the ground or container and keep the soil moist, but well drained.

Rosemary is a perennial plant in many climates and will live for several years.

Basil does well in container or raised bed. The hotter, the better. It will produce leaves until flowering. Pinch the flowers and the plant will continue growing. Pesto is one of my favorites! Or a tomato, oil, mozzarella and basil sandwich.

Just Get Started

You’re going to fail a little bit, but learn and grow your first edible today!

What was your first edible plant? Let me know by emailing me elliott@mylandscapeguide.com .

How To Build a Raised Bed for Vegetables and Herbs in 30 Mins.

Have you ever wanted home grown vegetables? Of course you have! Raised beds are the fastest and easiest way to grow your own food.

Cedar raised bed for veggies and herbs.

Cedar raised bed for veggies and herbs.

Sunlight

Find a sunny location. 6+ hours of direct sunlight. This is the most critical step. Many gardens have failed without this critical ingredient. I don’t know of any shade loving vegetables. (If you do, let me know in the comments below).

Easy Access

Leave an area for walking around the raised bed. It’s important to consider aesthetics along with the practical nature of the bed. Your raised bed will give strong lines and neatness to an otherwise chaotic endeavor. Veggies and weeds grow quickly. You’ll want easy access to pull weeds and harvest your crop!

Materials

Choose untreated wood. Cedar is great, but can be too expensive. Untreated pine is economical. Purchase three 2″ x 10″ boards 8 ft. long. Cut one board in half to create a rectangle. Use a deck screw that will slowly rust. Or go all-out with stainless steel screws!

Do you want a tall bed so you don’t have to bend over so much? Stack the wood until you reach the desired height. There is no wrong answer.

Soil Mix

Fill the empty rectangle on top of the ground with 50% topsoil and 50% pine tree bark or a suitable alternative. 100% soil will be too thick unless your soil has a lot of sand and silt. You want moist, well drained soil all the time.

Finish the top inch of soil in mulch or more pine tree bark to create a clean look. Install plants before or after the mulch. Read the spacing guidelines on the picture tag included with the vegetable start or plug. Normal spacing starts at 8″-24″ depending on plant variety.

Start to finish: 30 mins!

How long did it take you? Let me know in the comments below.