Step 6 – How To Grow Landscape Plants

So you’ve installed your plants like a pro in Step 5? Now you’re ready to keep them alive!

New Plants Need TLC!

New Plants Need TLC!

Wanna know the secret of healthy plants? Give them love and attention. Oh, and Right Plant in the Right Place.

It’s critical that you physically look at your plants weekly. Sometimes daily during the hot, summer growing season when conditions can change quickly.

Most garden failure occurs when people go out of town. Or just take a long weekend. You come home and your plants are cooked. They’re brown and crispy, dead, toast. Firewood.

Before you leave town and your plants home alone, make sure to do these three things.

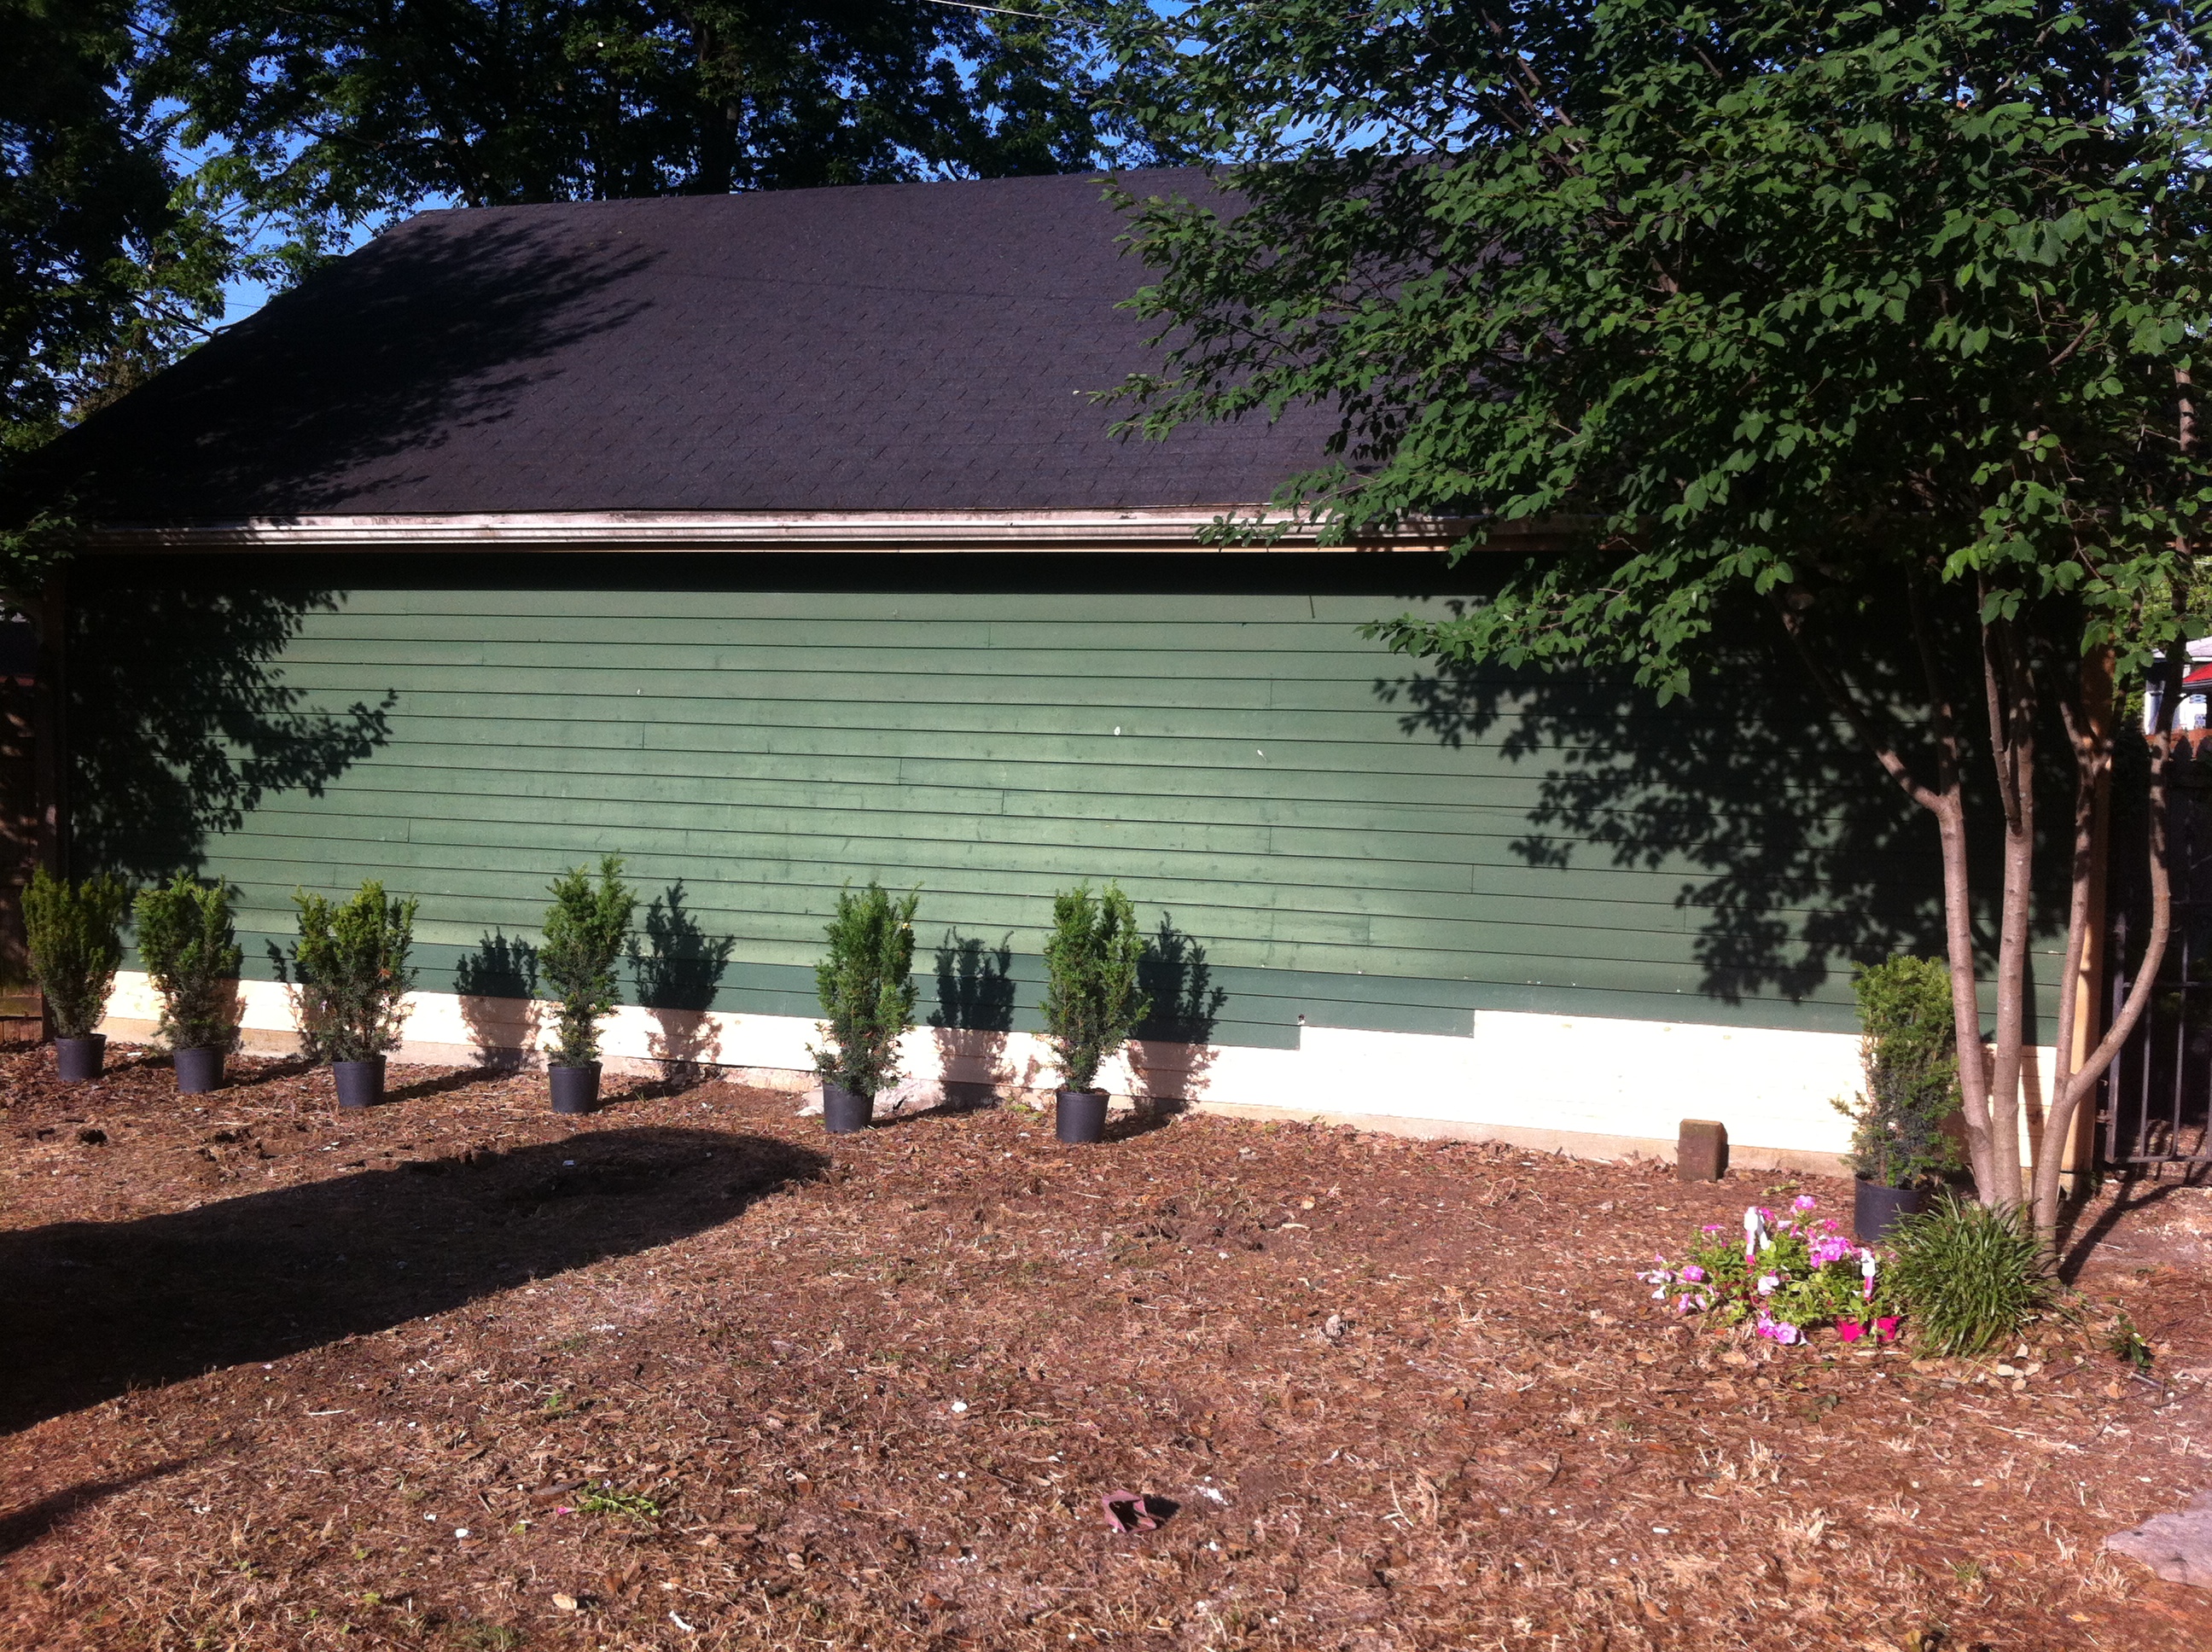
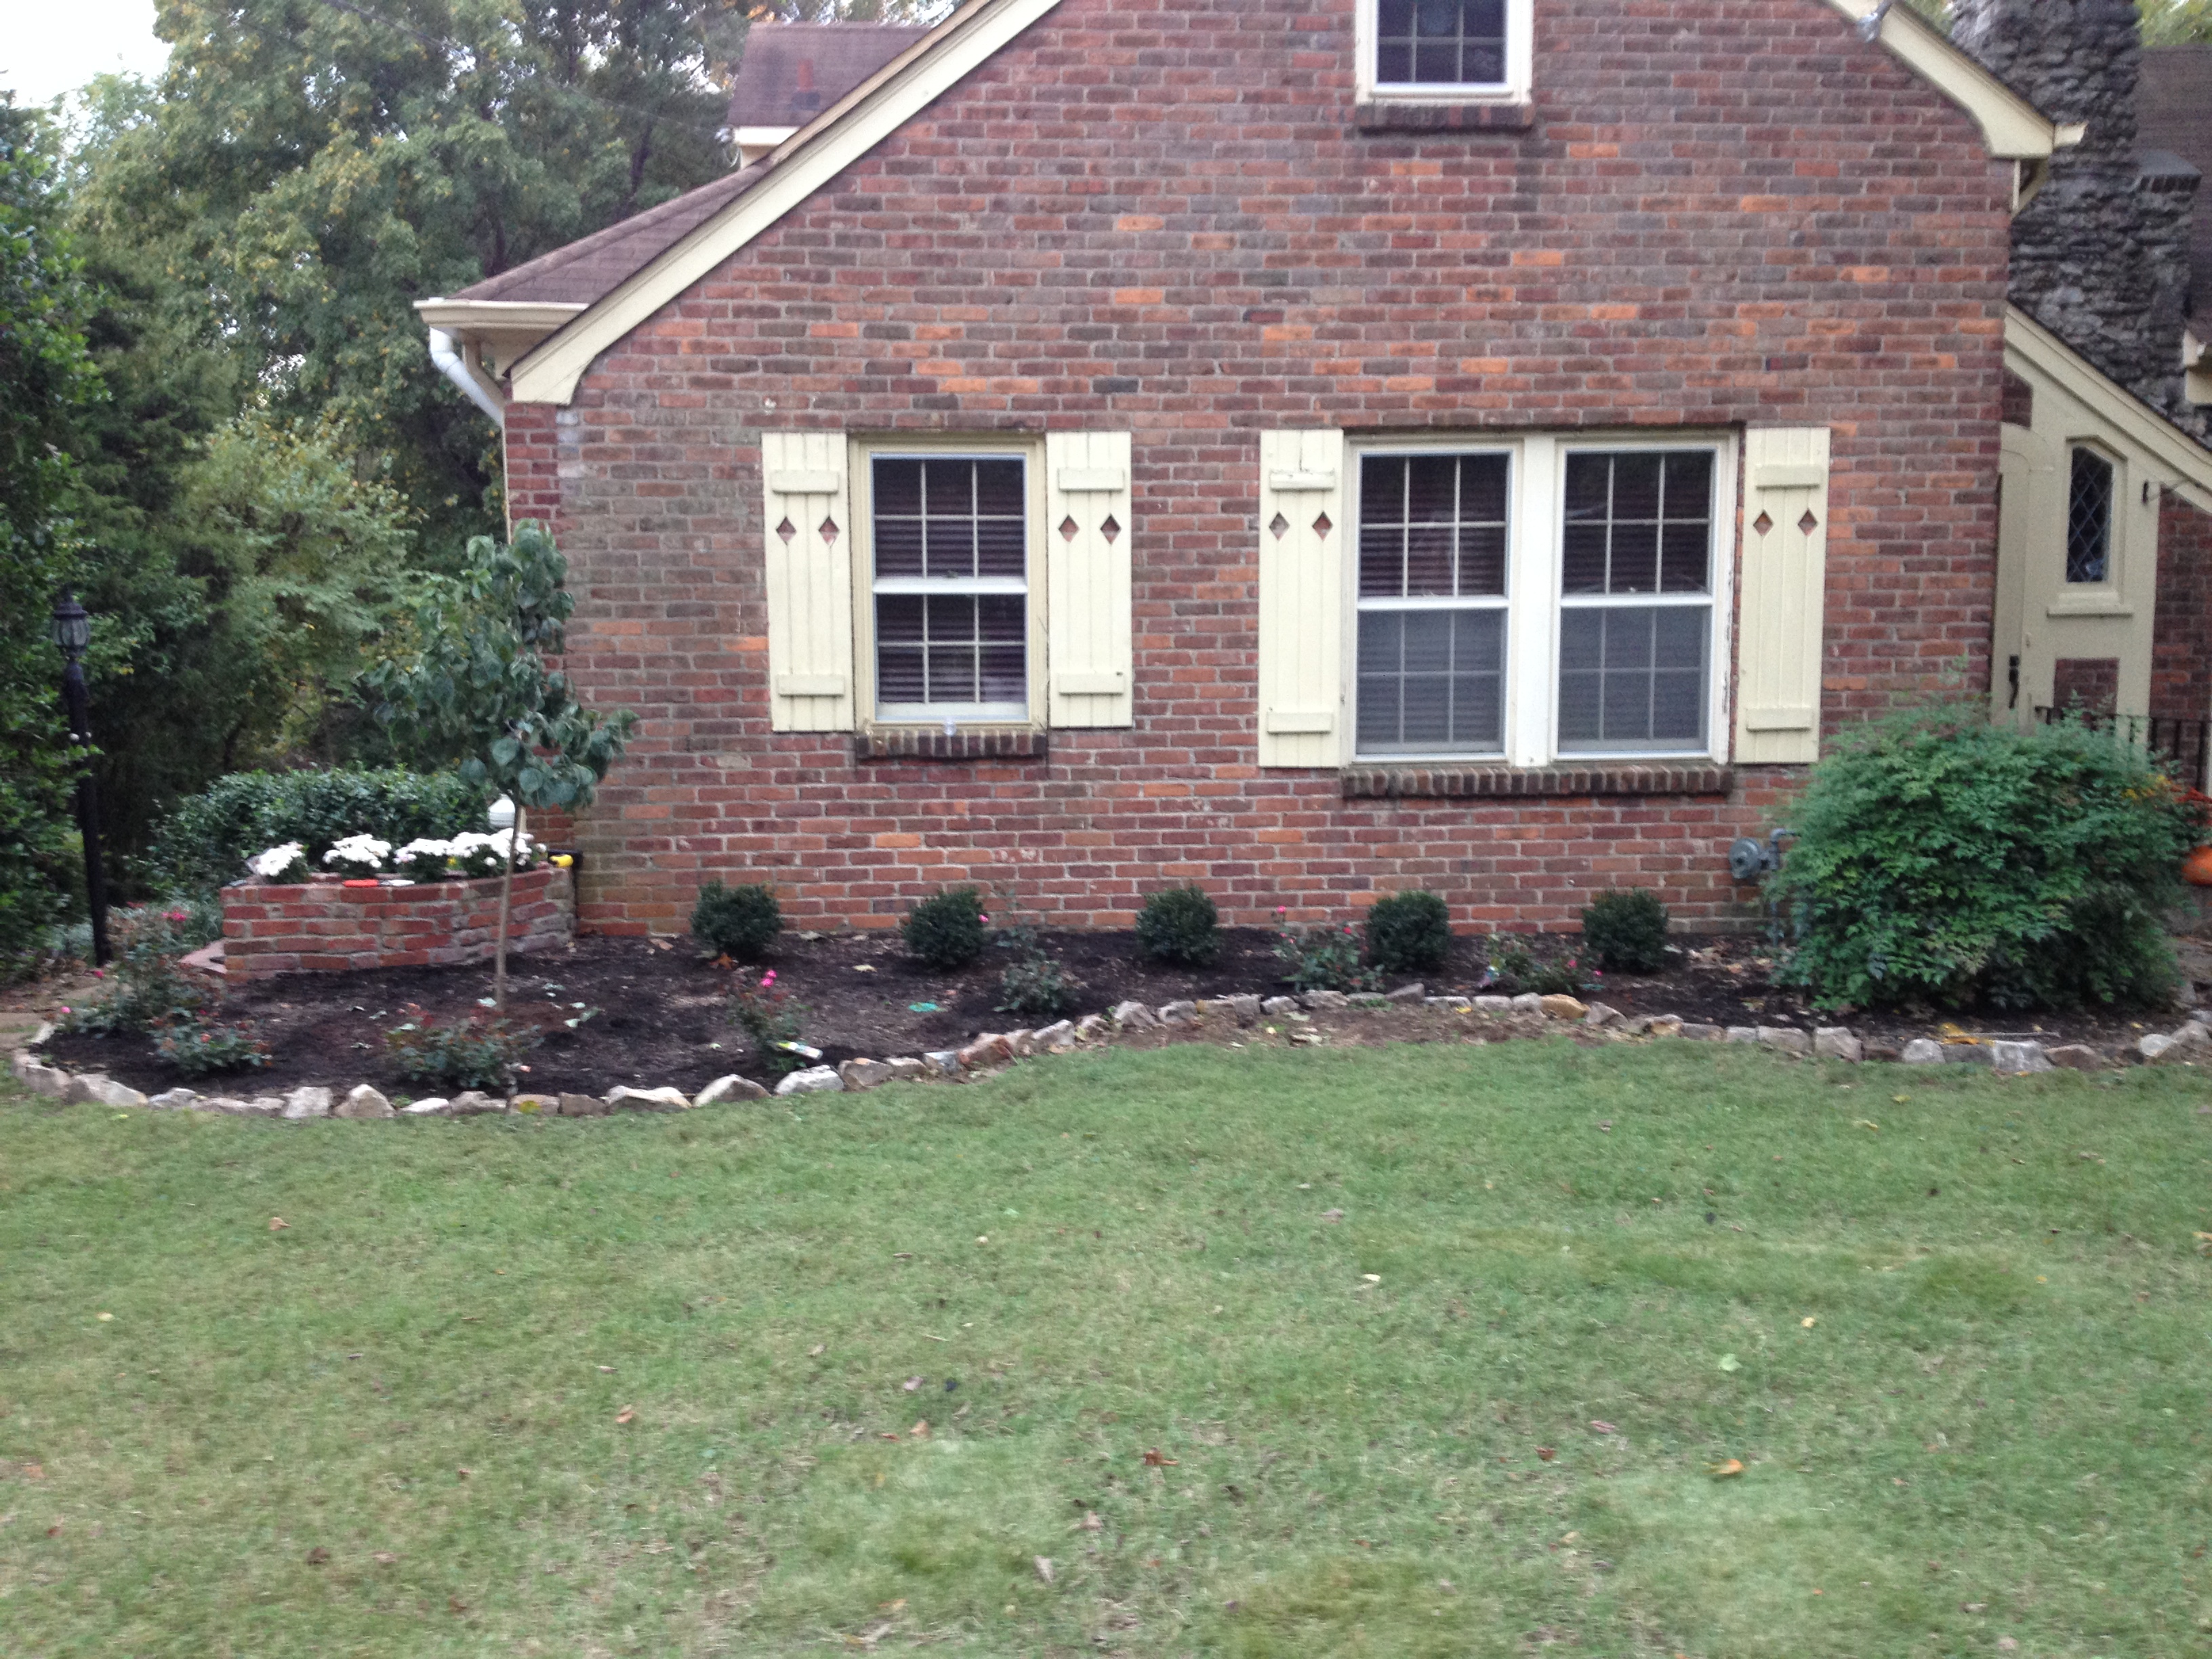
1. Keep the soil weed free and grass free underneath the drip line of your freshly planted trees and shrubs.

2. Use organic mulch like pine straw, pine bark, or hardwood mulch to keep the root balls moist. Moist equals life.

3. Soak the plants with a garden hose. Water is crucial. How to Water Right. Have you bought a hose yet? How to Select a Hose.


Have you mulched and watered correctly? Congratualations! Check out Step 7.


Step 5 – DIY Site Prep and How To Install Landscape Plants

Now, you’re really saving money and time! Taking care of plants involves choosing the right site with proper design (Step 3) and an informed plant purchase (Step 4).

Hicksi Yew shrubs will be spaced and planted after the holes are dug using a tape measure.

Hicksi Yew shrubs will be spaced and planted after the holes are dug using a tape measure.

Site Prep

This is important so you’re new healthy plants don’t die quickly. Without adequate preparation the soil won’t help the plants. It may even draw moisture away. More on that later.

Dig holes twice as wide and no deeper than the root ball. Check out my post on just hole digging (It’s really important!) Article

Hole digging is the most labor intensive process. Break up the work over several days if necessary. Don’t get in a hurry and cut corners. With proper holes, the plants will become healthy and thriving.

Amend Your Soil versus Non-Amend (Add Ingredients to your soil or not add)?

I do not add soil amendments just as a habit. Experts say don’t amend at all. I have done it both ways and successful both methods. Usually I don’t add anything to the bottom of the soil but will add mycorrhizae to the top and sides. Mycorrhizae is a secret weapon in the war against plant stress and death.

It took me several years of trial and error before I tried mycorrhizae. It really does work to help your new trees and shrubs acclimate to the native soil. It’s not critical for veggies, flowers, and grasses.

I usually amend the highest portion of the soil with mulch and or potting soil if I feel it’s a dry site. Organic (not rubber) mulch helps lock in moisture to keep the soil food web activated and your new landscape plants growing and healthy.

Water

You’re going to become an irrigation expert. Soak the plant, then allow to dry slightly. Water like a pro.

If you don’t make a reminder on your phone, or build a daily habit to look at your new plants, they’ll probably die. New plants are accustomed to daily watering in their plastic pot. They may need daily irrigation for a few days to several weeks depending on the soil moisture and air temperature.

Ebook

I go into site prep and installation more intensively in my ebook 7 Steps to Landscape Success.

Now that you’ve installed like a pro, check out Step 6, How to Take Care of Your Investment.